前面我们已经获取到了数据,这节我们就好把它用到我们的项目中来。这节课我们主要是使用flex布局和for循环是我们的type_bar展示出来。
关于flex布局的话如果还不是很了解的小伙伴儿可以查阅下阮一峰大神的博客(http://www.ruanyifeng.com/blog/2015/07/flex-grammar.html)
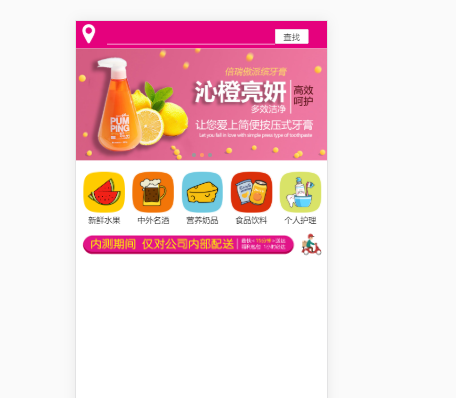
首页商品分类栏的布局
HTML:
  我们采用v-for的方式将商品分类栏循环出来,并给了每个图片百分之九十的宽度,我这里因为第一张图片格式不对,多以单独添加了宽度的

 <div class="type_bar">
        <div v-for="(item,index) in category" :key="index">
            <img v-lazy="item.image" width="90%">
            <span>{{item.mallCategoryName}}</span>
        </div>
    </div>
CSS:
/* type_bar*/
.type_bar{
    background: #fff;
    margin: 0.3rem .3rem .3rem;
    border-radius: .3rem;
    font-size: 14px;
    display: flex;
    display: -webkit-flex;
    justify-content: space-between;
}
.type_bar>div{
    padding: .3rem;
    font-size: 12px;
    text-align: center
}
.type_bar>div>img:nth-child(1){
     3.3rem;
}
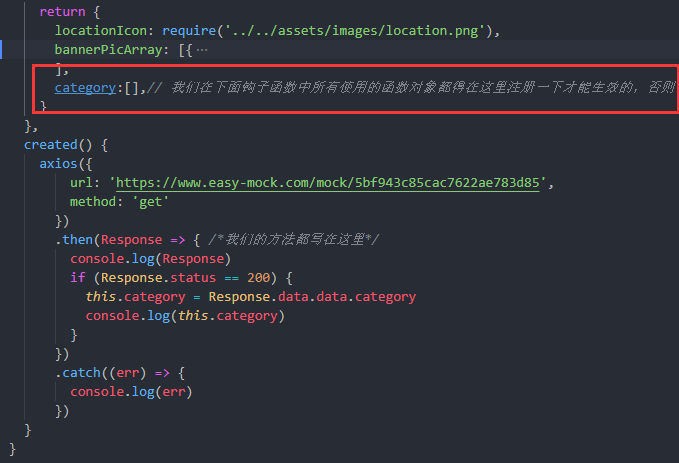
javascript:
        .then(Response => { /*我们的方法都写在这里*/
          console.log(Response)
          if (Response.status == 200) {
            this.category = Response.data.data.category
            console.log(this.category)
          }
        })
在这里我们需要注意一点的是我们是这里使用的 this.category 的category需要在我们的return里面注册,后面我们使用的对象参数也是同样的道理
广告栏
   <!-- advertes Picture -->
    <div class="advertes_picture">
        <img v-lazy='advertesPicture.PICTURE_ADDRESS' width="100%">
    </div>


//js我就直接写在这里了  主要就是从服务端获取到,然后渲染到我们前端
this.advertesPicture = Response.data.data.advertesPicture
改写我们的swiper轮播组件
    <!-- swiper area -->
    <div class="swiper_area">
      <van-swipe :autoplay="3000">
        <van-swipe-item v-for="(banner, index) in slides" :key="index">
          <img v-lazy="banner.image" width="100%" height="167px">
        </van-swipe-item>
      </van-swipe>
    </div>

js:
this.slides = Response.data.data.slides; //获取到图片
在HTML中我们只需要修改我们原来自己添加的假数据换成我们从mock获取到的数据就好啦。这样我们就完成了这节的内容,mock数据的获取
使用flex布局进行分类栏的布局以及我们的swipe的改造。很高兴又学完了一节 简直美滋滋