1、私有GitLAB仓库搭建(内存至少2G)
https://mirrors.tuna.tsinghua.edu.cn/gitlab-ce/yum/el7 #el7为Centos7的rpm,el6为Centos6的安装包
[root@Gitlab ~]# rpm -ivh gitlab-ce-9.1.4-ce.0.el7.x86_64.rpm 或 yum -y localinstall gitlab-ce-9.1.4-ce.0.el7.x86_64.rpm
[root@Gitlab ~]# gitlab-ctl reconfigure #初始化,就执行一次
[root@Gitlab ~]# gitlab-ctl status/stop/start #启动Gitlab
打开浏览器访问页面,设置初始密码,其他操作类似GitHUB。
默认账户:root
设置初始密码为:12345678 #密码至少八位
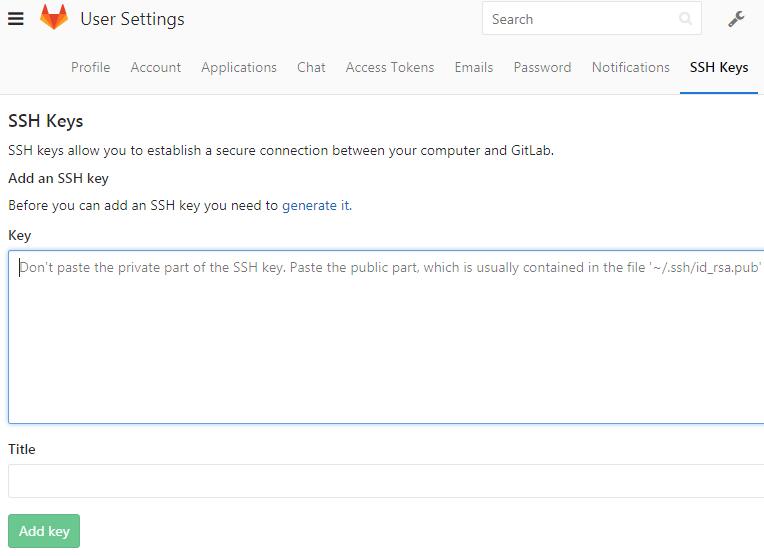
2、创建一个名为33team的项目,生成并添加密钥ssh-keygen
[root@Gitlab ~]# ssh-keygen #生成密钥对
[root@Gitlab ~]# cat /root/.ssh/id_rsa.pub
3、把远程仓库项目克隆到本地
[root@web01 ~]# git clone git@10.47.39.100:root/33team.git #关联
[root@web01 ~]# cd 33team
[root@web01 33team]# git push -u origin master #推送数据
[root@web01 33team]# git pull #拉取数据
4、将本地已有仓库和远程gitlab仓库关联,并将本地仓库数据推送到远程仓库
[root@web01 ~]# cd /root/git_data/
[root@web01 git_data]# git init #初始化本地仓库
[root@web01 git_data]# git status
[root@web01 git_data]# ls
hello.py README test1 test2 test3 test4 test5 test6
[root@web01 git_data]# git remote add origin git@Gitlab:root/33team.git # 关联远程仓库
[root@web01 git_data]# git push -u origin master # 推送数据
[root@web01 git_data]# git pull # 拉取数据
remote: Counting objects: 3, done.
remote: Compressing objects: 100% (3/3), done.
remote: Total 3 (delta 1), reused 0 (delta 0)
Unpacking objects: 100% (3/3), done.
From web01:root/33team
ad22d80..cdf75d6 master -> origin/master
Updating ad22d80..cdf75d6
Fast-forward
README | 1 +
1 files changed, 1 insertions(+), 0 deletions(-)
官网地址:
https://about.gitlab.com/downloads/#centos7