准备工作:
1.txt文本(ASCII)
2.参照图(色差大或自行调整扫描参数)
3.pycharm安装wordcloud
源码:


 1 from os import path
 2 from PIL import Image
 3 import numpy as np
 4 import matplotlib.pyplot as plt
 5
 6 from wordcloud import WordCloud, STOPWORDS, ImageColorGenerator
 7
 8 d = path.dirname(__file__)
 9 print(d)
10 # 读文本文件
11 text = open(path.join(d,'123.txt')).read()
12
13 # 读取自定义图片
14 alice_coloring = np.array(Image.open(path.join(d,"1.jpg")))
15
16 # 你可以通过 mask 参数 来设置词云形状
17 wc = WordCloud(background_color="white",max_words=2000,
18   mask=alice_coloring, max_font_size=60,random_state=102,scale=8,
19 ).generate(text)
20 # font_path = "C:WindowsFontsmsyhbd.ttf"
21 wc.generate_from_text(text)
22 print('开始加载文本')
23 # 改变字体颜色
24 img_colors = ImageColorGenerator(alice_coloring)
25 # 字体颜色为背景图片的颜色
26 wc.recolor(color_func=img_colors)
27 # 显示词云图
28 plt.imshow(wc, interpolation="bilinear")
29 # 是否显示x轴、y轴下标
30 plt.axis('off')
31 plt.show()
32 # 获得模块所在的路径的
33 d = path.dirname(__file__)
34 # 将多个路径组合后返回
35 wc.to_file(path.join(d,"test.jpg"))
36 print('生成词云成功!')
37
38
39 #! /usr/bin/env python
40
41 # import
42 # from os import path
43 # from PIL import Image
44 # import numpy as np
45 # import matplotlib.pyplot as plt
46 # from wordcloud import WordCloud, STOPWORDS
47 #
48 # # current path
49 # d = path.dirname(__file__)
50 #
51 # # Read the whole text.
52 # text = open(path.join(d, '123.txt')).read()
53 #
54 # # read the mask image
55 # test_mask = np.array(Image.open(path.join(d, "1.jpg")))
56 #
57 # stopwords = set(STOPWORDS)
58 # stopwords.add("said")
59 #
60 # # setting
61 # wc = WordCloud(background_color="black", max_words=2000, mask=test_mask,
62 #         stopwords=stopwords)
63 #
64 # # generate word cloud
65 # wc.generate(text)
66 #
67 # # plot and show
68 # plt.imshow(wc, interpolation='bilinear')
69 # plt.axis("off")
70 # plt.figure()
71 # plt.imshow(test_mask, cmap=plt.cm.gray, interpolation='bilinear')
72 # plt.axis("off")
73 # plt.show()
74 #
75 # # store to file
76 # wc.to_file(path.join(d, "test.jpg"))
参数:
 1 font_path : string 字体路径,需要展现什么字体就把该字体路径+后缀名写上,如:font_path = '黑体.ttf'
 2 width : int (default=400) 输出的画布宽度,默认为400像素
 3 height : int (default=200) 输出的画布高度,默认为200像素
 4 prefer_horizontal : float (default=0.90) 词语水平方向排版出现的频率,默认 0.9
 5 mask : nd-array or None (default=None) 若参数为空,则正常绘制词云。如果 mask 非空,设置的宽高值将被忽略,形状被 mask 取代。除白色的部分将不会绘制,其余部分会用于绘制词云。
 6 scale : float (default=1) 按照比例进行放大画布,如设置为2,则长和宽都是原来画布的2倍。
 7 min_font_size : int (default=4) 显示的最小的字体大小
 8 font_step : int (default=1) 字体步长,如果步长大于1,会加快运算但是可能导致结果出现较大的误差。
 9 max_words : number (default=200) 要显示的词的最大个数
10 stopwords : set of strings or None 设置需要屏蔽的词,如果为空,则使用内置的STOPWORDS
11 background_color : color value (default=”black”) 背景颜色,如background_color='white',背景颜色为白色。
12 max_font_size : int or None (default=None) 显示的最大的字体大小
13 mode : string (default=”RGB”) 当参数为“RGBA”并且background_color不为空时,背景为透明。
14 relative_scaling : float (default=.5) 词频和字体大小的关联性
15 color_func : callable, default=None 生成新颜色的函数,如果为空,则使用 self.color_func
16 regexp : string or None (optional) 使用正则表达式分隔输入的文本
17 collocations : bool, default=True 是否包括两个词的搭配
18 colormap : string or matplotlib colormap, default=”viridis” 给每个单词随机分配颜色,若指定color_func,则忽略该方法。
参考图:

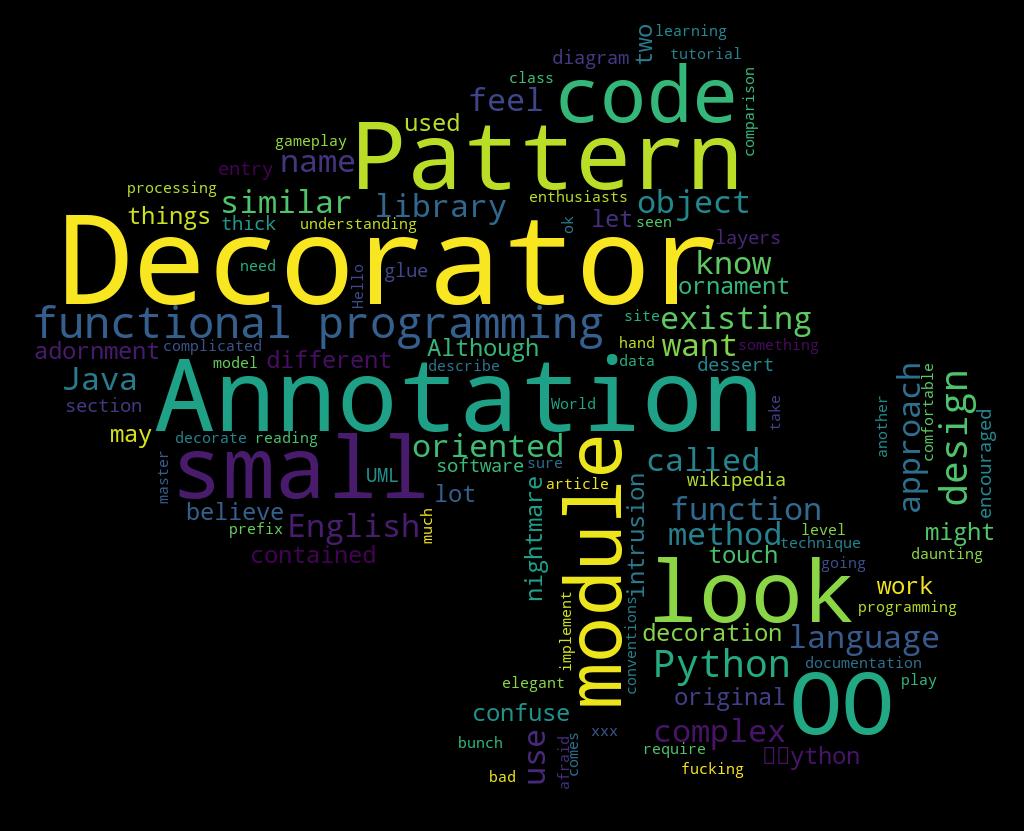
效果图: