对于一个app的好坏,我们首要判断的便是app的界面,而界面的建立则是在图形的处理基础上的,说到图形处理又不得不提及Quartz2D,CALayer。
在iOS系统中,你能看得见摸得着的东西基本上都是UIView,比如一个按钮、一个文本标签、一个文本输入框、一个图标等等,这些都是UIView。
其实UIView之所以能显示在屏幕上,完全是因为它内部的一个层。
在创建UIView对象时,UIView内部会自动创建一个层(即CALayer对象),通过UIView的layer属性可以访问这个层。当UIView需要显示到屏幕上时,会调用drawRect:方法进行绘图,并且会将所有内容绘制在自己的层上,绘图完毕后,系统会将层拷贝到屏幕上,于是就完成了UIView的显示。
换句话说,UIView本身不具备显示的功能,是它内部的层才有显示功能。
首先展示一下无任何操作的imageView。
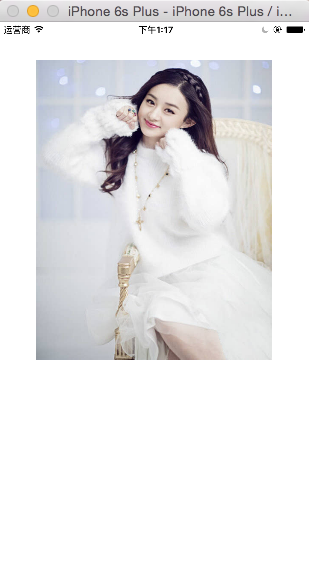
//
//  ViewController.m
//  CX - CALayer(一)
//
//  Created by ma c on 16/3/19.
//  Copyright © 2016年 xubaoaichiyu. All rights reserved.
//

#import "ViewController.h"

@interface ViewController ()

@end

@implementation ViewController

- (void)viewDidLoad {
    [super viewDidLoad];

    UIImageView * imageView = [[UIImageView alloc]initWithFrame:CGRectMake(50, 50, self.view.frame.size.width - 100, 400)];

    imageView.image = [UIImage imageNamed:@"nvshen.jpg"];

    [self.view addSubview:imageView];

}

@end
设置阴影的效果
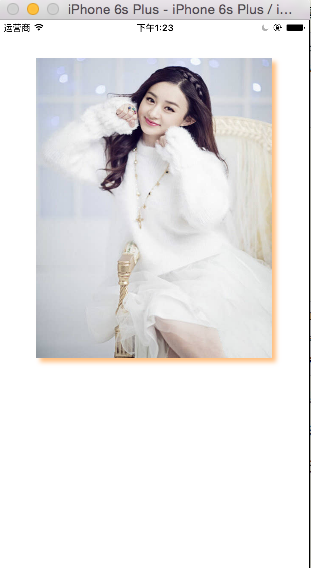
//
//  ViewController.m
//  CX - CALayer(一)
//
//  Created by ma c on 16/3/19.
//  Copyright © 2016年 xubaoaichiyu. All rights reserved.
//

#import "ViewController.h"

@interface ViewController ()

@end

@implementation ViewController

- (void)viewDidLoad {
    [super viewDidLoad];

    UIImageView * imageView = [[UIImageView alloc]initWithFrame:CGRectMake(50, 50, self.view.frame.size.width - 100, 400)];

    imageView.image = [UIImage imageNamed:@"nvshen.jpg"];
    //设置阴影的颜色
    imageView.layer.shadowColor = [UIColor orangeColor].CGColor;
    //设置阴影的偏移量
    imageView.layer.shadowOffset = CGSizeMake(5, 5);
    //设置阴影的透明度,1为不透明。
    imageView.layer.shadowOpacity = 0.5;

    [self.view addSubview:imageView];

}

@end
设置圆角的效果

//
//  ViewController.m
//  CX - CALayer(一)
//
//  Created by ma c on 16/3/19.
//  Copyright © 2016年 xubaoaichiyu. All rights reserved.
//

#import "ViewController.h"

@interface ViewController ()

@end

@implementation ViewController

- (void)viewDidLoad {
    [super viewDidLoad];

    UIImageView * imageView = [[UIImageView alloc]initWithFrame:CGRectMake(50, 50, self.view.frame.size.width - 100, 400)];

    imageView.image = [UIImage imageNamed:@"nvshen.jpg"];
//    //设置阴影的颜色
//    imageView.layer.shadowColor = [UIColor orangeColor].CGColor;
//    //设置阴影的偏移量
//    imageView.layer.shadowOffset = CGSizeMake(5, 5);
//    //设置阴影的透明度,1为不透明。
//    imageView.layer.shadowOpacity = 0.5;
    //设置圆角的半径
    imageView.layer.cornerRadius= 10;
    //使视图支持圆角
    imageView.layer.masksToBounds = YES;
    //masksToBounds 设置为YES 阴影效果将失效。

    [self.view addSubview:imageView];

}

@end
设置边框的效果
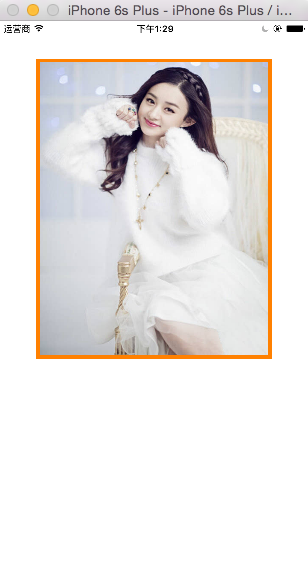
//
//  ViewController.m
//  CX - CALayer(一)
//
//  Created by ma c on 16/3/19.
//  Copyright © 2016年 xubaoaichiyu. All rights reserved.
//

#import "ViewController.h"

@interface ViewController ()

@end

@implementation ViewController

- (void)viewDidLoad {
    [super viewDidLoad];

    UIImageView * imageView = [[UIImageView alloc]initWithFrame:CGRectMake(50, 50, self.view.frame.size.width - 100, 400)];

    imageView.image = [UIImage imageNamed:@"nvshen.jpg"];
//    //设置阴影的颜色
//    imageView.layer.shadowColor = [UIColor orangeColor].CGColor;
//    //设置阴影的偏移量
//    imageView.layer.shadowOffset = CGSizeMake(5, 5);
//    //设置阴影的透明度,1为不透明。
//    imageView.layer.shadowOpacity = 0.5;
//    //设置圆角的半径
//    imageView.layer.cornerRadius= 10;
//    //使视图支持圆角
//    imageView.layer.masksToBounds = YES;
//    //masksToBounds 设置为YES 阴影效果将失效。
    //设置边框的宽度
    imageView.layer.borderWidth = 5;
    //设置边框的颜色
    imageView.layer.borderColor = [UIColor orangeColor].CGColor;

    [self.view addSubview:imageView];

}

@end
设置旋转的效果

//
//  ViewController.m
//  CX - CALayer(一)
//
//  Created by ma c on 16/3/19.
//  Copyright © 2016年 xubaoaichiyu. All rights reserved.
//

#import "ViewController.h"

@interface ViewController ()

@end

@implementation ViewController

- (void)viewDidLoad {
    [super viewDidLoad];

    UIImageView * imageView = [[UIImageView alloc]initWithFrame:CGRectMake(50, 50, self.view.frame.size.width - 100, 400)];

    imageView.image = [UIImage imageNamed:@"nvshen.jpg"];
//    //设置阴影的颜色
//    imageView.layer.shadowColor = [UIColor orangeColor].CGColor;
//    //设置阴影的偏移量
//    imageView.layer.shadowOffset = CGSizeMake(5, 5);
//    //设置阴影的透明度,1为不透明。
//    imageView.layer.shadowOpacity = 0.5;
//    //设置圆角的半径
//    imageView.layer.cornerRadius= 10;
//    //使视图支持圆角
//    imageView.layer.masksToBounds = YES;
//    //masksToBounds 设置为YES 阴影效果将失效。
//    //设置边框的宽度
//    imageView.layer.borderWidth = 5;
//    //设置边框的颜色
//    imageView.layer.borderColor = [UIColor orangeColor].CGColor;
    //设置旋转角度
    //参数分别为,旋转角度,旋转轴 x y z
    imageView.layer.transform = CATransform3DMakeRotation(M_PI_4, 0, 0, 1);

    [self.view addSubview:imageView];

}

@end