第一步
在已有项目目录下添加插件 cordova plugin add cordova-hot-code-push-plugin
第二步
全局安装npm install -g cordova-hot-code-push-cli(前提是node环境已经配置好),安装完成后执行cordova-hcp server查看是否正常。如果运行报错则有可能是因为端口占用。
第三步
在服务器可访问路径下创建一个目录,比如:hotcode 或者其他目录都行
第四步
在项目的根目录app下新建一个cordova-hcp.json的文件添加以下内容:
{
  "name": "test",
  "autogenerated": true,
  "release": "2016.11.08-15.13.26",
  "content_url": "你的服务器访问路径/hotcode",
  "update": "resume"
}
【name】:项目名称
【autogenerated】:不设置或者false不会自动更新
【ios_identifier】:ios开发者识别号
【android_identifier】:android包名
【update】:何时触发进行安装(install)代码热更新
Tips:
代码热更新涉及两个主要过程:fetch update 和 install update。前者获取热更新变更文件,后者将获取到的更新文件安装到 App 中生效。此字段是针对后者,何时 install update,可选值:
i、start:应用启动,默认项(install update when application is launched)
ii、resume:应用从后台恢复(install the update when application is resumed from background state)【推荐】
iii、now:下载更新后立即执行(install update as soon as it has been downloaded)
【content_url】:web 项目文件在服务器上的存储路径(即 www 目录在云存储中的目录路径),热更新插件将此 URL 作为 base url,用于下载配置文件和项目更新文件(必需的配置项)
修改vue项目
(一)增加cordova.js引用
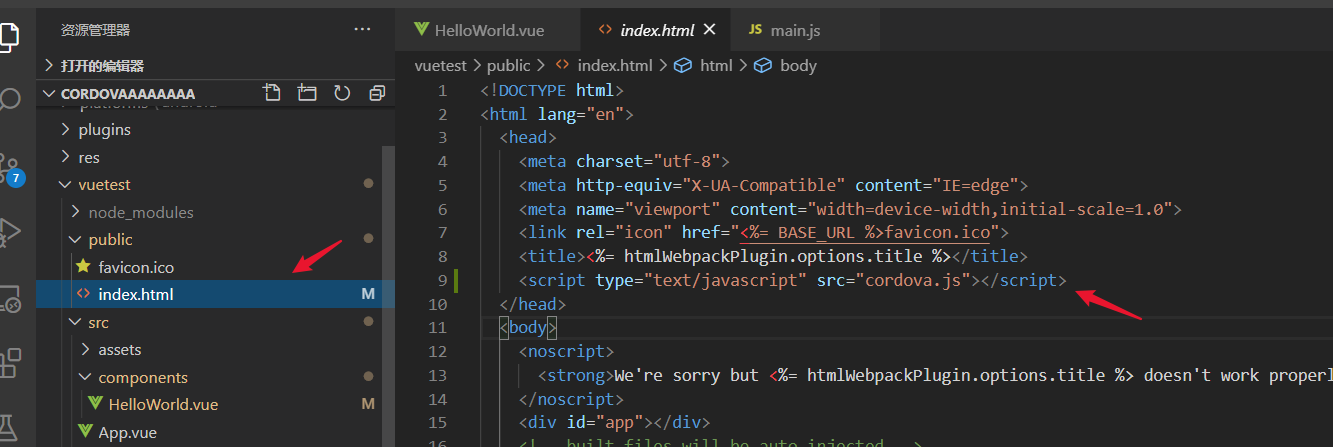
打包会copy www目录下的文件到下图路径 并备份到 platformsandroidappsrcmainassetswww 目录 所以 上图的引用是找得到的

(二) vue项目src目录下增加update.js文件
相关事件参考插件的wiki https://github.com/nordnet/cordova-hot-code-push/wiki/Check-if-update-was-loaded-and-ready-to-be-installed
var app = {
    // Application Constructor
    initialize: function () {
        document.addEventListener('deviceready', this.onDeviceReady.bind(this), false);
        document.addEventListener("resume", this.onDeviceReady.bind(this), false);
    },
    onDeviceReady: function () {

        let chcp = window.chcp;
        // 检测更新
        chcp.fetchUpdate((error, data) => {
            console.log("进度条", data.progress);
            //检测是否是否可以进行安装了,双重判断吧,有时候会出现有更新版本但是暂时无法安装的情况(也可以去掉这一层)
            chcp.isUpdateAvailableForInstallation((error, ckeckData) => {
                if (error) {
                    console.log('Nothing to install. Executing fetch.');
                    return
                }

                chcp.fetchUpdate((error, data) => {
                    if (error) {
                        console.log('Failed to load the update with error code: ' + error.code);
                        console.log(error.description);
                        return;
                    }
                    console.log("fetchUpdate:" + data);
                    let msg = `当前版本:${ckeckData.currentVersion}, 新版本:${ckeckData.currentVersion}`
                    console.log(msg);

                    chcp.installUpdate((error) => {
                        if (error) {
                            console.log('Failed to install the update with error code: ' + error.code);
                            console.log(error.description);
                        } else {
                            console.log('Update installed!');
                        }
                    })
                });

            });
        });

    },
};

export default app;
然后再main.js 调用下 或者直接写在main.js也行
import up from './update'
up.initialize();
第五步:
在vue路径下 执行 yarn build 会在父级目录(也就是cordova根目录下的www文件夹下生成打包后的html,css,js文件)
在cordova项目根目录下运行 cordova-hcp build,运行后会在www目录下生成chcp.json和chcp.manifest文件
第六步:
将cordova项目中的www目录下所有文件上传到服务器刚才新建的目录hotcode下面
第七步:
将以下代码加入项目的config.xml中,然后运行cordova build
<chcp>
    <config-file url="你的服务器访问路径/hotcode/chcp.json" />
    <auto-download enabled="true" />
    <auto-install enabled="true" />
    <native-interface version="1"
</chcp>
【config-file】:配置文件chcp.json从服务器上加载的路径(必填)
【auto-download】:是否自动下载热更新代码,默认是 true
【auto-install】:是否自动安装热更新代码,默认是 true
【native-interface】:当前 native side 的版本号
第八步:
每次代码更新 就重复56步骤, app就会热更新
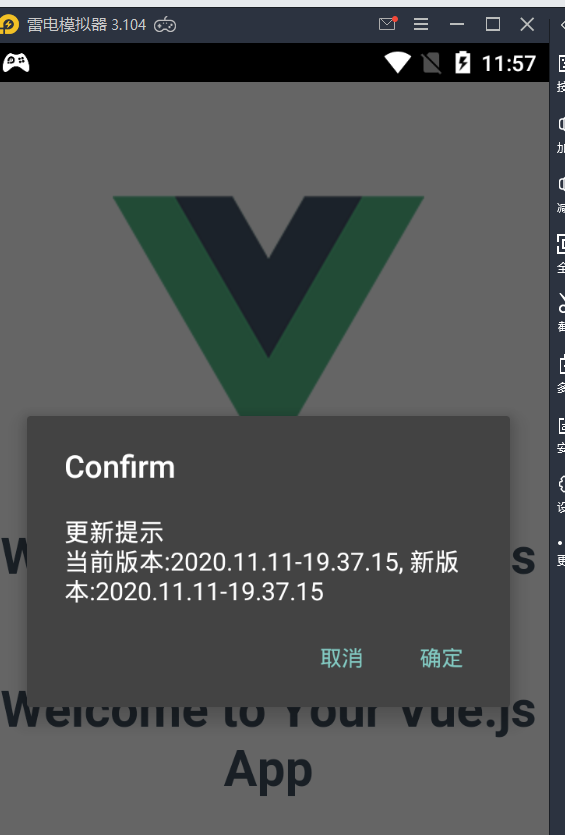
之前基本是在客户端打开后自动请求后台自动更新,如果想要客户端提示更新...
第九步
将第七步中加入的代码 进行修改如下:
插件的wiki都给出了详细的步骤 https://github.com/nordnet/cordova-hot-code-push/wiki/Check-if-update-was-loaded-and-ready-to-be-installed
<chcp>
    <config-file url="你的服务器访问路径/hotcode/chcp.json" />
    <auto-download enabled="false" />
    <auto-install enabled="false" />
    <native-interface version="1"
</chcp>
update.js中的代码就可以这样写 提示框可以换成自己的ui框架中的
var app = {
    // Application Constructor
    initialize: function () {
        document.addEventListener('deviceready', this.onDeviceReady.bind(this), false);
        document.addEventListener("resume", this.onDeviceReady.bind(this), false);
    },
    onDeviceReady: function () {

        let chcp = window.chcp;
        // 检测更新
        chcp.fetchUpdate(() => {
            //检测是否是否可以进行安装了,双重判断吧,有时候会出现有更新版本但是暂时无法安装的情况(也可以去掉这一层)
            chcp.isUpdateAvailableForInstallation((error, ckeckData) => {
                if (error) {
                    console.log('Nothing to install. Executing fetch.');
                    return
                }

                chcp.fetchUpdate((error, data) => {
                    if (error) {
                        console.log('Failed to load the update with error code: ' + error.code);
                        console.log(error.description);
                        return;
                    }
                    console.log("fetchUpdate:" + data);
                    let msg = `更新提示
当前版本:${ckeckData.currentVersion}, 新版本:${ckeckData.currentVersion}`
                    console.log(msg);

                    var r = confirm(msg);
                    if(r == true){
                        chcp.installUpdate((error) => {
                            if (error) {
                                console.log('Failed to install the update with error code: ' + error.code);
                                console.log(error.description);
                            } else {
                                console.log('Update installed!');
                            }
                        })
                    }
                });

            });
        });

    },
};

export default app;
参考 https://github.com/Kelichao/cordova/issues/6