1、下载地址:https://www.sonatype.com/download-oss-sonatype
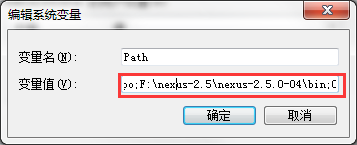
2、安装:把bin下的路径添加到path环境变量中

3、在dos界面创建nexus服务并启动


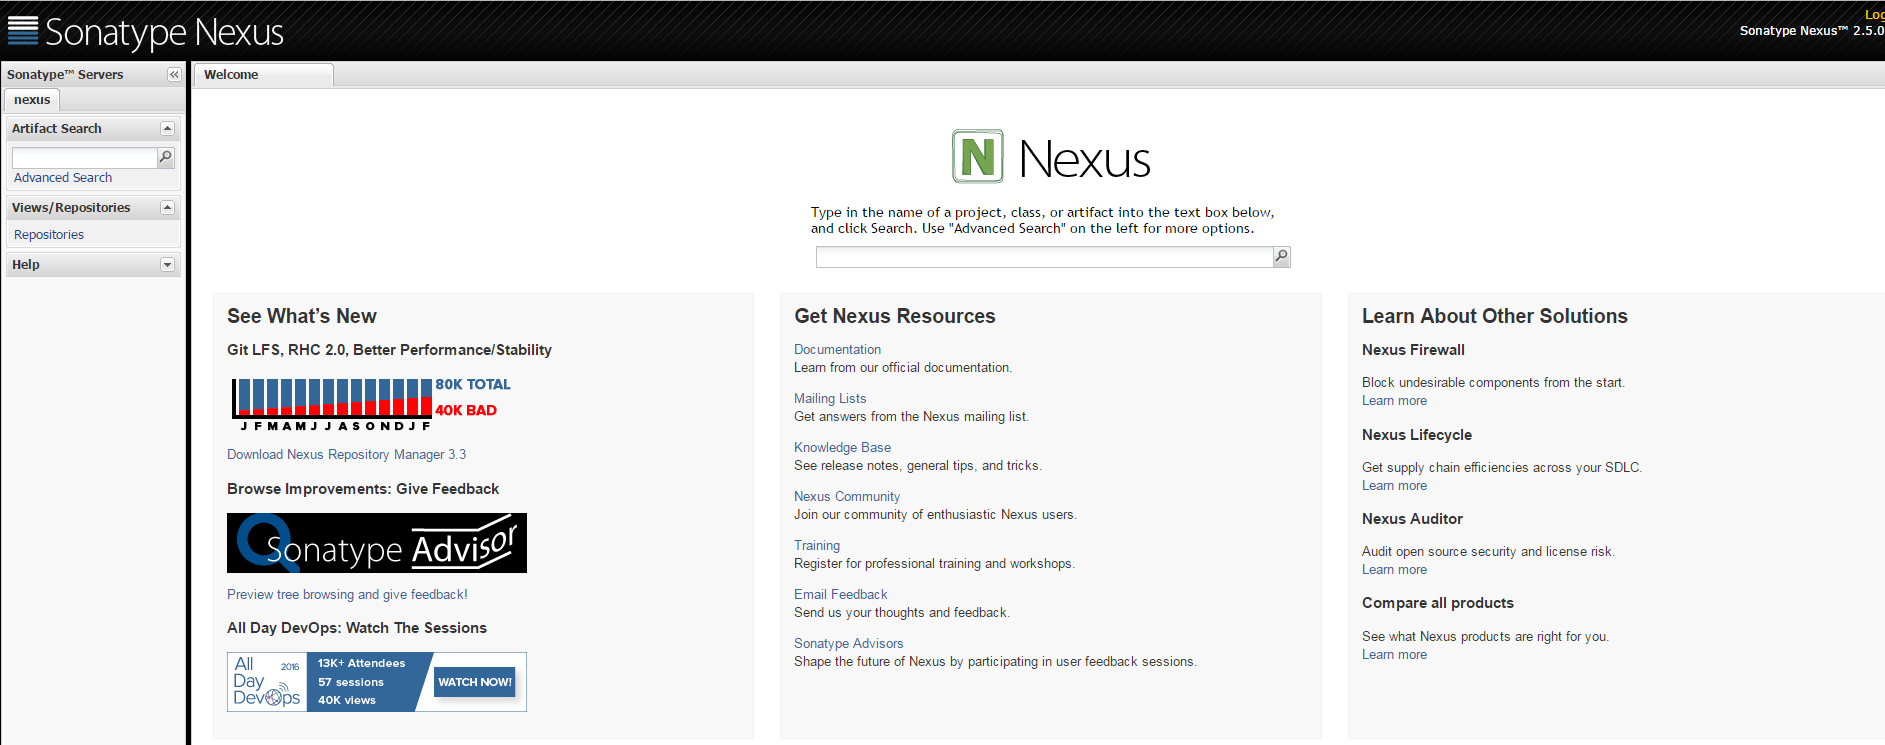
4、在浏览器上进入已启动的nexus
输入:http://localhost:8089/nexus/ (localhost可替换成IP地址)
如果 进入失败
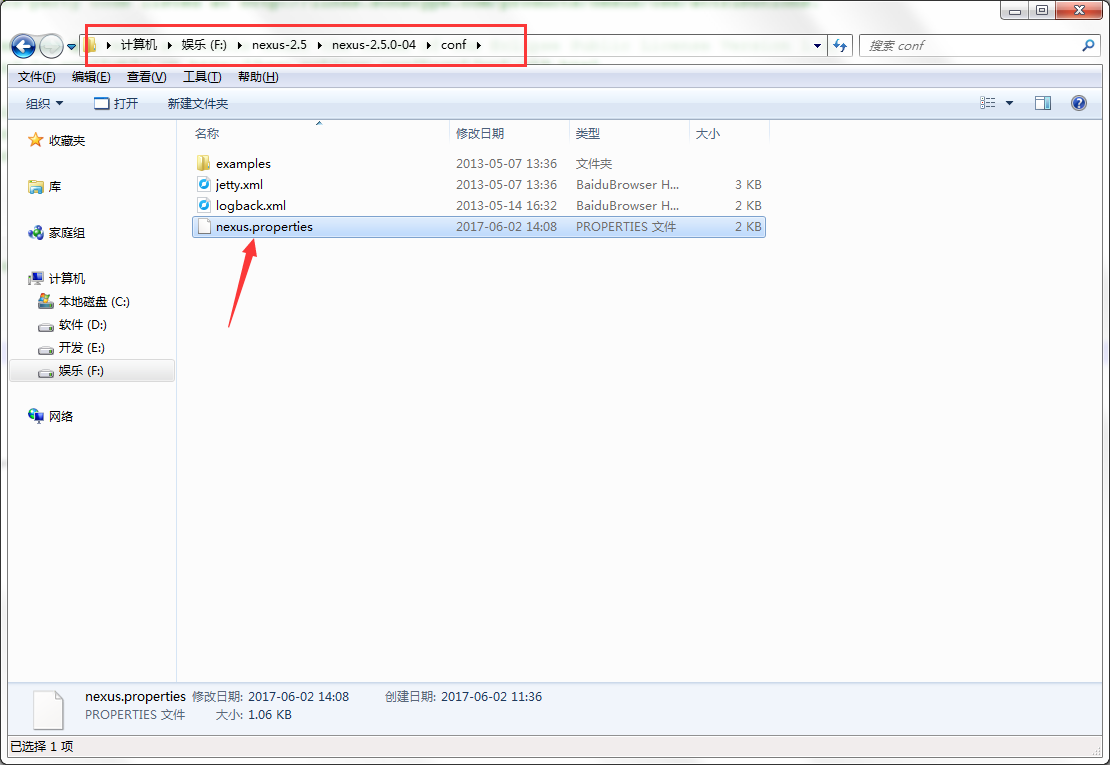
原因一:端口号被占用
解决办法:修改端口号
找到nexus.properties文件
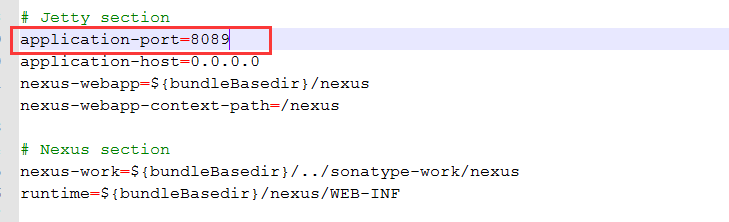
打开文件修改端口号:
原因二:JDK版本不匹配
nexus2.5及以下版本支持JDK1.6
nexus2.6(包括)以上版本支持JDK1.7
nexus3.0及以上版本支持JDK1.8
修改:找到wrapper.conf文件


5、登录输入用户名和密码

6、修改maven的settings文件
<mirrors>
     <mirror>
     <id>nexus</id>
     <mirrorOf>*</mirrorOf>
     <url>http://localhost:8089/nexus/content/groups/public</url>
   </mirror>
  </mirrors>
 <profiles>

    <profile>
     <id>nexus</id>
     <repositories>
       <repository>  //指定私库下载依赖
         <id>central</id>
         <url>http://localhost:8089/nexus/content/groups/public/</url>
         <releases><enabled>true</enabled></releases>
         <snapshots><enabled>true</enabled></snapshots>
       </repository>
     </repositories>
    <pluginRepositories>
       <pluginRepository>  //指定私库下载插件
         <id>central</id>
         <name>central</name>
         <url>http://localhost:8089/nexus/content/groups/public/</url>
         <layout>default</layout>
         <releases><enabled>true</enabled></releases>
         <snapshots><enabled>true</enabled></snapshots>
       </pluginRepository>
     </pluginRepositories>
   </profile>
  </profiles>

  <activeProfiles>
    <activeProfile>nexus</activeProfile>  //激活
  </activeProfiles>
配置私库用户名和密码
<servers>
    <server>
       <id>releases</id>       //此id必须与pom文件中正式发布版本id相同
       <username>admin</username>
       <password>admin123</password>
    </server>
    <server>
         <id>snapshots</id>   //此id必须与pom文件中快照发布版本id相同
         <username>admin</username>
       <password>admin123</password>
    </server>
  </servers>
7、在项目的pom文件中指定发布到私库
<distributionManagement>
      <repository>
          <id>releases</id>
          <url>http://localhost:8089/nexus/content/repositories/releases/</url>
      </repository>

      <snapshotRepository>
          <id>snapshots</id>
          <url>http://localhost:8089/nexus/content/repositories/snapshots/</url>
      </snapshotRepository>
  </distributionManagement>
8、在pom文件中添加deploy插件,用户发布版本使用
<build>
      <finalName>zyzl</finalName>
    <plugins>
        <plugin>
            <groupId>org.mortbay.jetty</groupId>
            <artifactId>jetty-maven-plugin</artifactId>
            <version>8.1.16.v20140903</version>
        </plugin>
        <plugin>
            <groupId>org.apache.maven.plugins</groupId>
            <artifactId>maven-deploy-plugin</artifactId>
            <version>2.4</version>         <--此处deploy版本必须使用2.4(可能我了解的不多,也试了2.6、2.7、2.9,都是失败)-->
            <configuration>
                <skipTests>true</skipTests>
            </configuration>
        </plugin>
    </plugins>
  </build>
9、在eclipse中发布

10、到nexus中查看发布的快照版本
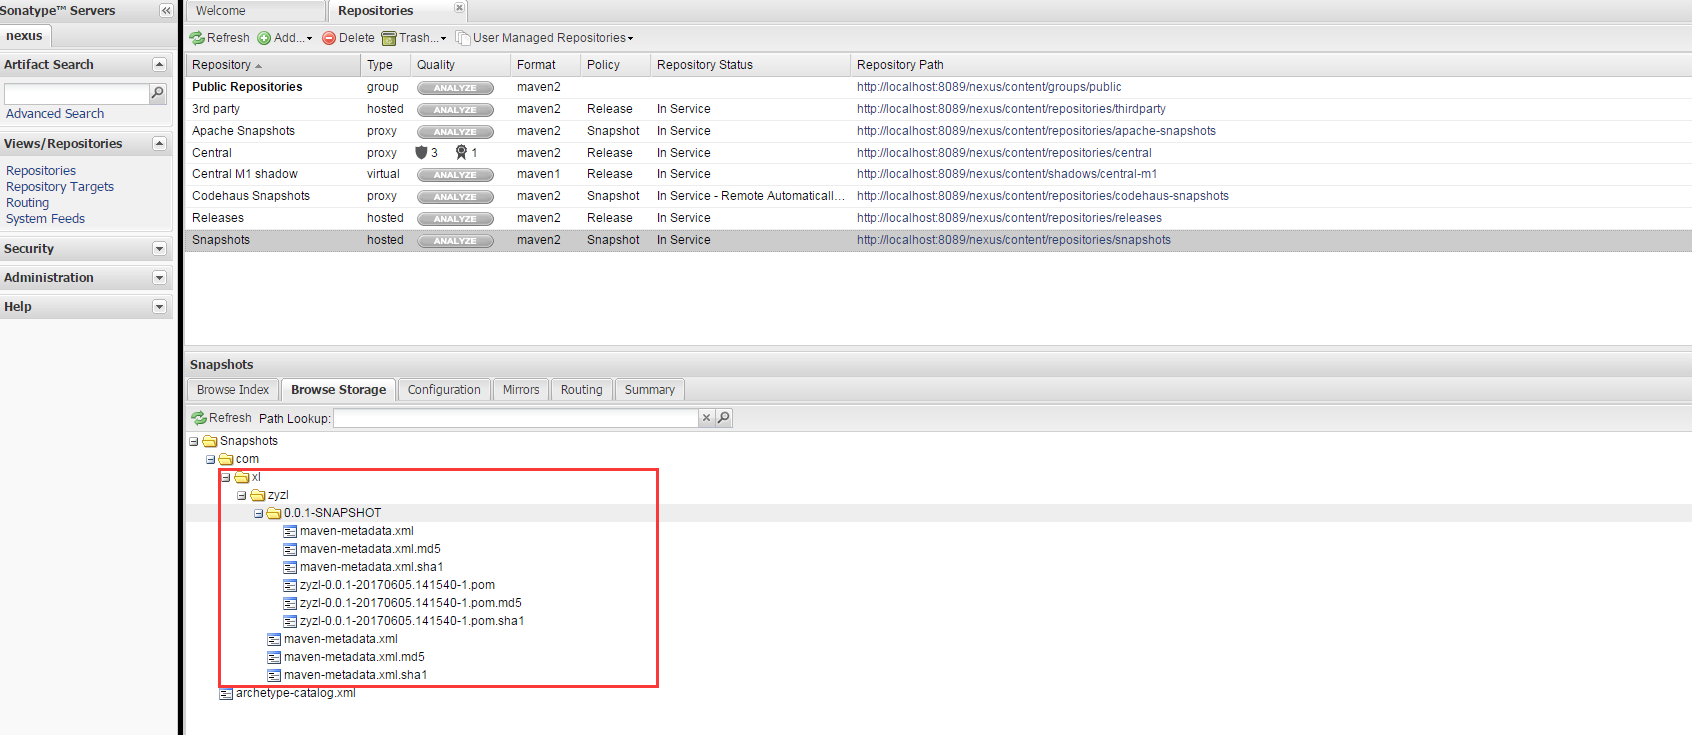
如果发布失败,在nexus中的public下的releases和snapshots中修改:
