准备工作
cnpm install hexo-cli -g

初始化博客源文件
hexo init blog(这个blog可以替换成你喜欢的名字)

cd blog
npm install

调试博客
hexo server

这样就可以在http://localhost:4000/访问你的博客
将博客部署到GitHub Pages
采用这个方式,源文件不会被上传(https://hexo.io/docs/github-pages#One-command-deployment)
首先安装工具hexo-deployer-git(https://www.npmjs.com/package/hexo-deployer-git):
cnpm install hexo-deployer-git --save
编辑config.yml,修改deployment部分
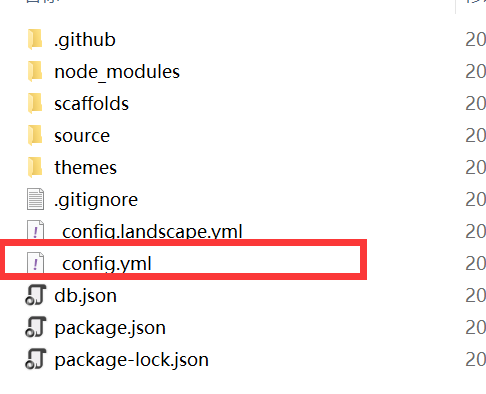
deploy:
  type: git
  repo: https://github.com/<username>/<project>
  # example, https://github.com/你的用户名/你的用户名.github.io
  branch: gh-pages(改成对应分支,例如master)
每当你更新源文件并希望部署到github pages时,执行:
hexo clean && hexo deploy
更换博客主题
第一步,下载主题(在官网导航处随便找一个演示)。主题文件放在博客源文件目录下的themes目录下,例如下载一个叫做hermes的主题:
$ git clone https://github.com/claymcleod/hexo-theme-hermes.git themes/hermes
Cloning into 'themes/hermes'...
remote: Enumerating objects: 1070, done.
remote: Total 1070 (delta 0), reused 0 (delta 0), pack-reused 1070
Receiving objects: 100% (1070/1070), 637.14 KiB | 963.00 KiB/s, done.
Resolving deltas: 100% (493/493), done.
第二步,配置文件。同样是编辑config.yml,修改theme

theme: hermes
第三步,刷新测试。
hexo clean && hexo g
hexo s
访问http://localhost:4000/发现没有显示想要的东西
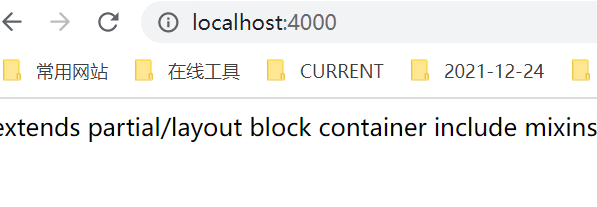
原因是没有按照该主题(https://github.com/claymcleod/hexo-theme-hermes)的要求去做(没有下载相应的插件。
# Install required plugins
npm i hexo-renderer-pug --save

# Install recommended plugins
npm i hexo-generator-feed \
      hexo-generator-feed \
      hexo-generator-sitemap \
      hexo-browsersync \
      hexo-generator-archive \
      --save

# Set some nice-to-have configuration options
sed -i.bak 's/relative_link: false/relative_link: true/g' _config.yml && rm _config.yml.bak

# Start the hexo server
hexo server
写博客
通过hexo n "文章名字"创建文章,然后在项目根目录\source\_posts中编辑文章
通过hexo clean 可以清理原来的public文件夹
通过hexo g生成新的静态文件
通过hexo s调试