本篇博文将和大家一起使用Spring Boot 2.0 和FreeMarker 模板引擎整合实战。
1. 创建新的项目

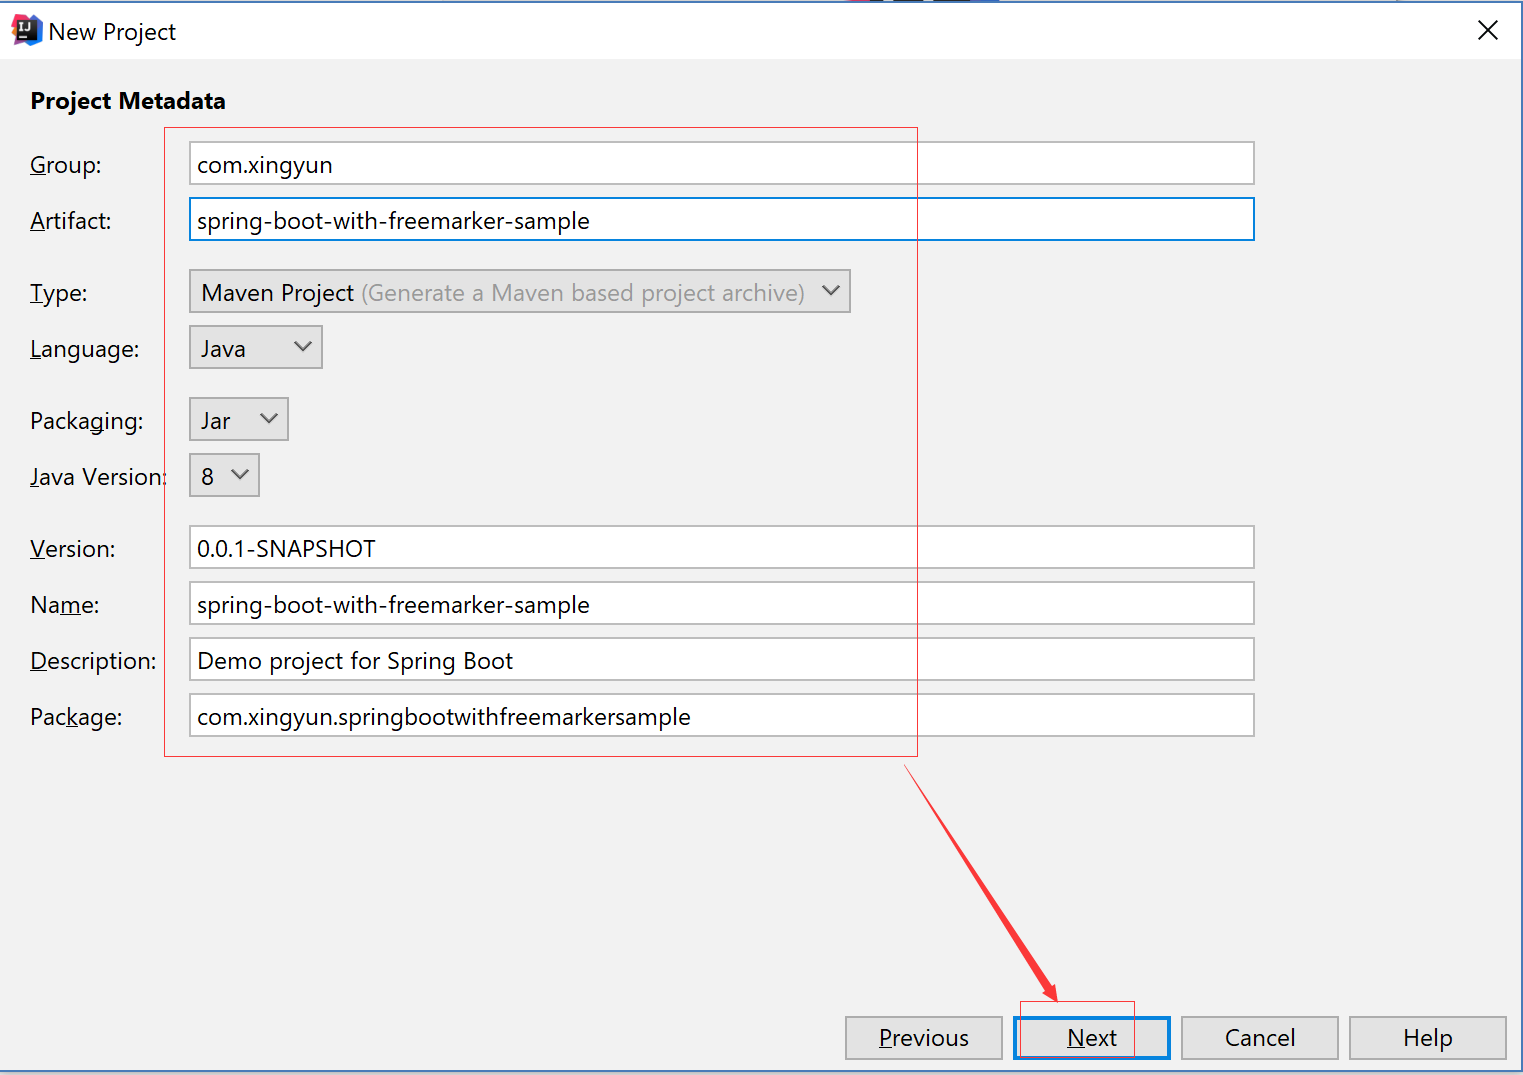
2. 填写项目配置信息
3. 勾选web 模块
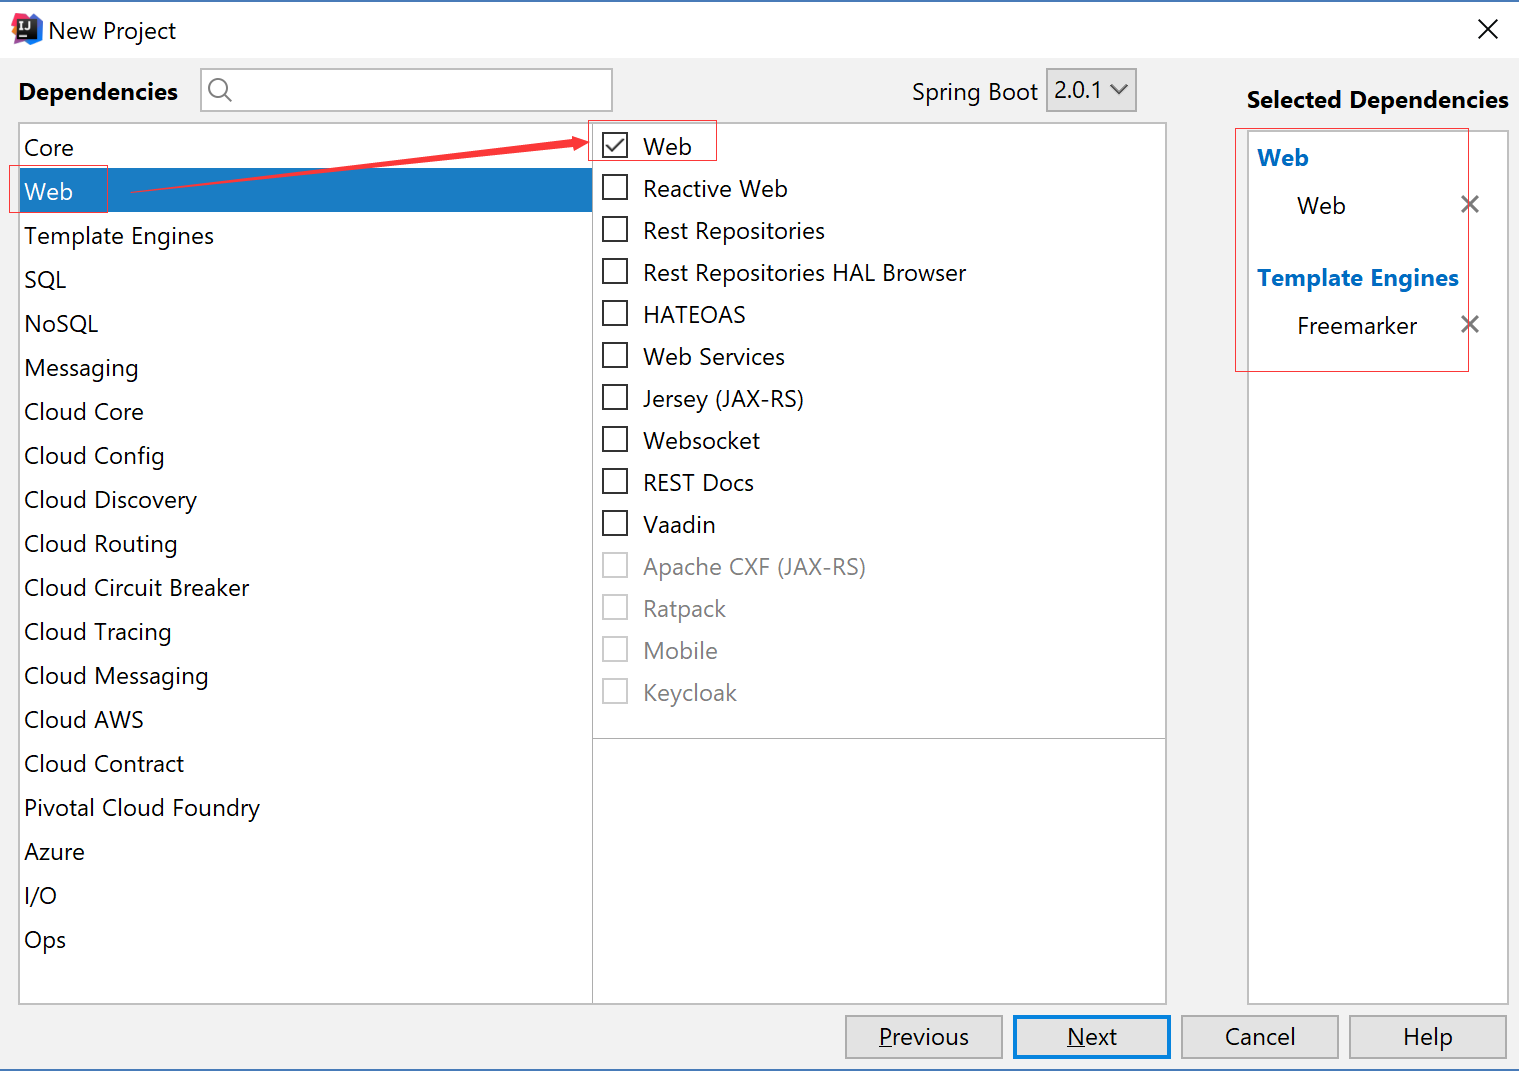
4. 勾选freemarker模板引擎模块

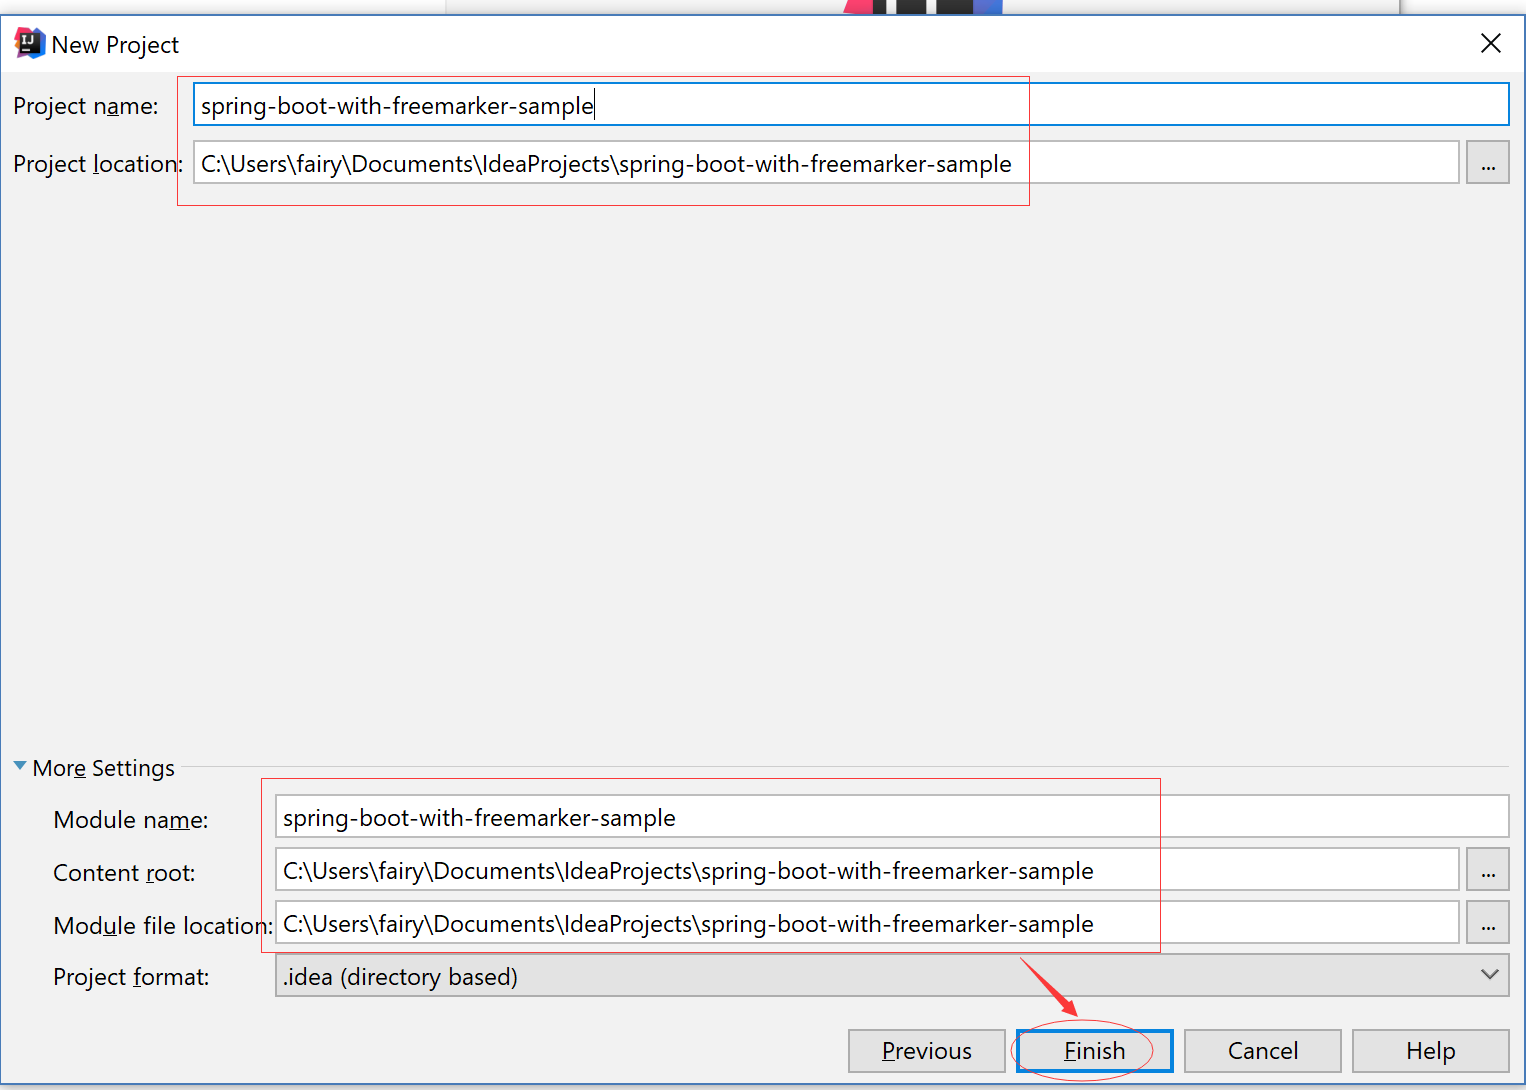
5.填写项目名称和项目保存路径
6. 修改POM文件,添加Freemarker 项目依赖
<?xml version="1.0" encoding="UTF-8"?>
<project xmlns="http://maven.apache.org/POM/4.0.0" xmlns:xsi="http://www.w3.org/2001/XMLSchema-instance"
    xsi:schemaLocation="http://maven.apache.org/POM/4.0.0 http://maven.apache.org/xsd/maven-4.0.0.xsd">
    <modelVersion>4.0.0</modelVersion>

    <groupId>com.xingyun</groupId>
    <artifactId>spring-boot-with-freemarker-sample</artifactId>
    <version>0.0.1-SNAPSHOT</version>
    <packaging>jar</packaging>

    <name>spring-boot-with-freemarker-sample</name>
    <description>Demo project for Spring Boot</description>

    <parent>
        <groupId>org.springframework.boot</groupId>
        <artifactId>spring-boot-starter-parent</artifactId>
        <version>2.0.1.RELEASE</version>
        <relativePath/> <!-- lookup parent from repository -->
    </parent>

    <properties>
        <project.build.sourceEncoding>UTF-8</project.build.sourceEncoding>
        <project.reporting.outputEncoding>UTF-8</project.reporting.outputEncoding>
        <java.version>1.8</java.version>
    </properties>

    <dependencies>
        <dependency>
            <groupId>org.springframework.boot</groupId>
            <artifactId>spring-boot-starter-freemarker</artifactId>
        </dependency>
        <dependency>
            <groupId>org.springframework.boot</groupId>
            <artifactId>spring-boot-starter-web</artifactId>
        </dependency>

        <dependency>
            <groupId>org.springframework.boot</groupId>
            <artifactId>spring-boot-starter-test</artifactId>
            <scope>test</scope>
        </dependency>
    </dependencies>

    <build>
        <plugins>
            <plugin>
                <groupId>org.springframework.boot</groupId>
                <artifactId>spring-boot-maven-plugin</artifactId>
            </plugin>
        </plugins>
    </build>


</project>
7. 配置applicaiton.properties
# 设定ftl文件路径
spring.freemarker.template-loader-path=classpath:/templates
spring.freemarker.cache=false
spring.freemarker.charset=UTF-8
spring.freemarker.check-template-location=true
spring.freemarker.content-type=text/html
spring.freemarker.expose-request-attributes=false
spring.freemarker.expose-session-attributes=false
spring.freemarker.request-context-attribute=request
spring.freemarker.suffix=.ftl
Tips: 其实我试了下,把.ftl 换成.jsp ,创建JSP 文件也是可以的。
8. 创建文件夹和ftl格式文件
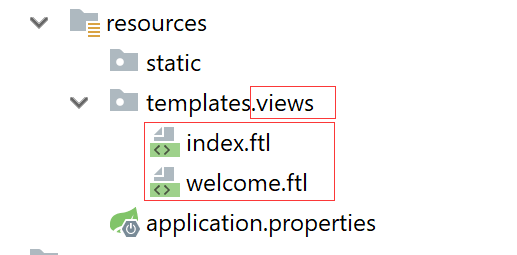
index.ftl
<!DOCTYPE html>
<html lang="en">
<head>
    <meta charset="UTF-8">
    <title>Title</title>
</head>
<body>
this is index page
</body>
</html>
welcome.ftl
<!DOCTYPE html>
<html lang="en">
<head>
    <meta charset="UTF-8">
    <title>Title</title>
</head>
<body>
this is welcome page
</body>
</html>
9. 创建 Controller
package com.xingyun.springbootwithfreemarkersample.controller;

import org.springframework.stereotype.Controller;
import org.springframework.ui.ModelMap;
import org.springframework.web.bind.annotation.GetMapping;
import org.springframework.web.bind.annotation.RequestBody;
import org.springframework.web.bind.annotation.RequestMapping;
import org.springframework.web.bind.annotation.RestController;

@Controller
public class HomeController {

    @RequestMapping(value = "/")
    public String index(){
        return "views/index";
    }

    @RequestMapping(value = "/welcome")

    public String home(){
        return "views/welcome";
    }
}
Tips: 由于要返回模板页面文件,所以我们只能使用@Controller 而不可以使用@RestController
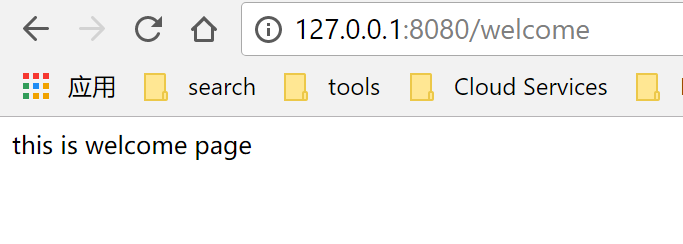
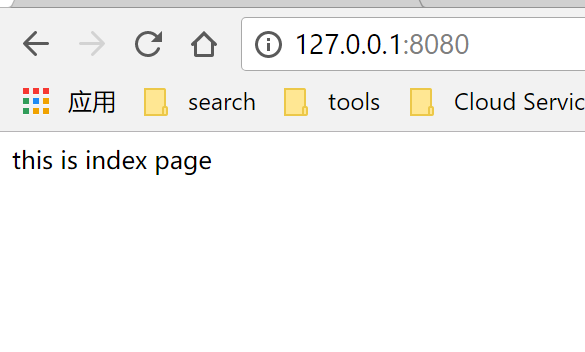
10. 访问 http://127.0.0.1:8080
11. 访问 http://127.0.0.1:8080/welcome