1、mysql 5.7 下载链接
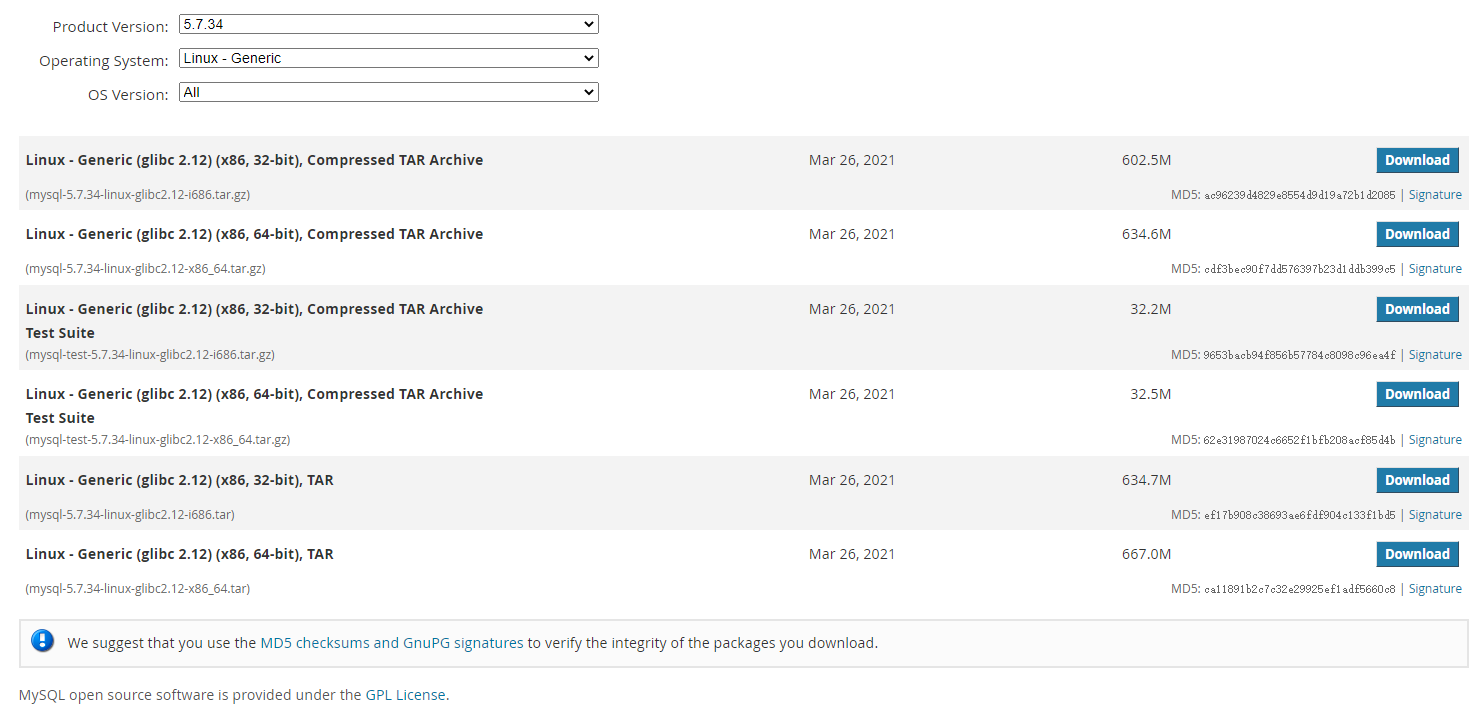
2、上传到服务器并解压
[root@xiaobing software]# ls
jdk1.8  mysql-5.7.34-linux-glibc2.12-x86_64.tar.gz
//解压
[root@xiaobing software]# tar -zxvf mysql-5.7.34-linux-glibc2.12-x86_64.tar.gz
//重命名
[root@xiaobing software]# mv mysql-5.7.34-linux-glibc2.12-x86_64 mysql
3、创建mysql用户组和用户并修改权限
[root@xiaobing mysql]# groupadd mysql
[root@xiaobing mysql]# useradd -r -g mysql mysql
4、创建数据目录并赋予权限
[root@xiaobing software]# mkdir -p  /data/mysql
[root@xiaobing software]# chown mysql:mysql -R /data/mysql
[root@xiaobing data]# ll
total 0
drwxr-xr-x 2 mysql mysql 6 Jan 6 20:28 mysql
5、配置my.cnf
vim /etc/my.cnf  //内容如下:
[root@xiaobing etc]# ls | find 'my.cnf'
my.cnf
[root@xiaobing etc]# cat my.cnf
[mysqld]
bind-address=0.0.0.0
port=3306
user=mysql
basedir=/usr/local/software/mysql   //敲黑板
datadir=/data/mysql   //敲黑板
socket=/tmp/mysql.sock
log-error=/data/mysql/mysql.err
pid-file=/data/mysql/mysql.pid
#character config
character_set_server=utf8mb4
symbolic-links=0
explicit_defaults_for_timestamp=true
[root@xiaobing etc]#
6、初始化数据库
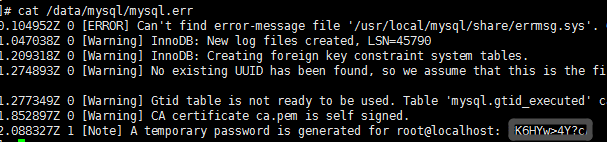
//进入mysql的bin目录
cd /usr/local/software/mysql/bin
//初始化
./mysqld --defaults-file=/etc/my.cnf --basedir=/usr/local/mysql/ --datadir=/data/mysql/ --user=mysql --initialize
//查看密码
[root@xiaobing bin]# cat /data/mysql/mysql.err
7、启动mysql,并更改root 密码,先将mysql.server放置到/etc/init.d/mysql中
[root@xiaobing support-files]# cp /usr/local/software/mysql/support-files/mysql.server /etc/init.d/mysql
8.报错:

修改下指定路径:
[root@xiaobing init.d]# vim mysql
basedir=/usr/local/software/mysql
datadir=/data/mysql
9、启动mysql
[root@xiaobing init.d]# service mysql start
Starting MySQL.                                            [  OK  ]
//到这里说明mysql已经安装成功了!!
10、修改mysql 登录密码
 //bin目录下执行
[root@xiaobing bin]# ./mysql -u root -p
Enter password:
Welcome to the MySQL monitor.  Commands end with ; or \g.
Your MySQL connection id is 4
Server version: 5.7.34

Copyright (c) 2000, 2021, Oracle and/or its affiliates.

Oracle is a registered trademark of Oracle Corporation and/or its
affiliates. Other names may be trademarks of their respective
owners.

Type 'help;' or '\h' for help. Type '\c' to clear the current input statement.

mysql> SET PASSWORD = PASSWORD('123456');
Query OK, 0 rows affected, 1 warning (0.00 sec)

mysql> ALTER USER 'root'@'localhost' PASSWORD EXPIRE NEVER;
Query OK, 0 rows affected (0.00 sec)

mysql> FLUSH PRIVILEGES;
Query OK, 0 rows affected (0.00 sec)

mysql>
11、使用新密码,重新登录
[root@xiaobing bin]# ./mysql -u root -p
Enter password:
Welcome to the MySQL monitor.  Commands end with ; or \g.
Your MySQL connection id is 5
Server version: 5.7.34 MySQL Community Server (GPL)

Copyright (c) 2000, 2021, Oracle and/or its affiliates.

Oracle is a registered trademark of Oracle Corporation and/or its
affiliates. Other names may be trademarks of their respective
owners.

Type 'help;' or '\h' for help. Type '\c' to clear the current input statement.

mysql>
mysql>
mysql>
mysql>
mysql> show databases;
+--------------------+
| Database           |
+--------------------+
| information_schema |
| mysql              |
| performance_schema |
| sys                |
+--------------------+
4 rows in set (0.00 sec)

mysql>
12、但是现在远程链接还是不支持
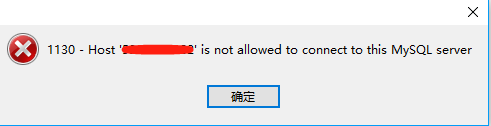
//这里主要执行下面三个命令(先登录数据库)
use mysql                                            #访问mysql库
update user set host = '%' where user = 'root';      #使root能再任何host访问
FLUSH PRIVILEGES;                                    #刷新
13.到此 MySQL5.7就装好了,亲测总结,以备后续参考!