TableauServer 安装指南
一,说明
本次安装环境为Aliyun服务器,系统为Centos7.8 x64,服务器配置如下:
| cpu | memory | disk |
|---|---|---|
| 16core | 32GB | 40G (OS) + 100G(Data) |
通过shell工具登录后,先执行 yum update 更新系统软件及内核.
二,配置系统环境
1:配置 Centos7 防火墙
-
查看当前防火墙状态
systemctl status firewalld

出现以上情况为未开启
-
开启防火墙
systemctl start firewalld
-
加入开启启动
systemctl enable firewalld
-
查看已开放端口
firewall-cmd --list-all
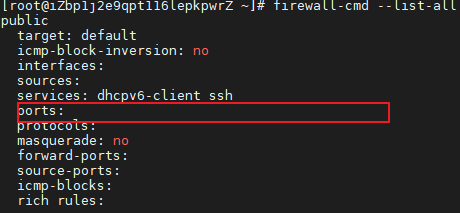
此时说明并没有端口开放
-
开放端口(TableauServer需开放80,8850)
–zone=public(作用域) --add-port=80/tcp(端口及访问类型) --permanent(永久生效)
firewall-cmd --zone=public --add-port=80/tcp --add-port=8850/tcp --permanent
-
重载规则
firewall-cmd --reload
-
查看所有打开的端口
firewall-cmd --zone=public --list-ports
2:创建用户组
-
说明
TableauServer不能以root安装,会报错,必须创建相关用户。
-
添加用户组
groupadd tableau
-
添加安装用户到tableau用户组
useradd admin -g tableau
-
设置用户密码并激活
passwd admin
输入两次密码即可 本次密码为:admin

-
添加普通用户具有sudo权限
-
修改 /etc/sudoers 获得写权限
chmod 755 /etc/sudoers
-
修改sudoers文件
vim /etc/sudoers
-
添加内容
admin ALL=(ALL) ALL

-
取消 /etc/sudoers 权限
chmod 440 /etc/sudoers
-
-
切换到创建用户
su admin
cd /home/admin
三,下载安装
1:下载TableauServer及安装
官网下载链接:https://downloads.tableau.com/esdalt/2020.4.2/tableau-server-2020-4-2.x86_64.rpm
-
下载安装包
wget https://downloads.tableau.com/esdalt/2020.4.2/tableau-server-2020-4-2.x86_64.rpm
注:当系统提示没有wget命令可以使用sudo yum -y install wget下载安装,也可以本地下载好通过FTP工具上传到服务器。
-
安装TableauServer
sudo yum -y install tableau-server-2020-4-2.x86_64.rpm
-
切换到Tsm目录启动Tsm
cd /opt/tableau/tableau_server/packages/scripts.20204.21.0217.1203/
sudo ./initialize-tsm --accepteula
-
执行刷新环境变量
source /etc/profile.d/tableau_server.sh
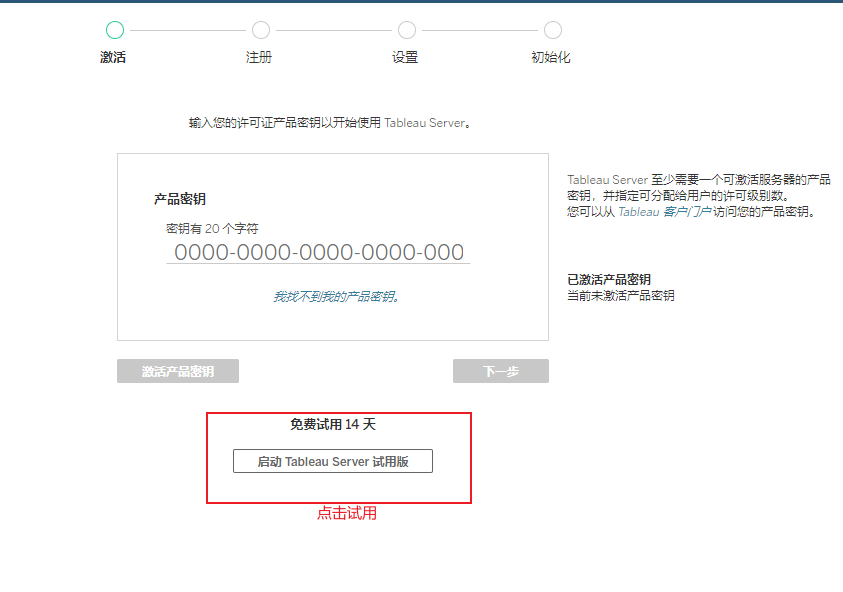
2:通过 WEB UI完成安装
-
浏览器访问https://服务器ip:8850
用户名密码为刚刚创建的admin
-
选择启动TableServer试用版
-
填写信息(可随意)
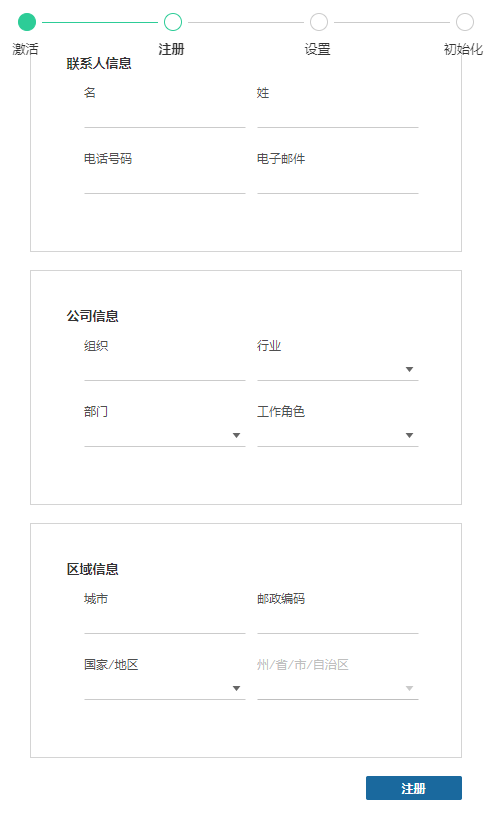
-
设置初始化
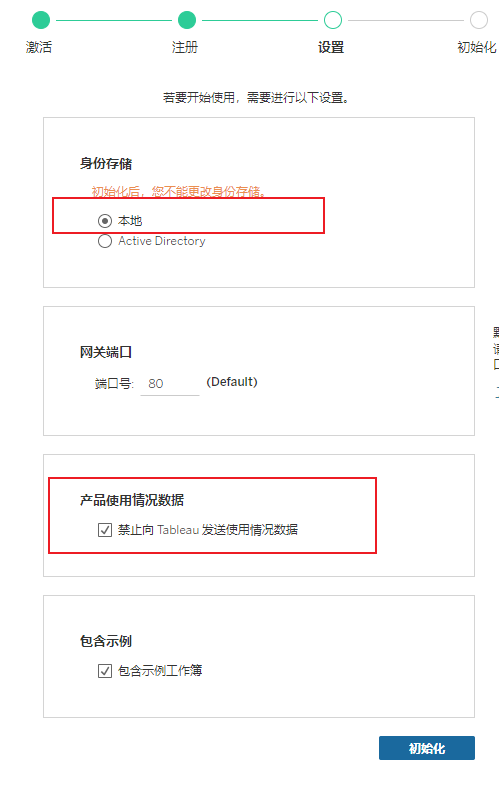
-
等待初始化完成
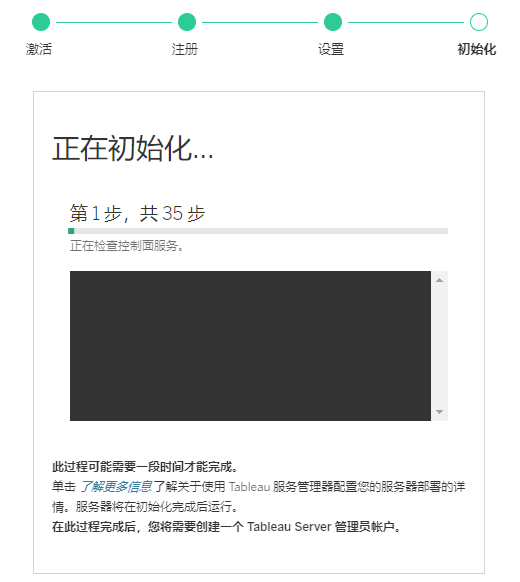
-
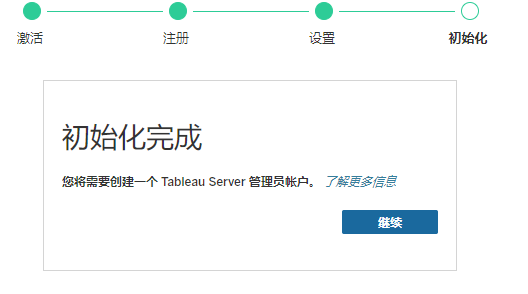
登录Tsm服务器创建管理员
-
登录
tsm login -u admin
-
创建
tabcmd initialuser --server “localhost:80” --username “admin” --password “admin”

-
-
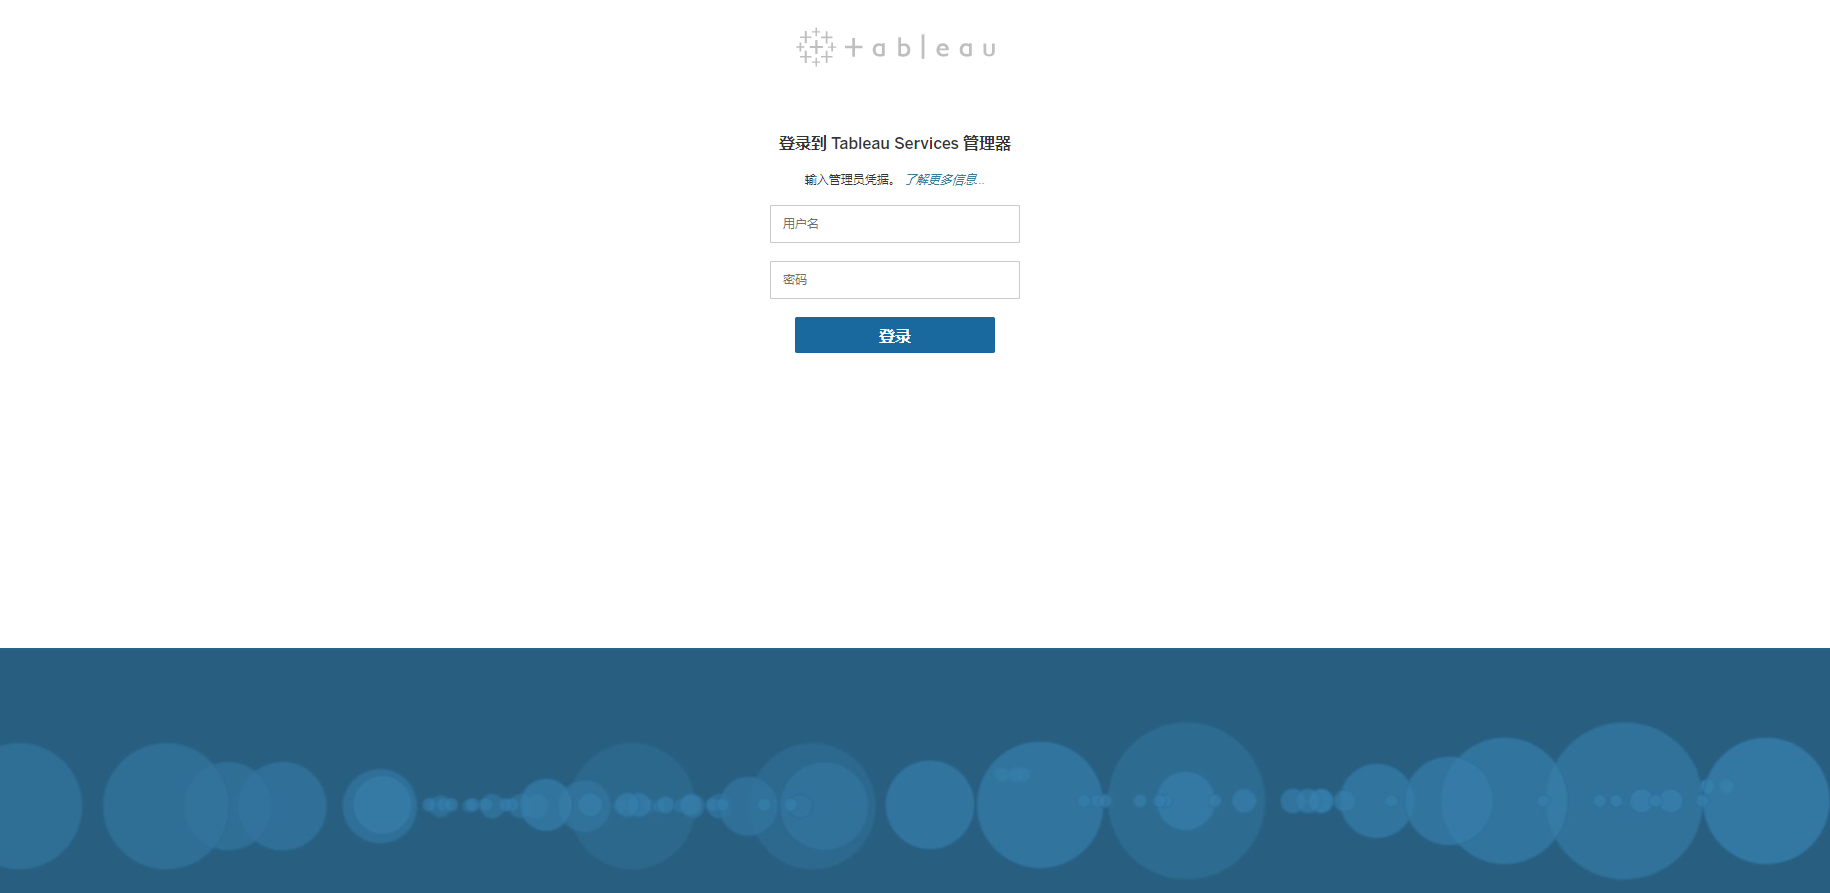
登录Tableau Server
地址:https://服务器ip
- 配置了域名的话可以直接访问域名即可

以上页面为登录成功,到此TableauServer安装结束,接下来需要安装常用连接驱动。
四,安装其他驱动
tableau官方地址:https://www.tableau.com/support/drivers
cloudera hive官方地址:https://www.cloudera.com/downloads/connectors/hive/odbc.html
cloudera impala官方地址:http://www.cloudera.com/downloads/connectors/impala/odbc.html
hive impala mysql 下载本地上传至服务器。
1:登录admin
su admin
2:安装postgreSQL驱动(Linux版本必装)
-
下载
wget https://downloads.tableau.com/drivers/linux/yum/tableau-driver/tableau-postgresql-odbc-9.5.3-1.x86_64.rpm
-
安装
sudo yum install tableau-postgresql-odbc-9.5.3-1.x86_64.rpm
3:安装Hive驱动
-
安装
sudo yum -y install ClouderaHiveODBC-2.6.9.1009-1.x86_64.rpm
4:安装Impala驱动
-
安装
sudo yum -y install ClouderaImpalaODBC-2.6.0.1000-1.x86_64.rpm
5:安装MySQL驱动
-
安装
sudo yum -y install mysql-connector-odbc-8.0.23-1.el7.x86_64.rpm
6:配置驱动
-
打开文件
sudo vim /etc/odbcinst.ini
-
添加驱动
[ODBC Drivers]
PostgreSQL Unicode=Installed[PostgreSQL Unicode]
Description=ODBC for PostgreSQL
Driver=/opt/tableau/tableau_driver/postgresql-odbc/psqlodbcw.so
FileUsage=1[MySQL ODBC 8.0 Unicode Driver]
Driver=/usr/lib64/libmyodbc8w.so
UsageCount=1[MySQL ODBC 8.0 ANSI Driver]
Driver=/usr/lib64/libmyodbc8a.so
UsageCount=1[Cloudera ODBC Driver for Apache Hive 64-bit]
Description=Cloudera ODBC Driver for Apache Hive (64-bit)
Driver=/opt/cloudera/hiveodbc/lib/64/libclouderahiveodbc64.so[Cloudera ODBC Driver for Impala 64-bit]
Description=Cloudera ODBC Driver for Impala (64-bit)
Driver=/opt/cloudera/impalaodbc/lib/64/libclouderaimpalaodbc64.so
FileUsage = 1 -
wq! 保存退出
6:重启TableauServer
tsm restart
五,卸载及清除
1:卸载保留配置
https://onlinehelp.tableau.com/current/server-linux/zh-cn/uninstall_server.htm
2:完全清除
https://onlinehelp.tableau.com/current/server-linux/zh-cn/remove_tableau.htm
3:停用key后执行以下脚本
sudo /opt/tableau/tableau_server/packages/scripts.<version>/tableau-server-obliterate -y -y -y -l
https://onlinehelp.tableau.com/current/server-linux/zh-cn/uninstall_server.htm
2:完全清除
https://onlinehelp.tableau.com/current/server-linux/zh-cn/remove_tableau.htm
3:停用key后执行以下脚本
sudo /opt/tableau/tableau_server/packages/scripts.<version>/tableau-server-obliterate -y -y -y -l