好久没有写技术博客,工作太忙当然不能作为理由,可能自己变得懒惰啦。
我的个人博客,现在是暂时使用wordpress部署的,但是最终还是要自己动手开发,当然最好是不占用工作时间完成,语言当然是使用PHP,这个毋庸置疑,因为工作中大部分时间是在写.NET代码,担心哪天真的就远离了PHP啦,这可不是我个性格,怎么说,我也花过那么多Time和¥在PHP身上,当然这是玩笑,我还是深爱着它的。
闲话少说,书归正传;
1.准备
首先到http://ckeditor.com/ 下载ckeditor;
然后到http://ckfinder.com/ 下载ckfinder;
最后到http://www.yiiframework.com/extension/ckeditor-integration 下载ckeditor widget
2.安装
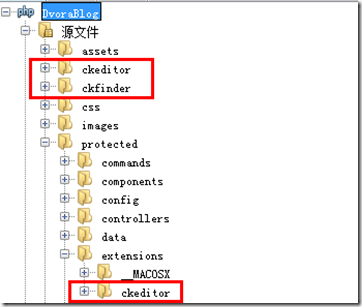
将下载到的ckeditor和ckfinder的zip包,解压到yii项目的根目录,并将ckeditor widget解压到yii项目的extension,形成的目录结果如下图所示:
3.配置
1.首先打开 项目/protected/extensions/ckeditor/CKEditorWidget.php
2.在类CKEditorWidget中添加 $ckFinde r成员变量
3.在类CKeditorWidget中的run方法开始添加
if(!isset($this->ckFinder)){
$this->ckFinder = Yii::app()->basePath."/../ckfinder/ckfinder.php";
}
4.最后修改run方法中调用的render方法的第二个数组参数,添加 "ckFinder"=>$this->ckFinder 键值对,最终的CKEditorWidget类的代码应该为类似如下内容:
class CKEditorWidget extends CInputWidget
{
public $ckEditor;
public $ckBasePath;
public $ckFinder;
public $defaultValue;
public $config;
public function run()
{
if(!isset($this->model)){
throw new CHttpException(500,'"model" have to be set!');
}
if(!isset($this->attribute)){
throw new CHttpException(500,'"attribute" have to be set!');
}
if(!isset($this->ckEditor)){
$this->ckEditor = Yii::app()->basePath."/../ckeditor/ckeditor.php";
}
if(!isset($this->ckFinder)){
$this->ckFinder = Yii::app()->basePath."/../ckfinder/ckfinder.php";
}
if(!isset($this->ckBasePath)){
$this->ckBasePath = Yii::app()->baseUrl."/ckeditor/";
}
if(!isset($this->defaultValue)){
$this->defaultValue = "";
}
$controller=$this->controller;
$action=$controller->action;
$this->render('CKEditorView',array(
"ckFinder"=>$this->ckFinder,
"ckBasePath"=>$this->ckBasePath,
"ckEditor"=>$this->ckEditor,
"model"=>$this->model,
"attribute"=>$this->attribute,
"defaultValue"=>$this->defaultValue,
"config"=>$this->config,
));
}
}
5.打开 项目/ckfinder/config.php,配置以下内容
$baseUrl = 'upload/';
$baseDir='F:/php_dev/apache/htdocs/DvoraBlog/upload/';
这样的配置,使上传目录设置为项目根目录的upload文件夹,baseDir不可以使用它原始的方法得到绝对路径,这个我还没有发现这是一个BUG还是怎么回事,反正目前我配置为绝对路径是可行的,这里DvoraBlog是我的项目主目录。
4.使用
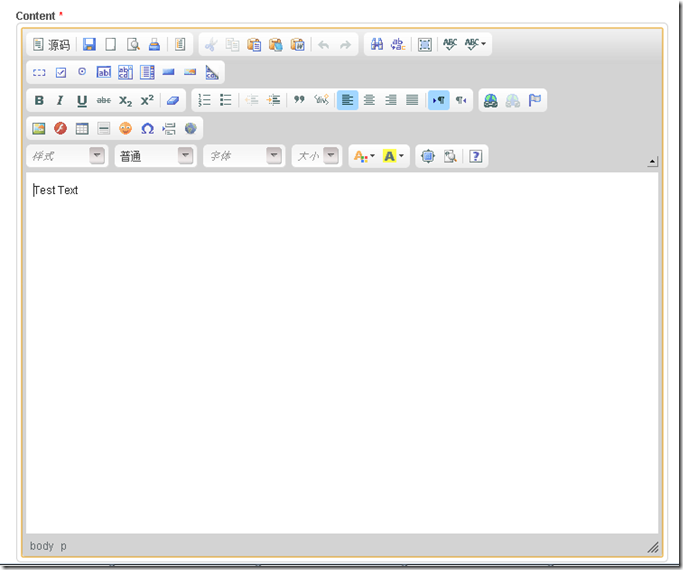
在需要使用文本编辑器的时候,使用widget方式加入到页面中
<?php $this->widget('ext.ckeditor.CKEditorWidget',array(
"model"=>$model, # 数据模型
"attribute"=>'content', # 数据模型中的字段
"defaultValue"=>"Test Text", # 默认值 "config" => array(
"height"=>"400px",
"width"=>"100%",
"toolbar"=>"Full",#工具条全部显示,
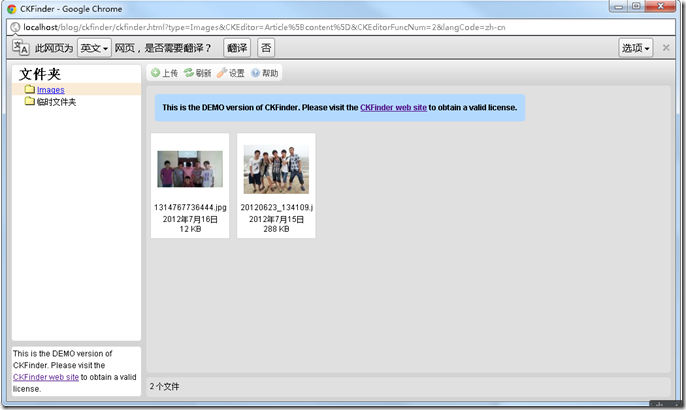
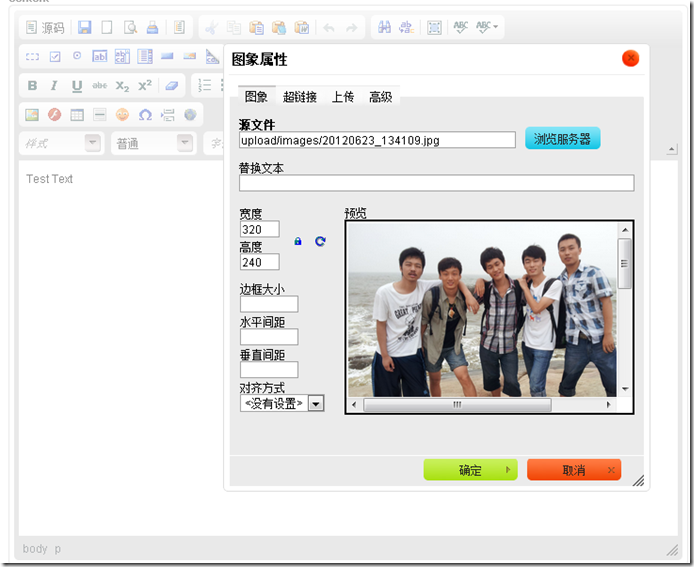
"filebrowserBrowseUrl"=>'/ckfinder/ckfinder.php' #这里很关键,设置这个后,打开上传功能和浏览服务器功能
),
#Optional address settings if you did not copy ckeditor on application root
#"ckEditor"=>Yii::app()->basePath."/ckeditor/ckeditor.php",
# Path to ckeditor.php
#"ckBasePath"=>Yii::app()->baseUrl."/ckeditor/",
# Realtive Path to the Editor (from Web-Root)
) );
?>


