一、单机模式安装
1、安装JDK
3、解压
4、将zoo_sample.cfg其名称修改为zoo.cfg
tickTime :时长单位为毫秒,为zk使用的基本时间度量单位。例如,1 tickTime是客户端与zk服务端的心跳时间,2 tickTime是客户端会话的超时时间。 tickTime的默认值为2000毫秒,更低的tickTime值可以更快地发现超时问题,但也会导致更高的网络流量(心跳消息)和更高的CPU使用率(会话的跟踪处理)。
clientPort :zk服务进程监听的TCP端口,默认情况下,服务端会监听2181端口。 dataDir :无默认配置,必须配置,用于配置存储快照文件的目录。如果没有配置dataLogDir,那么事务日志也会存储在此目录。
5、启动

6、查看启动状态

二、集群模式安装
如:192.168.100.1
192.168.100.2
192.168.100.3
1、将zoo_sample.cfg其名称修改为zoo.cfg
2、修改zoo.cfg文件(3台机器配置文件同步)
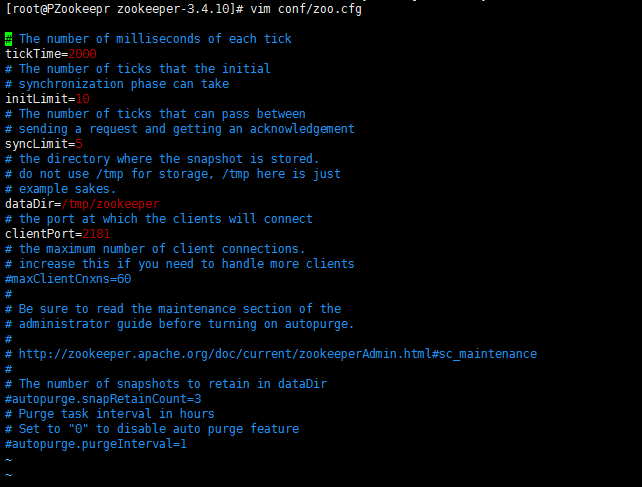
# The number of milliseconds of each tick
tickTime=2000
# The number of ticks that the initial
# synchronization phase can take
initLimit=10
# The number of ticks that can pass between
# sending a request and getting an acknowledgement
syncLimit=5
# the directory where the snapshot is stored.
# do not use /tmp for storage, /tmp here is just
# example sakes.
dataDir=/tmp/zookeeper
# the port at which the clients will connect
clientPort=2181
server.1=zoo1:2888:3888
server.2=zoo2:2888:3888
server.3=zoo3:2888:3888
# the maximum number of client connections.
# increase this if you need to handle more clients
#maxClientCnxns=60
#
# Be sure to read the maintenance section of the
# administrator guide before turning on autopurge.
#
# http://zookeeper.apache.org/doc/current/zookeeperAdmin.html#sc_maintenance
#
# The number of snapshots to retain in dataDir
#autopurge.snapRetainCount=3
# Purge task interval in hours
# Set to "0" to disable auto purge feature
#autopurge.purgeInterval=1
3、vim /etc/hosts文件添加3台IP映射(3台机器都要添加)
192.168.100.1 zoo1
192.168.100.2 zoo2
192.168.100.3 zoo3
4、3台机器分别新建myid文件,dataDir目录指向哪里就在哪里新建
vim /tmp/zookeeper/myid
zoo1机器新建myid文件输入内容1
zoo2机器新建myid文件输入内容2
zoo3机器新建myid文件输入内容3
5、3台机器分别启动

6、查看启动状态


三、监控配置
1、下载dubbo-admin
2、放到tomcat里面并修改配置文件
vim tomcat-dubbo-8080/webapps/dubbo-admin/WEB-INF/dubbo.properties
改为zookeeper地址
root和guest为用户名,密码和用户名相同

3、启动tomcat
3、访问tomcat IP:端口+项目名
如:http://192.168.100.1:8080/dubbo-admin/
