Swagger
1、Springboot集成Swagger
1、先创建一个springboot项目
2、先导入swagger依赖
  <!-- https://mvnrepository.com/artifact/io.springfox/springfox-swagger2 -->
        <dependency>
            <groupId>io.springfox</groupId>
            <artifactId>springfox-swagger2</artifactId>
            <version>2.9.2</version>
        </dependency>
        <!-- https://mvnrepository.com/artifact/io.springfox/springfox-swagger-ui -->
        <dependency>
            <groupId>io.springfox</groupId>
            <artifactId>springfox-swagger-ui</artifactId>
            <version>2.9.2</version>
        </dependency>
3、编写swaggerconfig配置
@Configuration
@EnableSwagger2
public class SwaggerConfig {
}
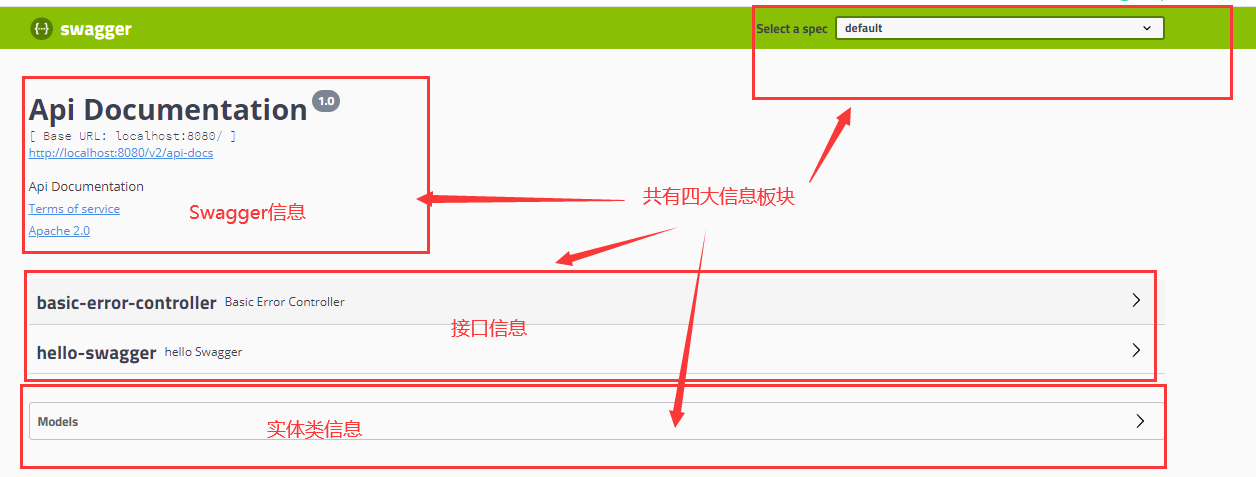
4、这样就可以在localhost:8080/swagger-ui.html页面看到相应的api接口
2、配置Swagger信息
配置swagger信息,需要配置Docker的bean信息。
@Configuration
@EnableSwagger2
public class SwaggerConfig {
@Bean
public Docket docket(){
return new Docket(DocumentationType.SWAGGER_2).apiInfo(apiInfo());
}
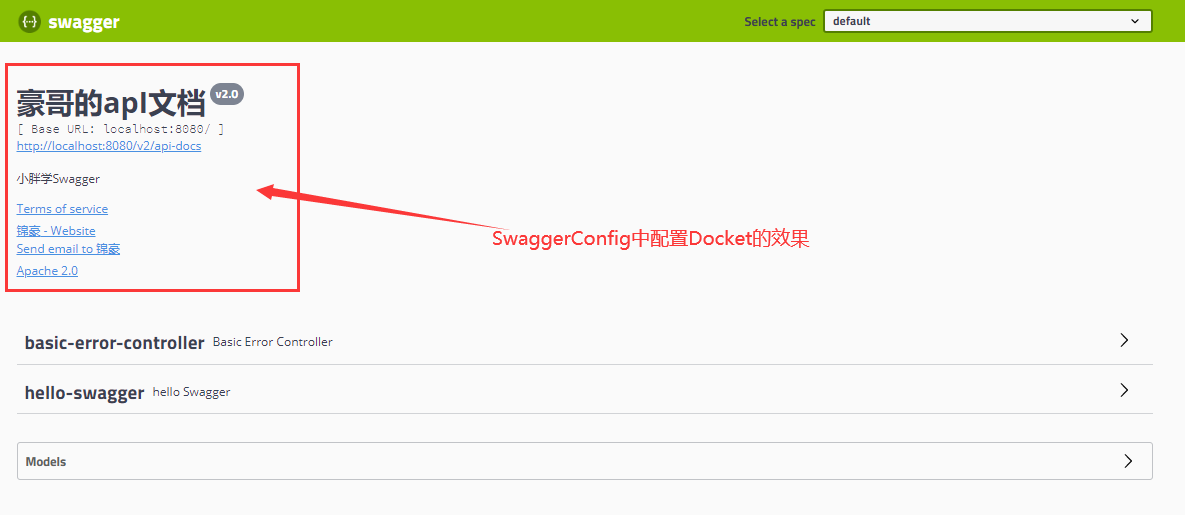
private ApiInfo apiInfo(){
Contact contact = new Contact("锦豪", "https://www.cnblogs.com/xiaopanjava/", "172797637@qq.com");
return new ApiInfo(
"豪哥的apI文档",
"小胖学Swagger",
"v2.0",
"https://www.cnblogs.com/xiaopanjava/",
contact,
"Apache 2.0",
"http://www.apache.org/licenses/LICENSE-2.0",
new ArrayList<VendorExtension>());
}
}
效果如下:
3、配置Swagger接口信息
  @Bean
    public Docket docket(){
        return new Docket(DocumentationType.SWAGGER_2)
                .apiInfo(apiInfo())
                .select()
                //RequestHandlerSelectors 配置要扫描接口的方式
                //basePackage 指定要扫描的包
                //any :扫描全部
                //none :不扫描
                //withClassAnnotation 扫描类上的注解,参数是一个注解反射对象
                //withMethodAnnotation  扫描方法上的注解
                .apis(RequestHandlerSelectors.basePackage("com.example.gitdemo.controller"))
                //过滤需要扫描的路劲
                .paths(PathSelectors.ant("/controller/*"))
                .build();
    }
根据这些可以配置扫描接口的信息
4、配置Swagger分组信息
.groupName("小胖")

同样的可以设置多个分组。只需要编写多个docket实例了
 @Bean
    public Docket docket1(){
        return new Docket(DocumentationType.SWAGGER_2).groupName("锦豪");
    }
    @Bean
    public Docket docket2(){
        return new Docket(DocumentationType.SWAGGER_2).groupName("豪哥");
    }

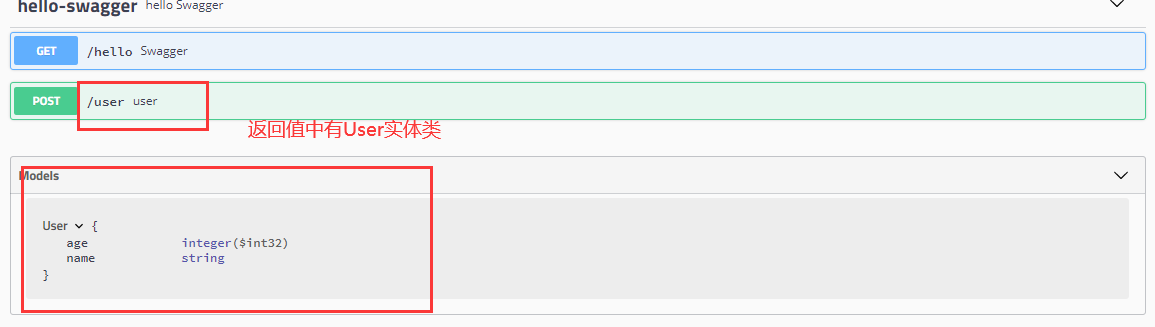
5、配置实体类
 //只要我们的接口中,返回值存在实体类,它就会被扫描到Swagger中
 @PostMapping("/user")
public User user(){
     return new User();
 }
其中,还可以使用注解来解释实体类中的信息
package com.example.gitdemo.pojo;

import io.swagger.annotations.ApiModel;
import io.swagger.annotations.ApiModelProperty;

@ApiModel("用户实体类") //解释实体类的信息
public class User {
    @ApiModelProperty("用户名")  //解释实体类属性信息
    public String name;
    @ApiModelProperty("年龄")
    public int age;
}