1. 图像读取:imread()
Mat imread(const string& filename, int flags=1 )
参数介绍:
filename: 待加载的文件名称。
flags: 此标志用来指定被加载图像的颜色类型(color type)。这个标志的取值可以有:
-- CV_LOAD_IMAGE_ANYDEPTH : 如果设置这个标志的话,如果图像为16位或32位深度的图像,则返回对应深度的图像;否则,将图像转换为8位深度图像再返回。
-- CV_LOAD_IMAGE_COLOR : 如果设置此标志,则总是将图像转换为彩色图像。
-- CV_LOAD_IMAGE_GRAYSCALE : 如果设置此标志,总是将图像转换为灰度图像。
当然,我们也可以不使用这三个标志,只要是整型变量都可以,但是,其取值需要遵从下面的规律:
flags > 0 : 返回一幅3通道的彩色图像。注意:在此实现中输出的图像是不载入alpha通道的,如果你需要使用alpha通道,请使用负值。
flags = 0 : 返回一幅灰度图像。
flags < 0 : 返回一幅反映图像本身形式的图像(带有alpha通道)。
2. 图像显示:imshow()
void imshow(const string& winname, InputArray mat)
参数介绍:
winname: 显示图像的窗口名称。
mat: 待显示的图像。
3. 程序示例
下面的代码实现以三种不同的形式读取图像,并且显示它们。


 1 #include "stdafx.h"
 2 #include <opencv2highguihighgui.hpp>
 3 #include <opencv2corecore.hpp>
 4
 5 using namespace cv;
 6
 7
 8 int _tmain(int argc, _TCHAR* argv[])
 9 {
10     Mat img1 = imread("D:/Media/Image/girl03.jpg", -1);
11     if (!img1.empty()) imshow("Alpha Image", img1);
12
13     Mat img2 = imread("D:/Media/Image/girl03.jpg", 0);
14     if (!img2.empty()) imshow("Gray Image", img2);
15
16     Mat img3 = imread("D:/Media/Image/girl03.jpg", 1);
17     if (!img3.empty()) imshow("Color Image", img3);
18
19     waitKey();
20
21     return 0;
22 }
运行结果如下:

flags < 0 时的效果图
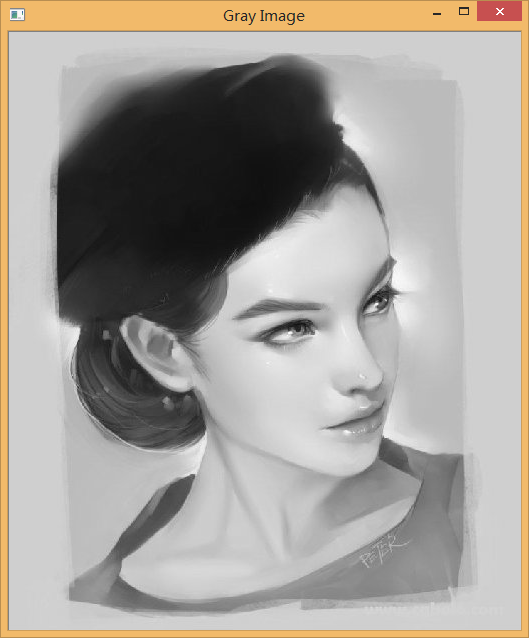
flags = 0 时的效果图

flags > 0 时的效果图