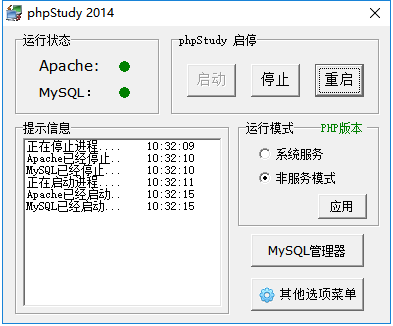
1,首先打开PHPStudy服务器窗口 显示启动成功即可
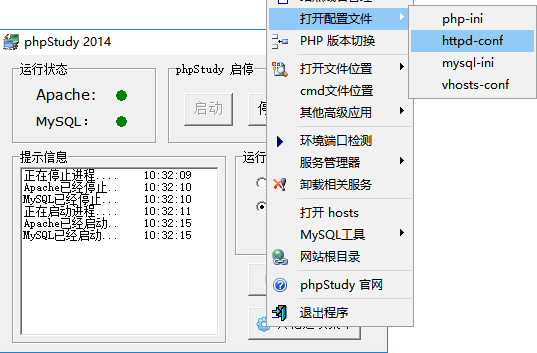
2,点击 “其他选项菜单” --------》打开配置文件------》vhosts-conf 点开

3,然后添加你的域名信息 填完保存关闭
<VirtualHost *:80>
DocumentRoot "D:study est" //目标文件夹
ServerName www.study.cn //你的域名
ServerAlias www.study.cn //你的域名
<Directory "D:PHPlhj est">//目标文件夹
Options FollowSymLinks ExecCGI
AllowOverride All
Order allow,deny
Allow from all
Require all granted
</Directory>
</VirtualHost>上边的比较简单也可尝试操作下面这个
NameVirtualHost *:80
<VirtualHost *:80>
ServerName www.study.com //你的域名
DocumentRoot "d:/PHPStudy/http/" //目标文件夹
<Directory "d:/phplhj/http/"> //目标文件夹
Options FollowSymLinks IncludesNOEXEC Indexes
DirectoryIndex index.html index.htm default.htm index.php default.php index.cgi default.cgi index.pl default.pl index.shtml
AllowOverride Options FileInfo
Order Deny,Allow
Allow from all
</Directory>
</VirtualHost>
4,点击 “其他选项菜单” --------》打开配置文件------》http-conf 点开
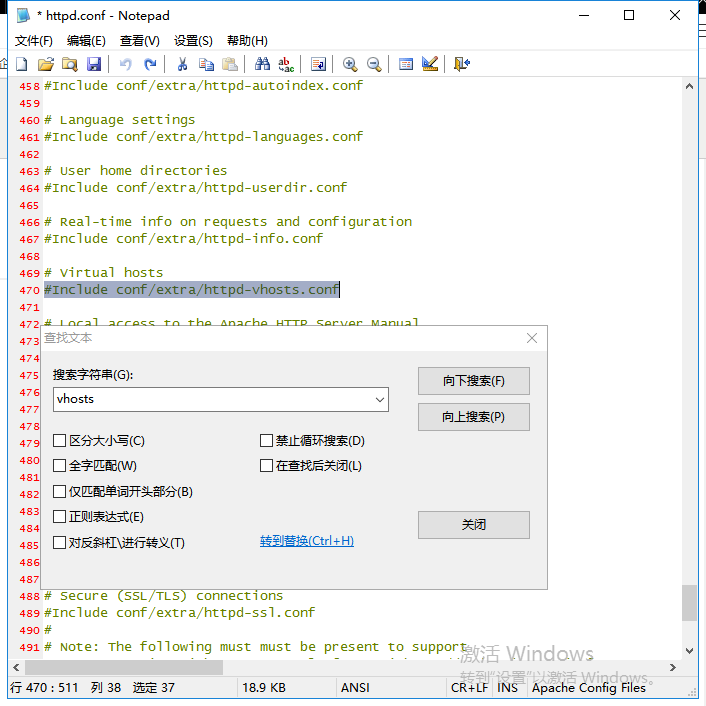
5,之后点击ctar+F搜索一下 vhosts 删除前面的#
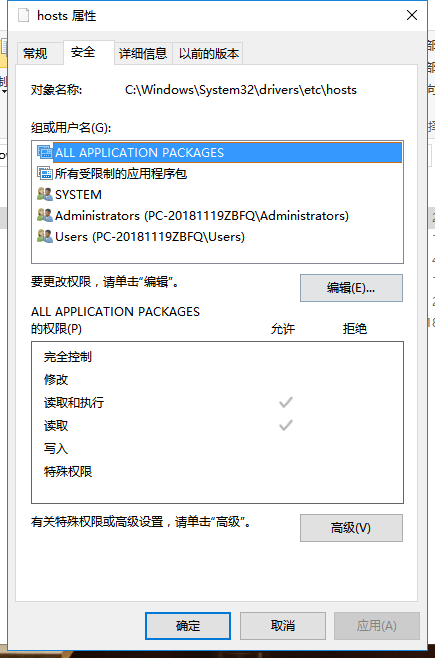
6,然后按照路径在电脑找到hosus文件 然后打开

7,把你的域名写上去即可、
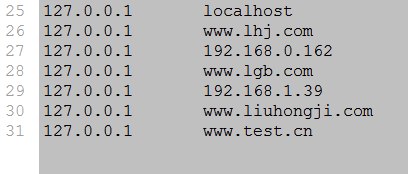
域名按照格式写入然后保存关闭
重启PHPStudy即可
注意:若无法对hosts文件进行修改,请右击hosts,选择属性,安全,把所有用户的权限都勾选即可修改。