1:下载Atlas
https://github.com/Qihoo360/Atlas/releases/download/2.2.1/Atlas-2.2.1.el6.x86_64.rpm
2:安装Atlas
[root@localhost software]# rpm -ivh Atlas-2.2.1.el6.x86_64.rpm
Preparing...                ########################################### [100%]
   1:Atlas                  ########################################### [100%]
[root@localhost software]# cd /usr/local/mysql-proxy/
[root@localhost mysql-proxy]# ls
bin  conf  lib  log
3:配置Atlas:在配置之前我已经有了主从环境
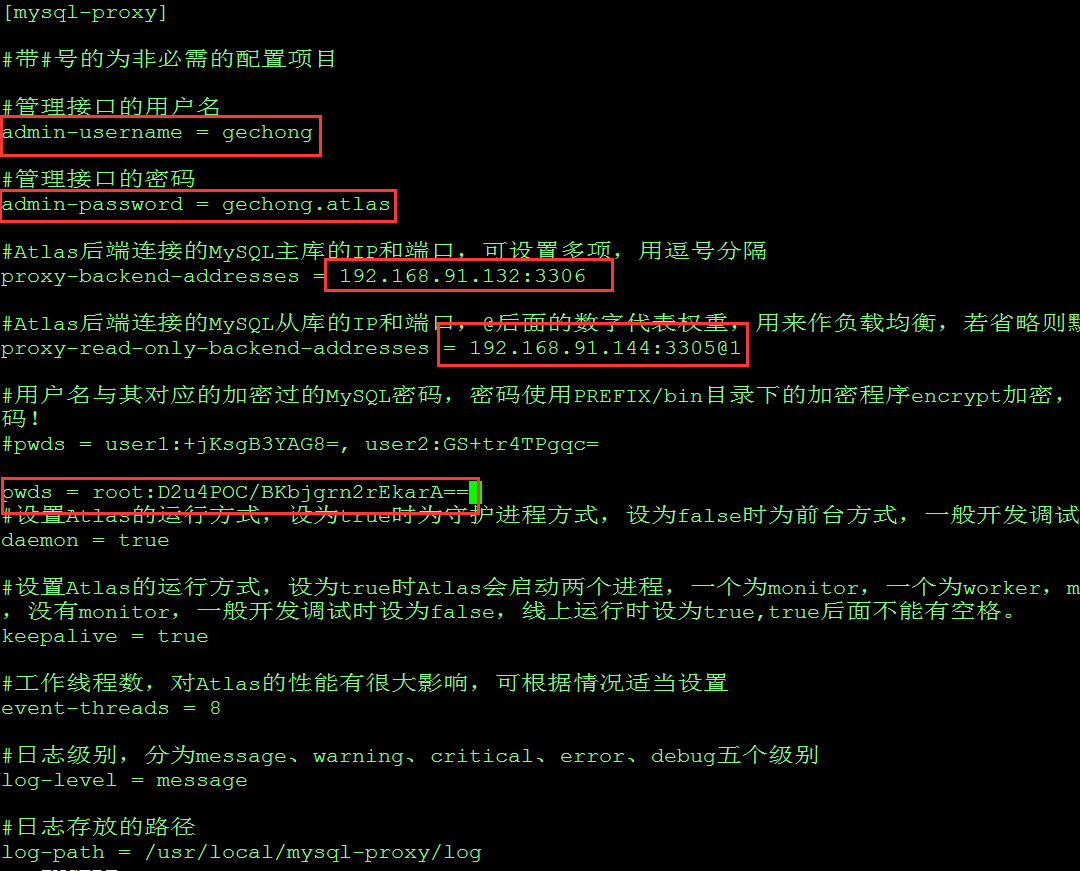
主:192.168.91.132
从:192.168.91.144
[root@localhost mysql-proxy]# cd conf/
[root@localhost conf]# ls
test.cnf
[root@localhost conf]# vi test.cnf
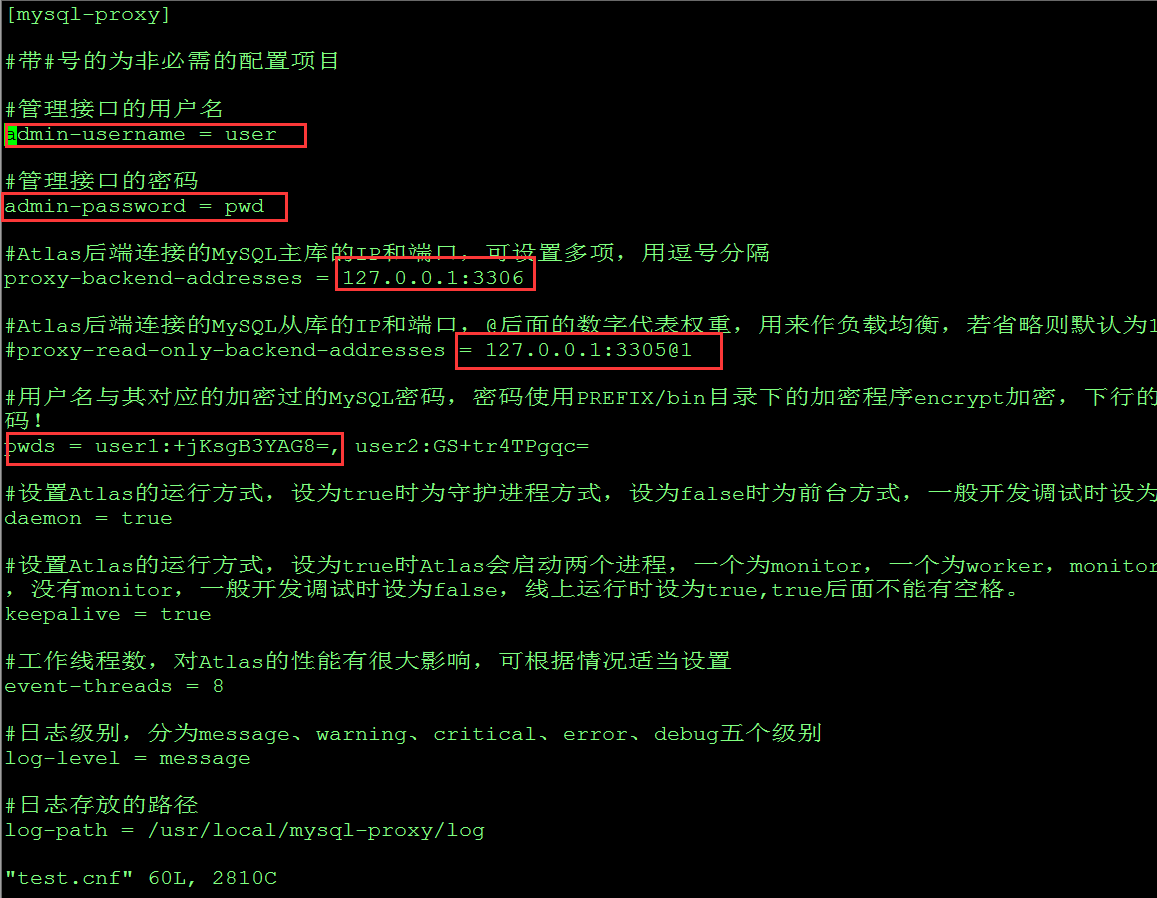
在pwds的地方加密密码:
[root@localhost ~]# cd /usr/local/mysql-proxy/bin/
[root@localhost bin]# ./encrypt yourPassword
D2u4POC/BKbjgrn2rEkarA==
4:启动Atlas:
[root@localhost bin]# pwd
/usr/local/mysql-proxy/bin
[root@localhost bin]# ./mysql-proxyd test start
OK: MySQL-Proxy of test is started
[root@localhost bin]#
5:查看Atlas的状态
[root@localhost bin]# ./mysql-proxyd test status
MySQL-Proxy of test is running (3802)
MySQL-Proxy of test is running (3803)
[root@localhost bin]# ps -ef | grep mysql-proxy
root      3802     1  0 00:35 ?        00:00:00 /usr/local/mysql-proxy/bin/mysql-proxy --defaults-file=/usr/local/mysql-proxy/conf/test.cnf
root      3803  3802  0 00:35 ?        00:00:00 /usr/local/mysql-proxy/bin/mysql-proxy --defaults-file=/usr/local/mysql-proxy/conf/test.cnf
root      3830  3614  0 00:36 pts/0    00:00:00 grep mysql-proxy