终于到了生成自定义证书图片的最后一步,pdf转图片我选择使用pdfbox库,以下是工具类:
package com.x.certificate.pdf;

import java.awt.image.BufferedImage;
import java.io.File;
import java.io.IOException;

import javax.imageio.ImageIO;

import org.apache.pdfbox.pdmodel.PDDocument;
import org.apache.pdfbox.rendering.PDFRenderer;

/**
 * 用于pdf文件的格式转换
 * @author xuhaojin
 * @version [版本号, 2020年3月22日]
 */
public class PdfConverter {

    public static File toImageUsingPdfbox(String pdfPath, String imagePath, String imageExt) {
        File out = null;

        try (PDDocument document = PDDocument.load(new File(pdfPath));) {
            File imagePathFile = new File(getPath(imagePath));
            if (!imagePathFile.exists()) {
                imagePathFile.mkdirs();
            }
            PDFRenderer pdfRender = new PDFRenderer(document);
            BufferedImage image = pdfRender.renderImage(0, 2);
            out = new File(imagePath);
            ImageIO.write(image, imageExt, out);
            document.close();
        } catch (Exception e) {
            e.printStackTrace();
        }

        return out;
    }

    public static String getPath(String pathName) {
        if (pathName.endsWith("\") || pathName.endsWith("/")) {
            return pathName;
        }

        if (pathName.contains("\")) {
            return pathName.substring(0, pathName.lastIndexOf('\') + 1);
        }

        return pathName.substring(0, pathName.lastIndexOf('/') + 1);
    }

    public static void main(String[] args) throws IOException {
        long startTime = System.currentTimeMillis();
        String pdfPath = "C:\Users\a1579\Desktop\custom.pdf";
        String imagePath = "C:\Users\a1579\Desktop\custom.jpg";
        toImageUsingPdfbox(pdfPath, imagePath, "jpg");
        System.out.println("所用时间:" + (System.currentTimeMillis() - startTime) + "ms");
    }

}
其中使用了pdfbox 2.0.15版本,在<code>BufferedImage image = pdfRender.renderImage(0, 2);</code>这句设置了两个关键参数,第一个是要转换pdf的页数,因为我的证书只有一页,所以只设置0就可以了;第二个参数是设置图片的scale(规模,清晰度),单位浮点型float,默认值为1(1=72DPI),值设置的越大越清晰,我们希望生成的图片越清晰越好,但是当我将这个值设置为20时,生成图片用了10秒左右!,jpg图片达到了2点多Mb,比原图还要大,我不得不把清晰度改小一点,即要满足程序速度和文件大小,还要满足清晰度,我最终设置为了2。
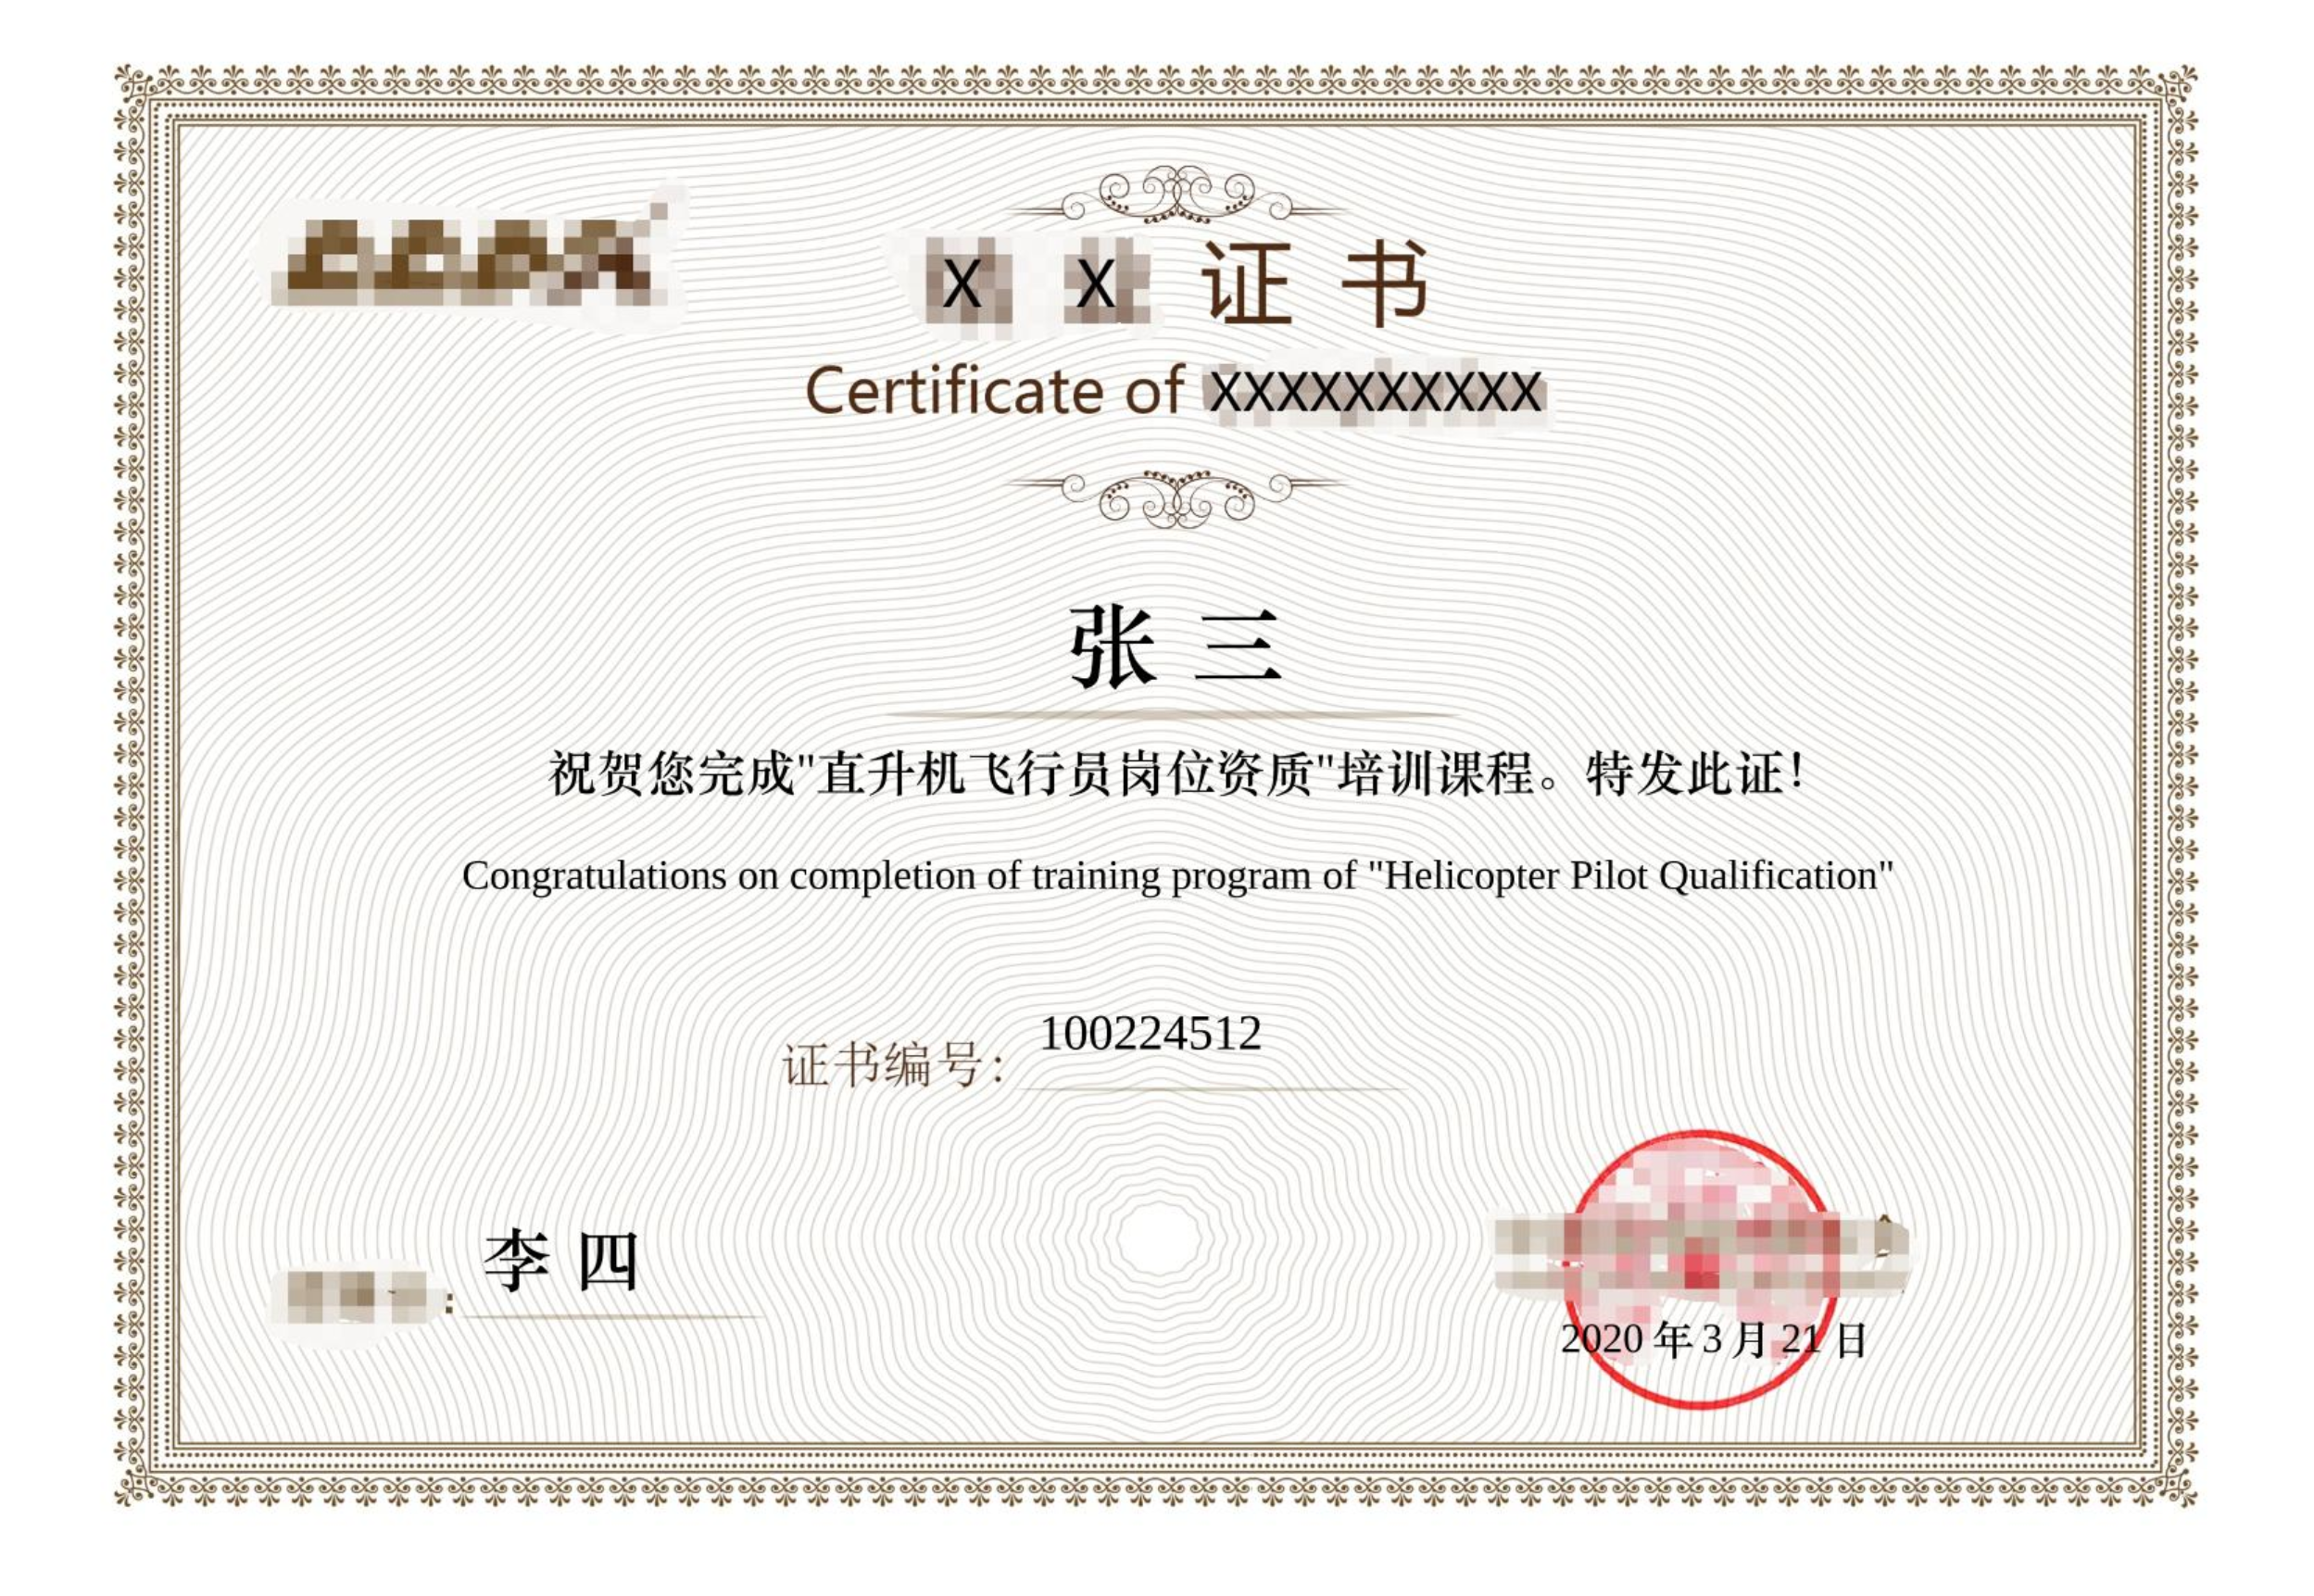
最终生成图片效果custom.jpg:
这个图片只是为了演示,如果实际使用,还需要调节文字位置(docx模板文本框大小、位置),和每一块的文字大小、字体等内容细节。