(一)创建Web Service
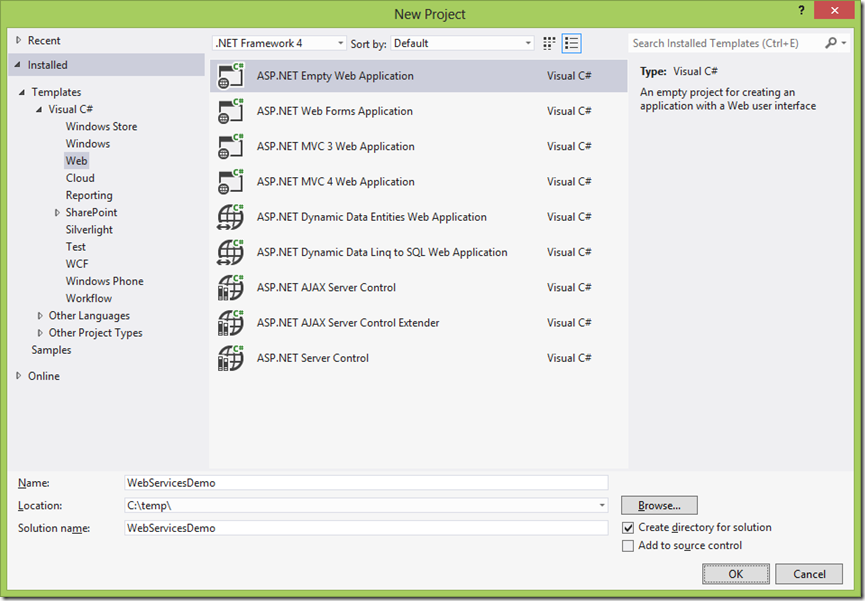
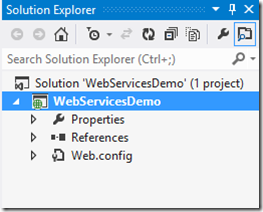
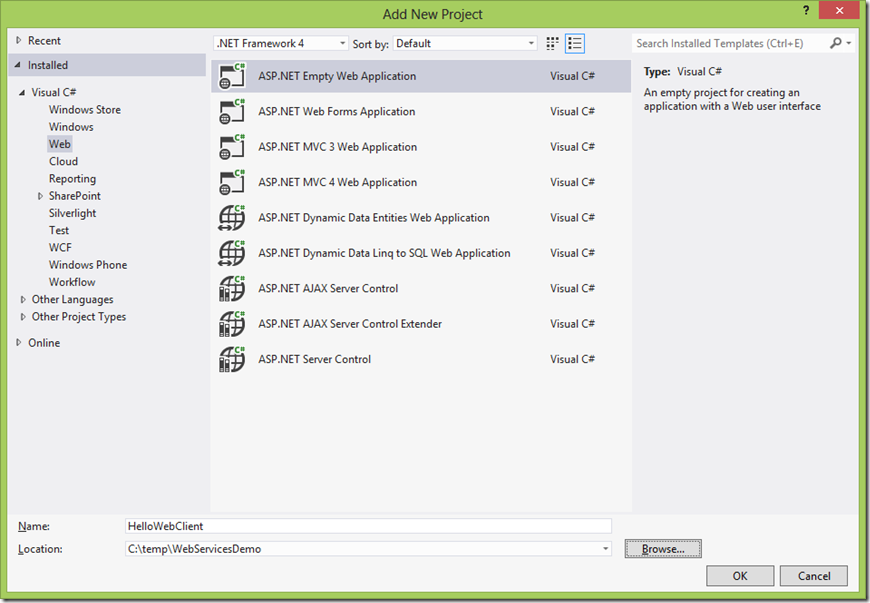
创建第一个项目。类型选择ASP.NET Empty Web Application
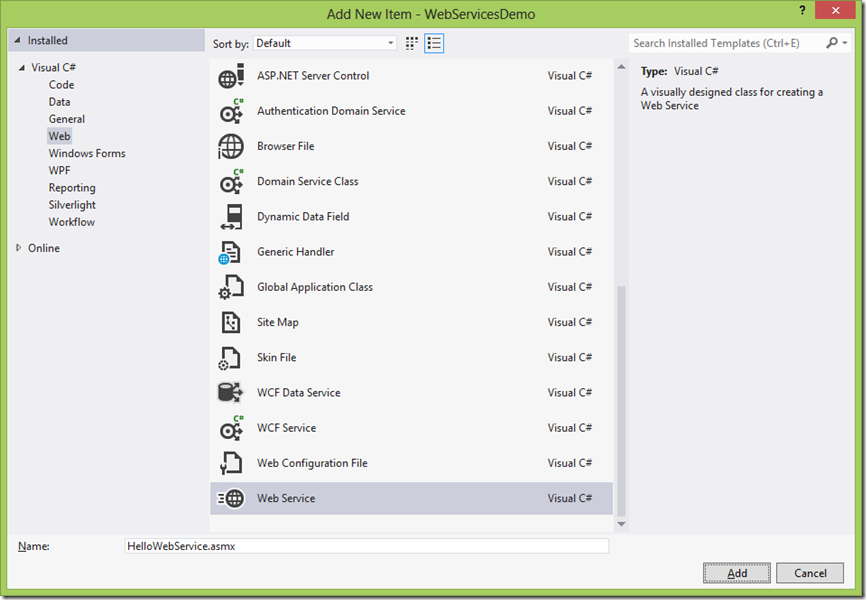
加入一个新项目 Web Service
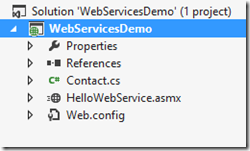
然后再创建一个类Contact
代码分别例如以下。
Contact.cs:
    [Serializable]
    public class Contact
    {
        private string name;

        public string Name
        {
            get { return name; }
            set { name = value; }
        }

        private int age;

        public int Age
        {
            get { return age; }
            set { age = value; }
        }
    }
HelloWebService.asmx.cs:
    /// <summary>
    /// Summary description for HelloWebService
    /// </summary>
    [WebService(Namespace = "http://tempuri.org/")]
    [WebServiceBinding(ConformsTo = WsiProfiles.BasicProfile1_1)]
    [System.ComponentModel.ToolboxItem(false)]
    // To allow this Web Service to be called from script, using ASP.NET AJAX, uncomment the following line.
    // [System.Web.Script.Services.ScriptService]
    public class HelloWebService : System.Web.Services.WebService
    {

        [WebMethod]
        public string GetMessage(string name)
        {
            return "Hello " + name;
        }

        [WebMethod]
        public Guid CreateContact(Contact c)
        {
            return Guid.NewGuid();
        }
    }
(二)创建client
以下创建一个client调用Web Service,检验一下是否正确。创建一个ASP.NET Empty Web Application
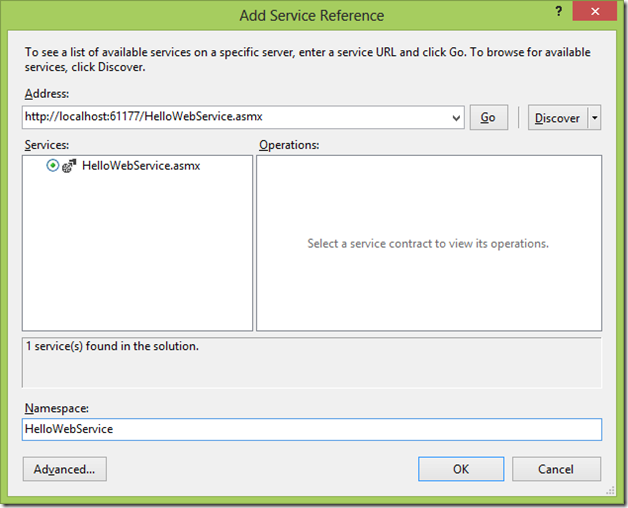
加入服务引用
WebForm1.cs代码为
        protected void Button1_Click(object sender, EventArgs e)
        {
            HelloWebService.HelloWebServiceSoapClient client = new HelloWebService.HelloWebServiceSoapClient();
            Label1.Text = client.GetMessage(TextBox1.Text);
        }

        protected void Button2_Click(object sender, EventArgs e)
        {
            HelloWebService.HelloWebServiceSoapClient client = new HelloWebService.HelloWebServiceSoapClient();
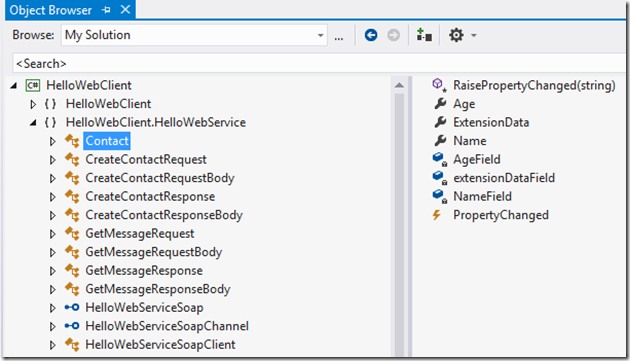
            Label2.Text = client.CreateContact(new HelloWebService.Contact()).ToString();
        }
最后执行client,分别点击button,得到演示效果
