环境:Ubuntu 14.04.1 FastDFS_v5.04 ip:10.1.20.145
1. 安装libfastcommon
下载地址:https://github.com/happyfish100/libfastcommon.git
在/usr/fastdfs目录下解压、编译:
unzip  unzip libfastcommon-master.zip
cd libfastcommon-master
./make.sh
./make.sh  install
2. 安装FastDFS
tar xf FastDFS_v5.04.tar.gz
cd fastdfs-5.05
./make.sh
./make.sh  install
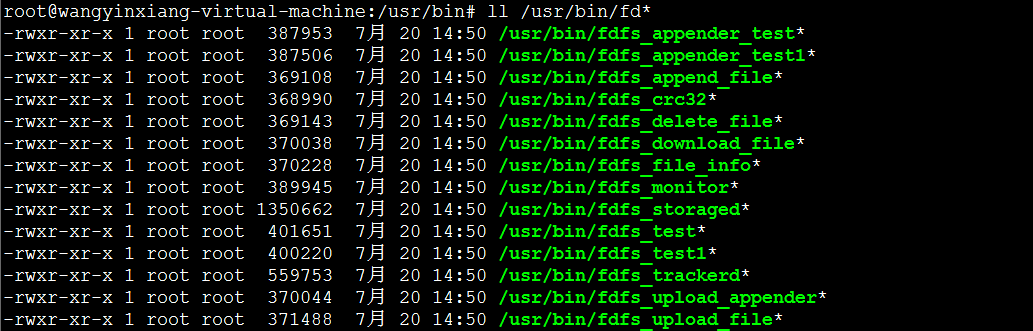
至此FastDFS在 tracker上安装完成,所有的可执行文件位于 /usr/bin 目录下,以fdfs开头的文件
ll /usr/bin/fd*
所有的配置文件在 /etc/fdfs/ 目录下
ll /etc/fdfs/

3. 配置tracker
进入到 /etc/fdfs 目录下,复制模版文件tracker.conf.sample到 tracker.conf
创建数据文件和日志文件目录:
mkdir -pv /data/fastdfs/tracker
mkdir: 已创建目录 "/data"mkdir: 已创建目录 "/data/fastdfs"mkdir: 已创建目录 "/data/fastdfs/tracker"
编辑 tracker.conf 文件,测试的时候只需要修改以下参数即可
disabled=false                  #启用配置文件
port=22122                               #设置 tracker 的端口号
base_path=/data/fastdfs/tracker           #设置 tracker 的数据文件和日志目录(需预先创建)
http.server_port=8080                    #设置 http 端口号
这个http.server_port=8080 指的是在tracker服务器上启动http服务进程,如:apache或者nginx 启动时所监听的端口,这个似乎是可以不用管的,因为tracker本身就没有安装http服务
运行tracker:
直接使用 fdfs_trackerd 来启动tracker进程,然后使用netstat 查看端口是否起来。
[root@wangyinxiang fdfs]# fdfs_trackerd /etc/fdfs/tracker.conf restart
[root@wangyinxiang fdfs]# netstat -antp | grep trackerd
 tcp        000.0.0.0:22122 0.0.0.0:*LISTEN14520/fdfs_trackerd

4. 配置storage
进入到 /etc/fdfs 目录下,复制/usr/fastdfs/fastdfs-5.05/conf/* 下面的所有文件到当前目录下(/etc/fdfs)
[root@wangyinxiang /etc/fdfs]# cd /etc/fdfs/
[root@wangyinxiang /etc/fdfs]# cp /usr/fastdfs/fastdfs-5.05/conf/* .
[root@wangyinxiang /etc/fdfs]# ll
 总用量 64
 -rw-r--r-- 1 root root  146110月 2914:33 client.conf
 -rw-r--r-- 1 root root   85810月 2914:33 http.conf
 -rw-r--r-- 1 root root 3117210月 2914:33 mime.types
 -rw-r--r-- 1 root root  369710月 2914:34 mod_fastdfs.conf
 -rw-r--r-- 1 root root  764610月 2814:34 storage.conf
 -rw-r--r-- 1 root root   10510月 2914:33 storage_ids.conf
 -rw-r--r-- 1 root root  710210月 2914:33 tracker.conf
编辑配置文件 storage.conf 测试的时候,只需修改以下内容即可:
 [root@wangyinxiang /etc/fdfs]# vim storage.conf
 disabled=false#启用配置文件
 group_name=group1                           #组名,根据实际情况修改
 port=23000                                   #设置 storage 的端口号
 base_path=/data/fastdfs/storage               #设置 storage 的日志目录(需预先创建)
 store_path_count=1                            #存储路径个数,需要和 store_path 个数匹配
 store_path0=/data/fastdfs/storage             #存储路径
 tracker_server=10.1.20.245:22122              #tracker 服务器的 IP 地址和端口号
 http.server_port=8080                         #设置storage上启动的http服务的端口号,如安装的nginx的端口号
运行:
[root@wangyinxiang /etc/fdfs]# fdfs_storaged /etc/fdfs/storage.conf restart

#查看端口是否起来
[root@wangyinxiang /etc/fdfs]# netstat -antp | grep storage
tcp        0      0 0.0.0.0:23000           0.0.0.0:*               LISTEN      10333/fdfs_storaged
tcp        0      0 10.1.20.245:57886       10.1.20.245:22122       ESTABLISHED 10333/fdfs_storaged
5. 可以使用 fdfs_monitor 来查看一下storage的状态,看是否已经成功注册到了tracker
[......]#  fdfs_monitor /etc/fdfs/storage.conf

#也可以以下命令来监控服务器的状态:
[......]# fdfs_monitor /etc/fdfs/client.conf

注:看到ACTIVE,就说明已经成功注册到了tracker。
6. 客户端上传文件
FastDFS安装包中,自带了客户端程序,通过程序可以进行文件上传。在使用这个客户端程序之前,首先需要配置client.conf,然后再进行文件上传及下载。
a、修改/etc/fdfs/client.conf文件,修改如下:
base_path=/home/yuqing/fastdfs--> base_path=/home/soar/fastdfs_tracker
tracker_server=192.168.209.121:22122 --> tracker_server=10.1.20.245:22122
http.tracker_server_port=80 ->http.tracker_server_port=8080
#支持http
##include http.conf ->#include http.conf
b、进入/usr/local/bin/目录,上传文件,执行
sudo fdfs_test /etc/fdfs/client.conf upload a.txt
注:a.txt可以在/usr/local/bin/目录下自己创建一个
如果命令行反馈类似如下:
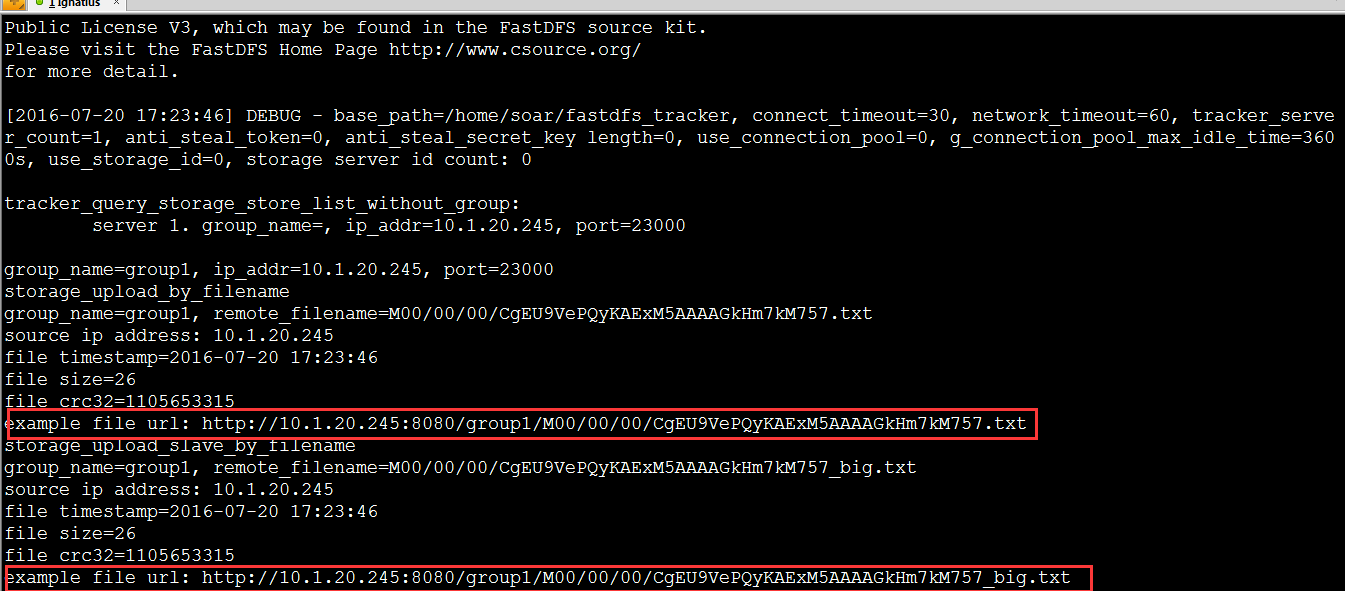
说明上传完成。