ELK日志收集系统介绍
一 简单介绍
ELK部署搭建有很多成型的方案,这里推荐一种比较中规中矩的方案,它整合了logstash比较消耗资源以及当服务端临时宕机的时候出现数据丢失的问题,主要由filebeat+redis+logstash+elasticsearch+kibana构成,在每个需要收集日志的机器上面下发filebeat作为日志收集端,redis作为消息队列,并且设置集群,设置高可用,logstatsh作为所有收集到的日志筛选,清洗端,而elasticsearch作为所有的日志的存储端,kibana作为日志的展示平台,展示所有的收集日志并提供图标等。
二 搭建介绍
这里准备了三台本地虚拟机,他们的信息以及将要部署的软件如下所示。
| 名称 | ip地址 | 角色 | 部署应用 | 备注 |
| devops1 | 172.16.173.141 | 日志客户端,消息队列缓存端,日志集中处理端,日志分布存储端,日志展示端 | filebeat,redis,logstash,elasticsearch,kibana | 服务端 |
| devops2 | 172.16.173.142 | 日志客户端,消息队列缓存端,日志分布存储端 | filebeat,redis,elasticsearch | 客户端 |
| devops3 | 172.16.173.143 | 日志客户端,消息队列缓存端,日志分布存储端 | filebeat,redis,elasticsearch | 客户端 |
注意: 所有部署的应用都是以systemctl的形式进行管理
三 在每台服务器上面开始部署日志收集端,这里使用ansible的脚本形式对服务器进行批量部署(ansible相关的知识自己补充学习)
3.1 安装filebeat并将其使用systemctl进行部署
3.1.1 提前下载好需要安装的filebeat的文件以及service,这里是rpm包为 filebeat-7.7.0-x86_64.rpm
3.1.2 service文件是
[Unit]
Description=Filebeat sends log files to Logstash or directly to Elasticsearch.
Documentation=https://www.elastic.co/products/beats/filebeat
Wants=network-online.target
After=network-online.target

[Service]

Environment="BEAT_LOG_OPTS="
Environment="BEAT_CONFIG_OPTS=-c /etc/filebeat/filebeat.yml"
Environment="BEAT_PATH_OPTS=-path.home /usr/share/filebeat -path.config /etc/filebeat -path.data /var/lib/filebeat -path.logs /var/log/filebeat"
ExecStart=/usr/share/filebeat/bin/filebeat -environment systemd $BEAT_LOG_OPTS $BEAT_CONFIG_OPTS $BEAT_PATH_OPTS
Restart=always

[Install]
WantedBy=multi-user.target
3.1.3 按照ansible工程组织如下所示
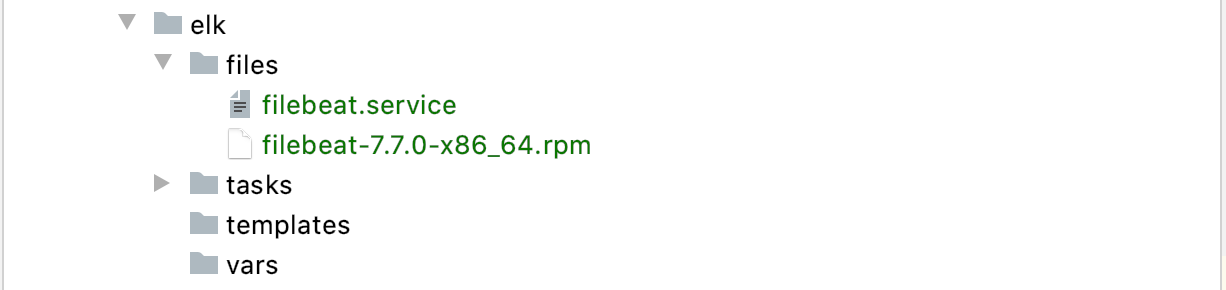
3.1.4 最后就是filebeat的安装playbook
- name: copy filebeat rpm to remote
  copy: src=filebeat-7.7.0-x86_64.rpm dest=/root mode=755 force=yes

- name: rpm install filebeat rpm
  shell: rpm -ivh filebeat-7.7.0-x86_64.rpm
  args:
    chdir: /root

- name: copy service to remote
  copy: src=filebeat.service dest=/usr/lib/systemd/system/filebeat.service force=yes mode=755

- name: start filebeat service
  systemd: name=filebeat state=restarted enabled=yes
3.2 在每台服务器安装redis中间件作为消息队列,防止在logstatsh在意外中断的时候出现日志文件丢失,前面的工程结构以及ansible不再追述,这里只介绍如何使用ansible安装redis消息中间件
- name: install wget
  yum: name=wget state=present

- name: install redis
  shell: "wget http://download.redis.io/releases/redis-4.0.6.tar.gz"
  args:
    chdir: /usr/local
  ignore_errors: false

- name: tar redis
  shell: "tar -zxvf redis-4.0.6.tar.gz"
  args:
    chdir: /usr/local

- name: install gcc
  yum: name=gcc state=present

- name: make
  shell: "make MALLOC=libc"
  args:
    chdir: /usr/local/redis-4.0.6

- name: make install
  shell: "make install"
  args:
    chdir: /usr/local/redis-4.0.6/src

- name: remove old redis config
  lineinfile:
    path: /usr/local/redis-4.0.6/redis.conf
    regexp: '^#*?daemonize no|^#*?daemonize yes'
    state: absent

- name: add new redis config
  lineinfile:
    path: /usr/local/redis-4.0.6/redis.conf
    line: "daemonize yes"
    state: present

- name: start redis
  shell: "/usr/local/bin/redis-server /usr/local/redis-4.0.6/redis.conf"
  args:
    chdir: /root
  ignore_errors: true
3.3 在devops1上面部署logstash