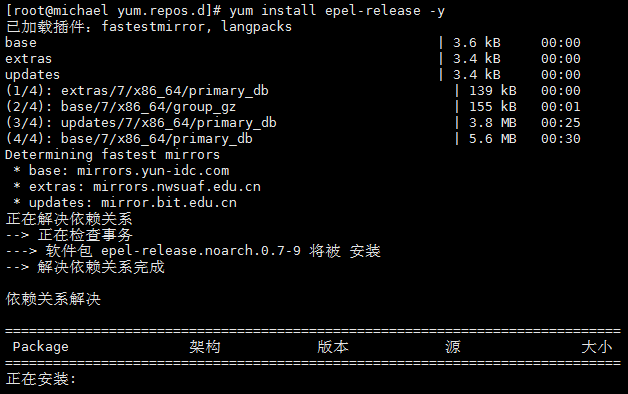
1、安装nginx
#yum install epel-release -y
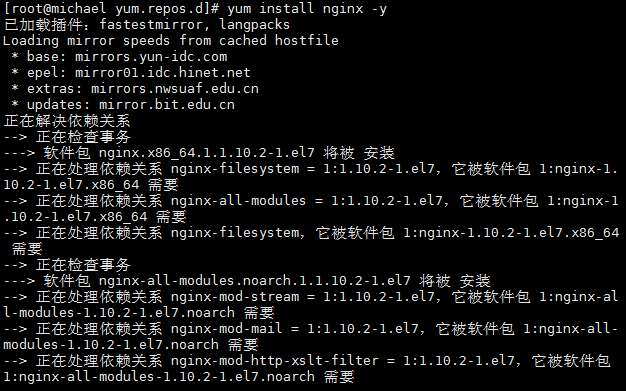
#yum install nginx -y
#vim /usr/local/nginx/conf/nginx.conf ---->:wq

#systemctl reload nginx
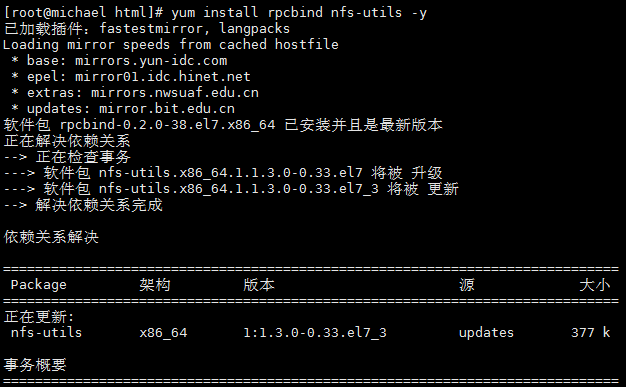
2、nfs
yum install rpcbind nfs-utils -y
3、作为共享存储挂载在三台web网站根目录下
nfs服务端:192.168.145.130
web1:192.168.145.131
web2:192.168.145.132
web3:192.168.145.133
#mkdir /share
#touch /share/share.txt
#echo share666 > /share/share.txt
#vim /etc/exports
#systemctl enable nfs-server.service
#systemctl enable rpcbind.service
#systemctl start rpcbind.service
#systemctl start nfs-server.service

#yum clean all
#yum install rpcbind nfs-utils -y
# mount -t nfs 192.168.145.130:/share /usr/share/nginx/html

在任意一台web上修改结果,其余两台都可以看到
nfs服务端:#chmod -R o+w /share/
web1:#touch /share/share1.txt
web2:#ls /share/
#touch /usr/share/nginx/html/share2.txt
web3:#ls /usr/share/nginx/html/

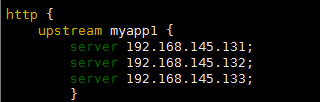
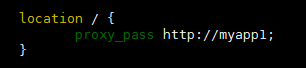
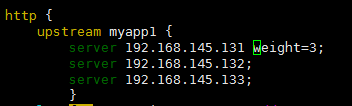
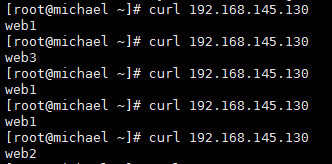
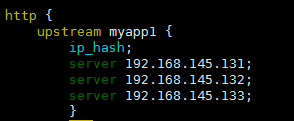
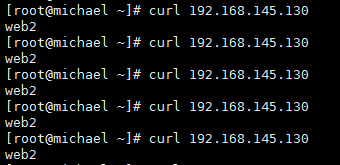
4、nginx反向代理三台web
vim /etc/nginx/nginx.conf

vim /etc/nginx/nginx.conf
vim /etc/nginx/nginx.conf
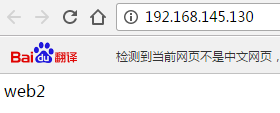
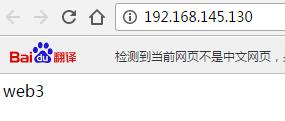
5、nginx反向代理+三台web+nfs共享存储实现集群配置


6、源码安装nginx
#tar xvf nginx-1.10.3.tar.gz
#./configure --prefix=/usr/local/nginx
#make && make install

准备:
1、proxy IP:192.168.11.58 #nginx反向代理,nfs服务端
web1 IP:192.168.11.94 #web服务端,nfs客户端
web2 IP:192.168.11.96 #web服务端,nfs客户端
web3 IP:192.168.11.97 #web服务端,nfs客户端
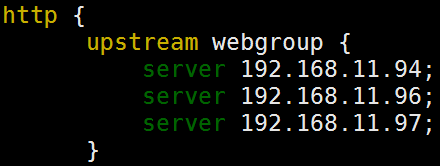
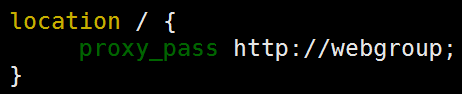
2、修改proxy服务器nginx的配置文件
#vim /etc/nginx/nginx.conf
#systemctl reload nginx
3、修改proxy上的nfs配置文件
先新增一块硬盘sdb
#mkfs.ext4 /dev/sdb #格式化硬盘
#mkdir /share #创建挂载点
#mount /dev/sdb /share #挂载
#vim /etc/exports #修改配置文件
