我的电脑装的是ubuntu系统,所以以ubuntu为例来写
由于后边涉及到程序的可移植性验证,我们先在docker hub上注册一个账号(注册地址),记住用户名!
(全文直接附命令,由于我没有配置docker获得root权限,所以涉及到的docker操作命令前都要加sudo,觉得不方便的话可以再百度找找怎么办)
首先看你的ubuntu系统是否支持Docker(一般高于3.10即可)
uname -r
一 前期准备
1.获取docker安装包
wget -qO- https://get.docker.com/ | sh
2.查看docker是否安装成功,查看docker版本
docker version
3.启动服务
sudo systemctl enable docker  #设置开机自动启动,可选

sudo systemctl start docker   #启动服务
(在启动服务时,可能会报错)
这时运行:sudo vim /etc/docker/daemon.json
添加内容
{
        "graph": "/mnt/docker-data", "storage-driver": "overlay"
}
保存后重新启动服务即可
4.测试运行hello-world
sudo docker run hello-world

出现:
Hello from Docker!
This message shows that your installation appears to be working correctly.
则成功
5. 运行过程中可能由于国内网络问题,镜像拉取比较慢,需要配置一个国内的镜像地址,可以随意选,我配置的是网易的
sudo vim /etc/docker/daemon.json
插入:    {"registry-mirrors": ["http://hub-mirror.c.163.com"]
6.查看docker下有哪些容器,因为之前我们运行过一个hello-world,所以至少会有它
sudo docker image ls

二 配置docker容器
1.新建helloworld应用程序
- 在你本地新建一个文件夹,在文件夹下新建三个文件: Dockerfile requirements.txt app.py
mkdir docker
cd docker
vim Dockerfile
(注意From前边不要有其他代码)
插入以下内容:
# Use an official Python runtime as a parent image
FROM python:2.7-slim

# Set the working directory to /app
WORKDIR /app

# Copy the current directory contents into the container at /app
ADD . /app

# Install any needed packages specified in requirements.txt
RUN pip install --trusted-host pypi.python.org -r requirements.txt

# Make port 80 available to the world outside this container
EXPOSE 80

# Define environment variable
ENV NAME World

# Run app.py when the container launches
CMD ["python", "app.py"]

vim requirements.txt

插入以下内容:
Flask
Redis

vim app.py

插入以下内容:
from flask import Flask
from redis import Redis, RedisError
import os
import socket

# Connect to Redis
redis = Redis(host="redis", db=0, socket_connect_timeout=2, socket_timeout=2)

app = Flask(__name__)

@app.route("/")
def hello():
    try:
        visits = redis.incr("counter")
    except RedisError:
        visits = "<i>cannot connect to Redis, counter disabled</i>"

    html = "<h3>Hello {name}!</h3>"
           "<b>Hostname:</b> {hostname}<br/>"
           "<b>Visits:</b> {visits}"
    return html.format(name=os.getenv("NAME", "world"), hostname=socket.gethostname(), visits=visits)

if __name__ == "__main__":
    app.run(host='0.0.0.0', port=80)
- 查看docker目录下是否有新建的文件
wang@wang-X555YI:~$     cd docker
wang@wang-X555YI:~/docker$   ls

app.py  Dockerfile  requirements.txt
- 在刚才的docker目录下创建hello镜像
sudo docker build -t hello .
出现successfully即成功

sudo docker image ls
REPOSITORY              TAG                 IMAGE ID            CREATED             SIZE
770958391/get-started   part2               f80b604aa432        About an hour ago   131MB
hello                   latest              f80b604aa432        About an hour ago   131MB
- 运行一下
sudo docker run -p 4000:80 hello #将80端口映射到4000

输入地址  http://0.0.0.0:80  ,看到Python正在为您的应用提供服务的消息。
但是该消息来自容器内部,它不知道你将该容器的端口80映射到4000,所以输入正确的URL http://localhost:4000

服务提供界面:

Welcome to nginx!

If you see this page, the nginx web server is successfully installed and working. Further configuration is required.

For online documentation and support please refer to nginx.org.
Commercial support is available at nginx.com.

Thank you for using nginx.


 应用界面:
Hello World!

Hostname: 8394a79a51ff
Visits: cannot connect to Redis, counter disabled


ctrl+c即可退sudo 出,如果想要后台运行,运行代码

sudo docker run -d -p 4000:80 hello

关闭容器进程:

  1.查看正在运行的容器:

sudo docker container ls


CONTAINER ID     IMAGE      COMMAND        CREATED             STATUS              PORTS     NAMES
5af66a9b4d9f     ubuntu     "/bin/bash"    About an hour ago   Up About an hour              jovial_almeida

  2.关闭想要关闭的进程:  sudo docker stop  5af66a9b4d9f

返回已关闭进程的CONTAINER ID
三 部署到docker hub
- 登陆到本地docker公共注册表
sudo docker login 然后按照提示输入之前注册的用户名,密码 返回Login Succeeded即登陆成功
- 标记图像
sudo docker tag hello 770958391/get-started:part2
注: hello为创建的镜像 770958391为你注册的用户名 get-started为hub里要新建的仓库 part2为仓库里项目的标签
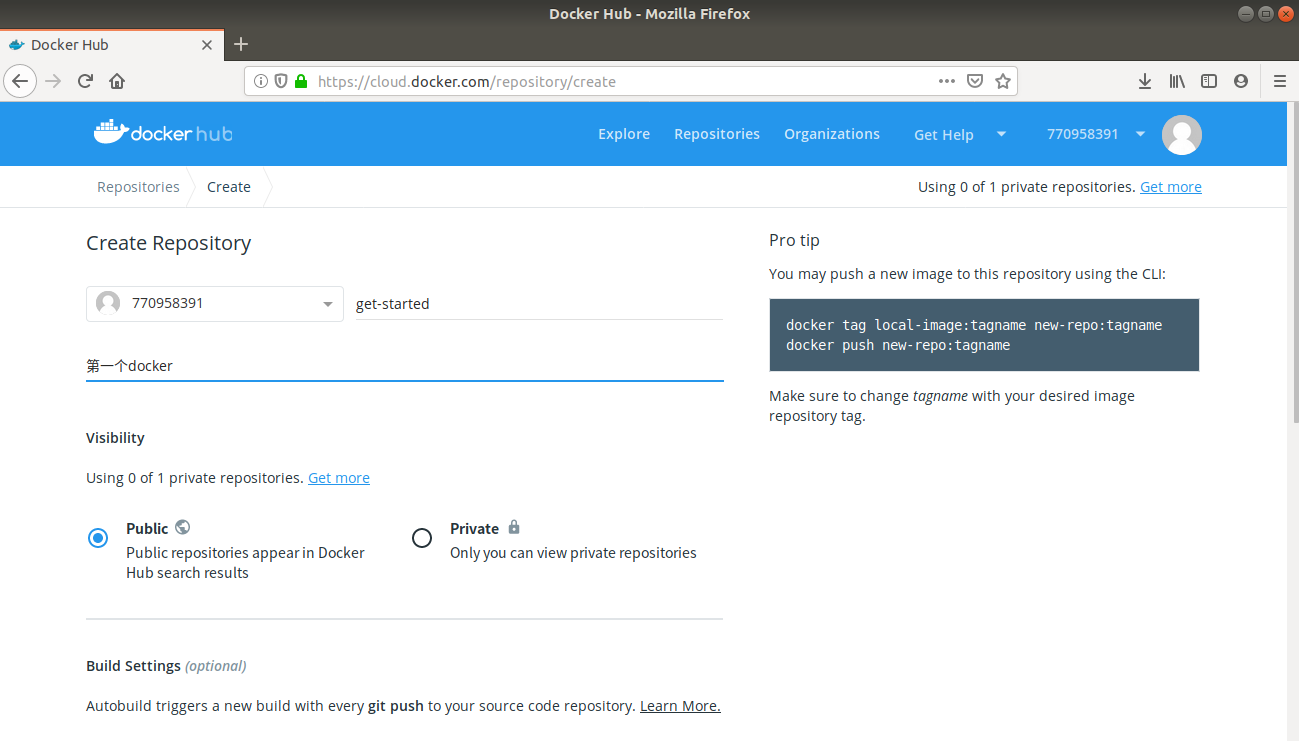
运行完上面代码,我们去docker新建仓库 Docker Hub
点击 + create Repository
- 发布镜像
sudo docker push 770958391/get-started:part2
返回:
The push refers to repository [docker.io/770958391/get-started]
bb1832784221: Pushed
3769158c31ac: Pushed
2ac6ade48cac: Pushed
a40d037570f2: Mounted from library/python
4e1a46391216: Mounted from library/python
10dd6271862c: Mounted from library/python
ba291263b085: Mounted from library/python
part2: digest: sha256:ce25797c1fb3d95fc7393f015ea584be0c110e0469e186813ee755f41f76922a size: 1787
成功
- 远端调用
sudo docker run -p 4000:80 770958391/get-started:part2

sudo docker run -d -p 4000:80 770958391/get-started:part2  #后台运行,类似前边在本地运行的例子

输入地址  http://0.0.0.0:80  ,看到Python正在为您的应用提供服务的消息。
但是该消息来自容器内部,它不知道你将该容器的端口80映射到4000,所以输入正确的URL http://localhost:4000
参考博客:
Docker之旅:在Docker容器中创建第一个程序:https://blog.csdn.net/wd2014610/article/details/80354714
Ubuntu Docker 安装:https://www.runoob.com/docker/ubuntu-docker-install.html
在ubuntu中docker的简单使用(一):https://www.cnblogs.com/fuGuy/p/8399868.html