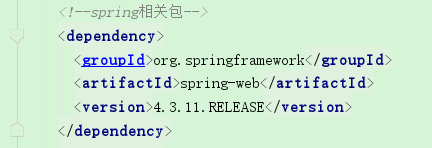
1.首先解决一下pom.xml中的这个报错

报错原因:因为是直接从网上拷贝过来粘贴在pom.xml中的可能格式会有冲突
把前面的空格都删了,重新排版就行

2.然后把我们的thymeleaf依赖导入进来
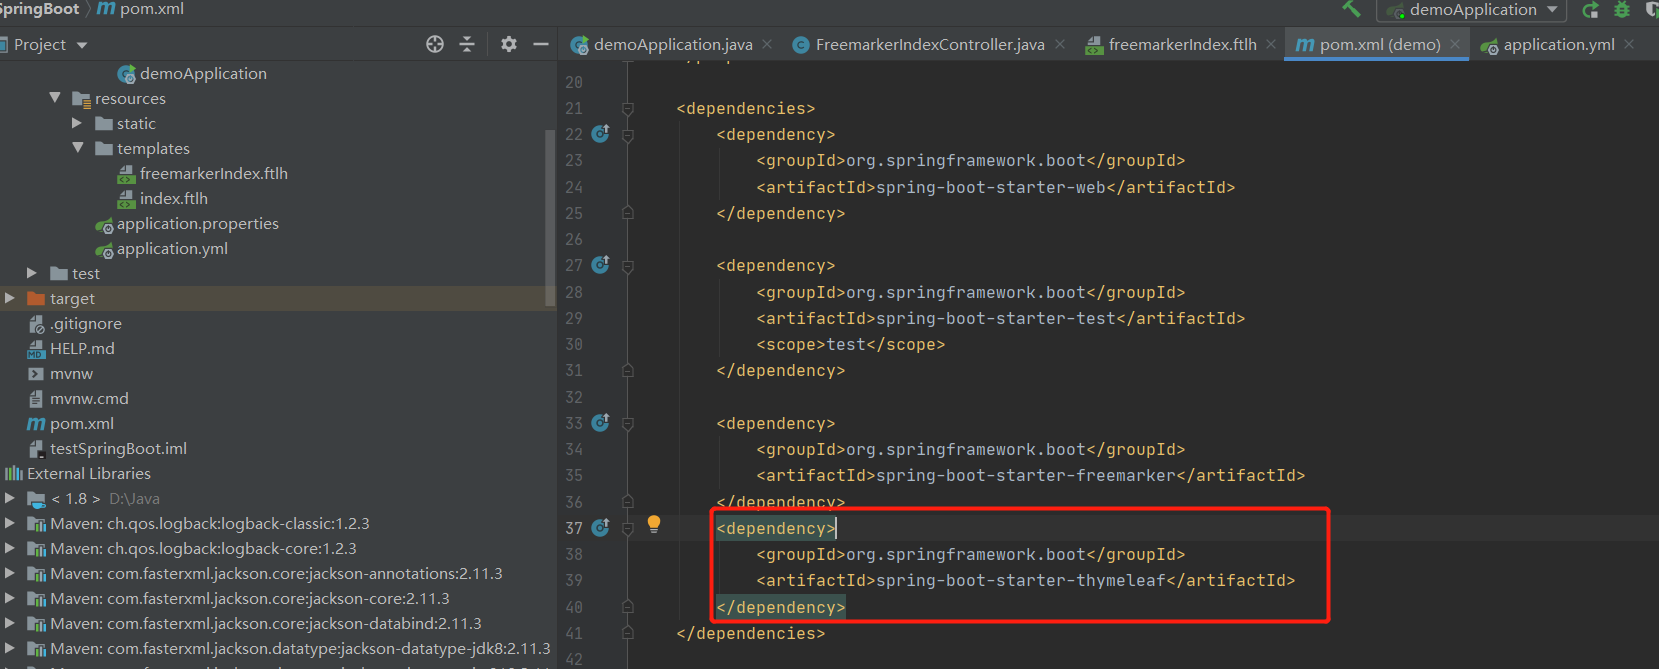
<dependency>
    <groupId>org.springframework.boot</groupId>
    <artifactId>spring-boot-starter-web</artifactId>
</dependency>

<dependency>
    <groupId>org.springframework.boot</groupId>
    <artifactId>spring-boot-starter-test</artifactId>
    <scope>test</scope>
</dependency>

<dependency>
    <groupId>org.springframework.boot</groupId>
    <artifactId>spring-boot-starter-freemarker</artifactId>
</dependency>
<dependency>
    <groupId>org.springframework.boot</groupId>
    <artifactId>spring-boot-starter-thymeleaf</artifactId>
</dependency>

出现这些jar即代表导入成功了
3.我们现在开始编写配置文件
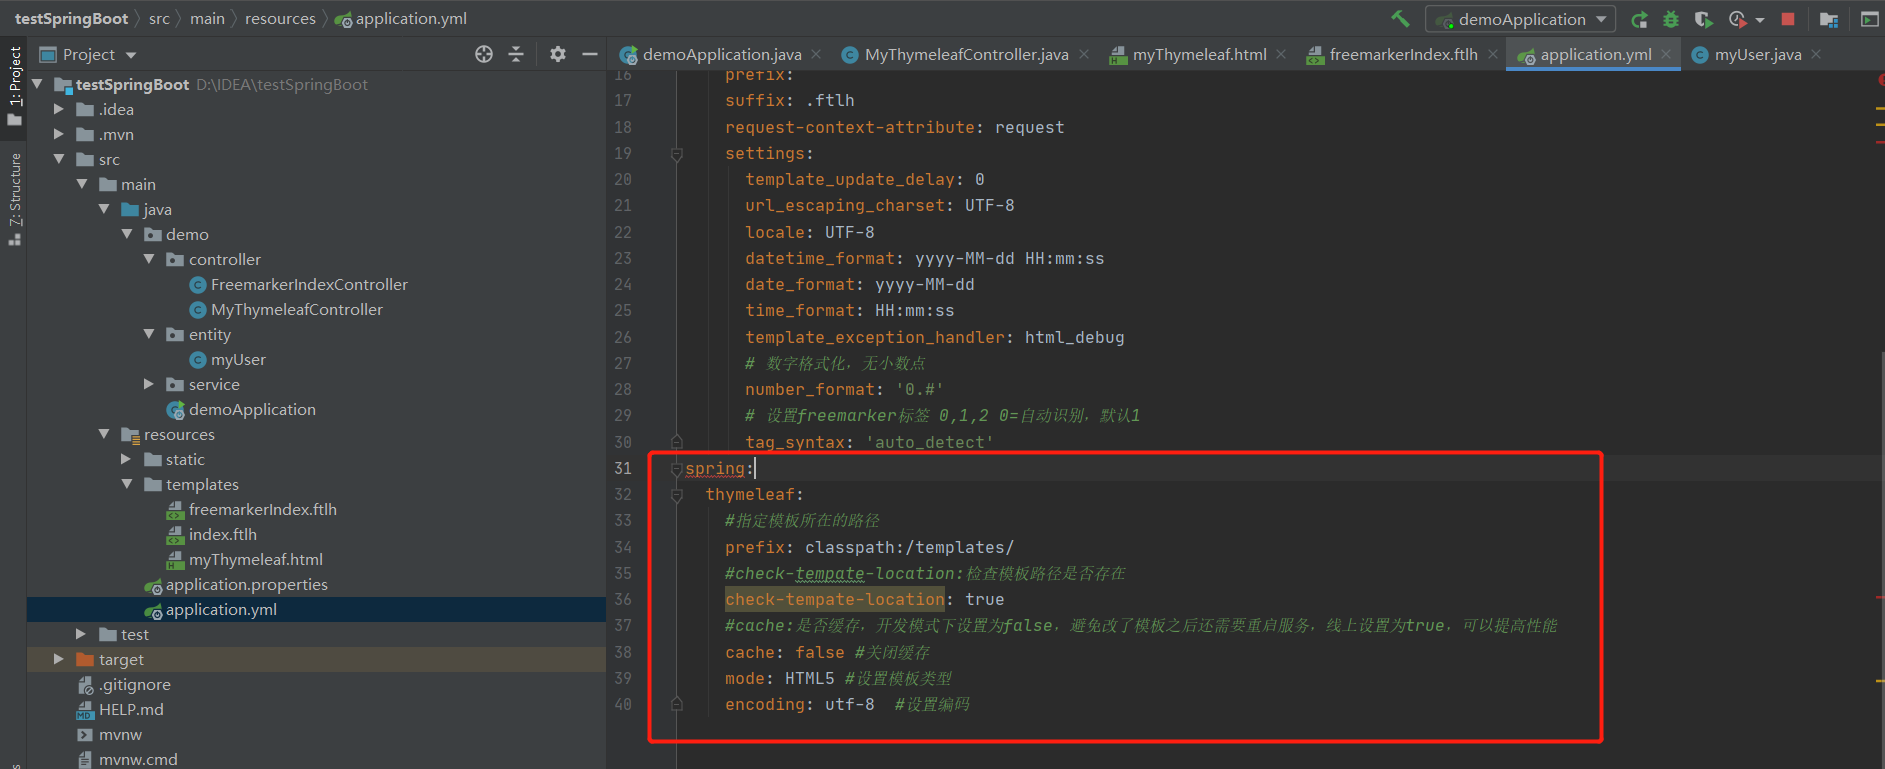
spring:
thymeleaf:
  #指定模板所在的路径
  prefix: classpath:/templates/
  #check-tempate-location:检查模板路径是否存在
  check-tempate-location: true
  #cache:是否缓存,开发模式下设置为false,避免改了模板之后还需要重启服务,线上设置为true,可以提高性能
  cache: false #关闭缓存
  mode: HTML5 #设置模板类型
  encoding: utf-8  #设置编码
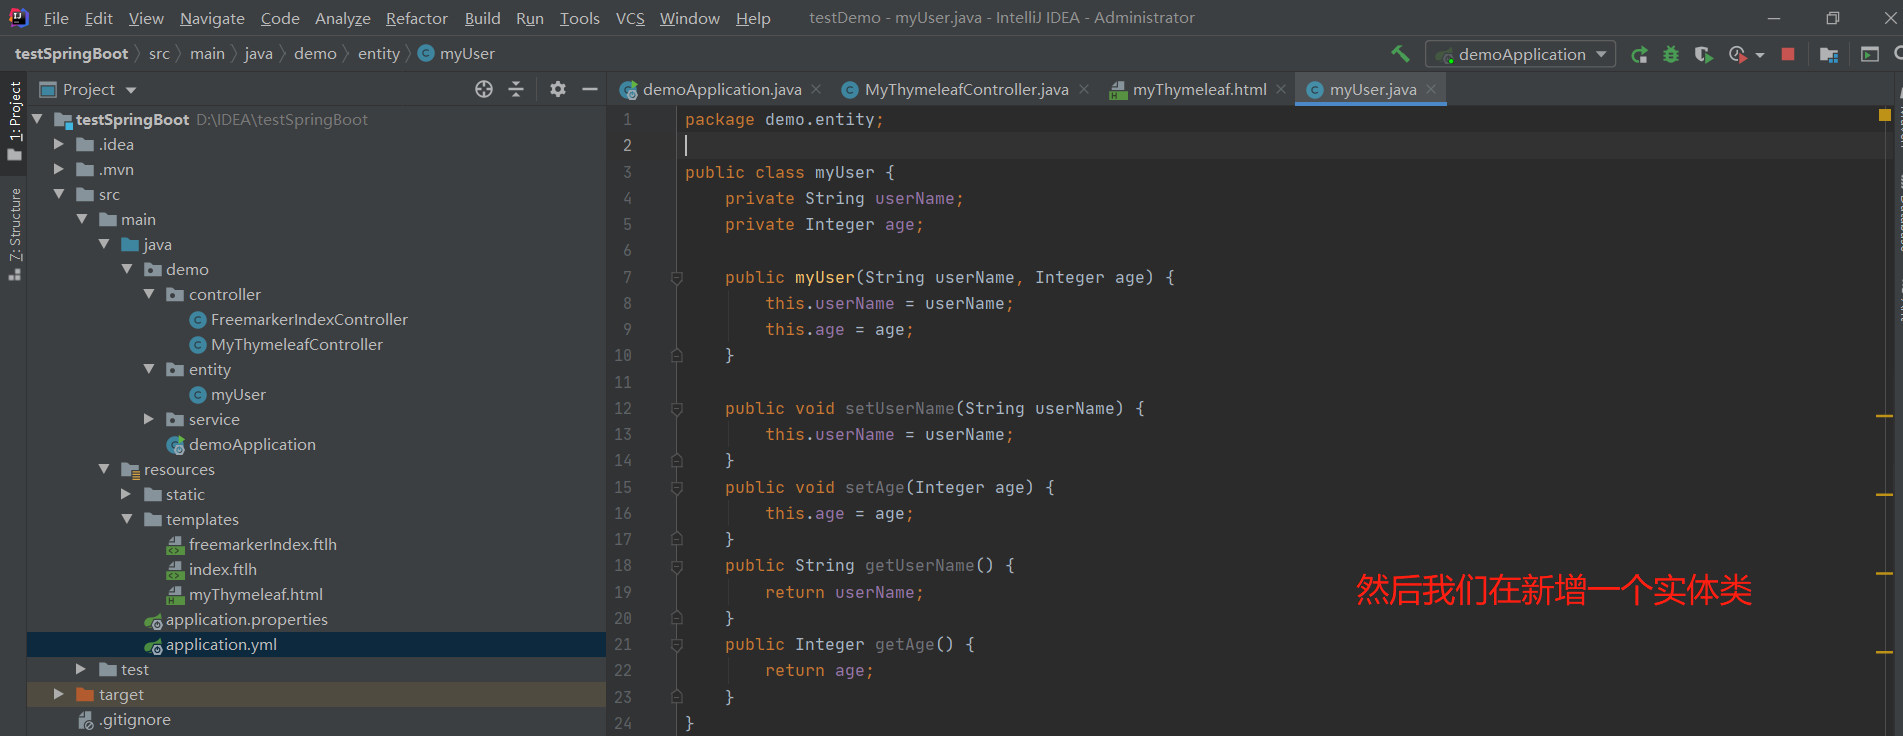
package demo.entity;

public class myUser {
    private String userName;
    private Integer age;

    public myUser(String userName, Integer age) {
        this.userName = userName;
        this.age = age;
    }

    public void setUserName(String userName) {
        this.userName = userName;
    }
    public void setAge(Integer age) {
        this.age = age;
    }
    public String getUserName() {
        return userName;
    }
    public Integer getAge() {
        return age;
    }

}
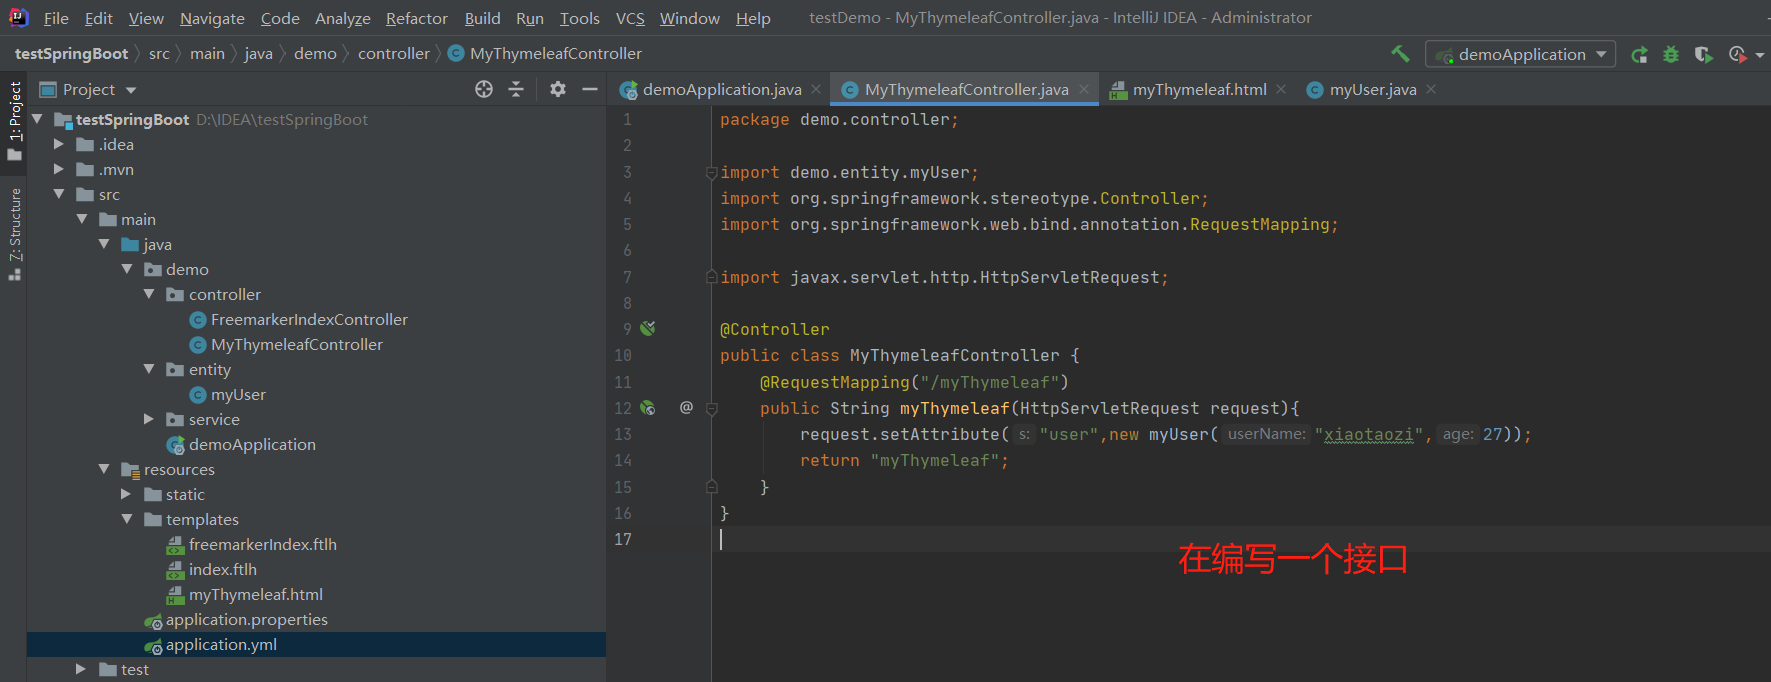
package demo.controller;

import demo.entity.myUser;
import org.springframework.stereotype.Controller;
import org.springframework.web.bind.annotation.RequestMapping;

import javax.servlet.http.HttpServletRequest;

@Controller
public class MyThymeleafController {
    @RequestMapping("/myThymeleaf")
    public String myThymeleaf(HttpServletRequest request){
        request.setAttribute("user",new myUser("xiaotaozi",27));
        return "myThymeleaf";
    }
}
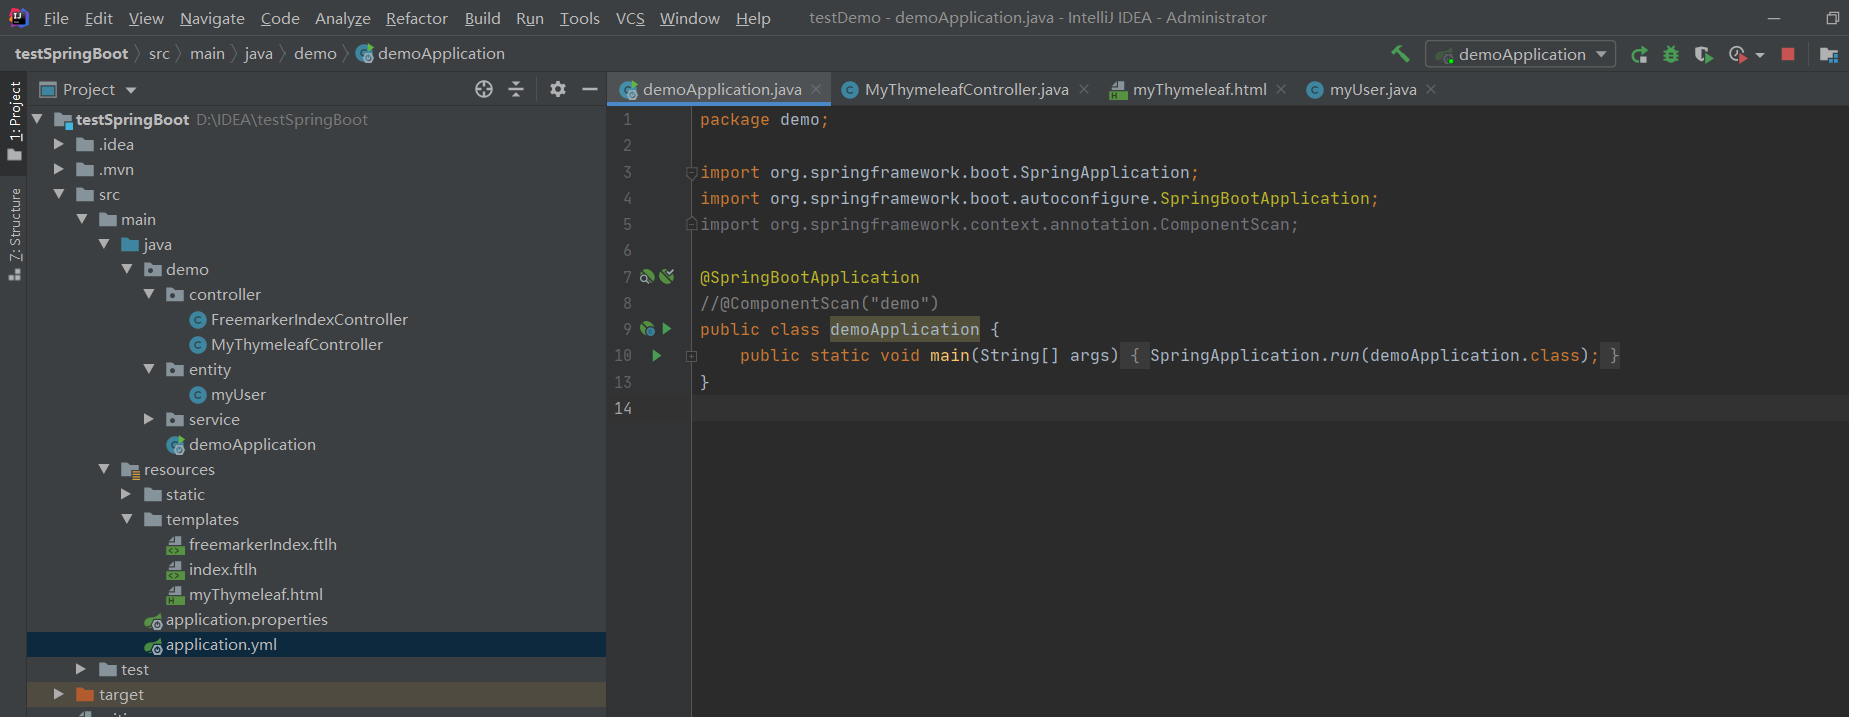
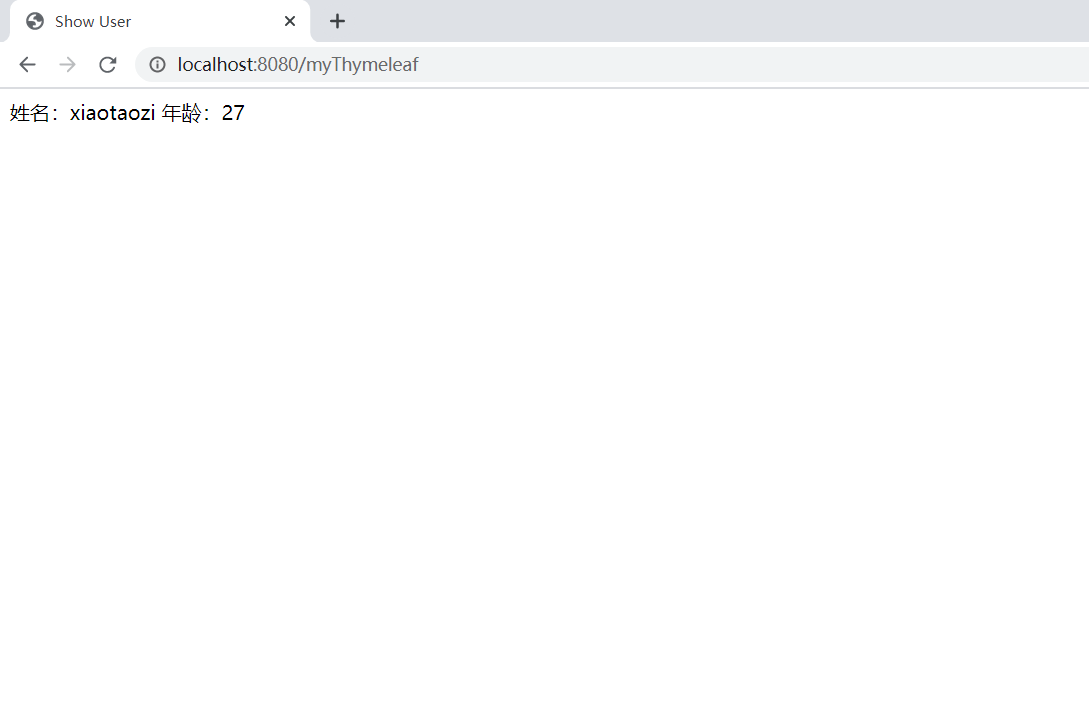
启动我们的接口
本地直接访问