1、配置yum源
vim /etc/yum.repos.d/gitlab-ce.repo[gitlab-ce]
name=Gitlab CE Repository
gpgcheck=0
enabled=1
2、更新本地yum缓存
sudo yum makecache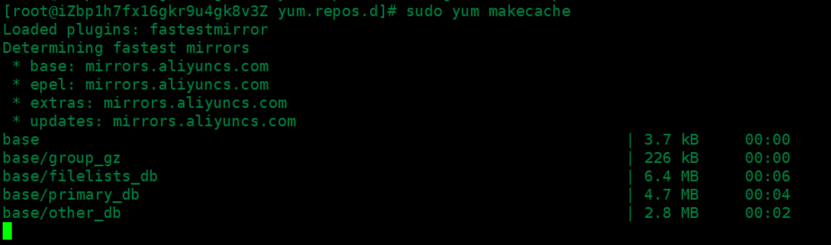
3、安装GitLab社区版
sudo yum install gitlab-ce        #自动安装最新版
sudo yum install gitlab-ce-x.x.x    #安装指定版本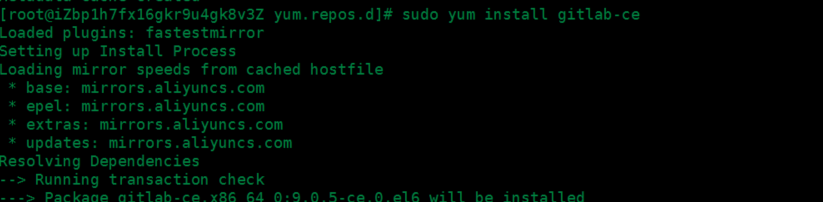
GitLab常用命令
sudo gitlab-ctl start    # 启动所有 gitlab 组件;
sudo gitlab-ctl stop        # 停止所有 gitlab 组件;
sudo gitlab-ctl restart        # 重启所有 gitlab 组件;
sudo gitlab-ctl status        # 查看服务状态;
sudo gitlab-ctl reconfigure        # 启动服务;
sudo vim /etc/gitlab/gitlab.rb        # 修改默认的配置文件;
gitlab-rake gitlab:check SANITIZE=true --trace    # 检查gitlab;
sudo gitlab-ctl tail        # 查看日志;
GitLab使用
登录GitLab
1、在浏览器的地址栏中输入ECS服务器的公网IP即可登录GitLab的界面,第一次登录使用的用户名和密码为 root 和 5iveL!fe。
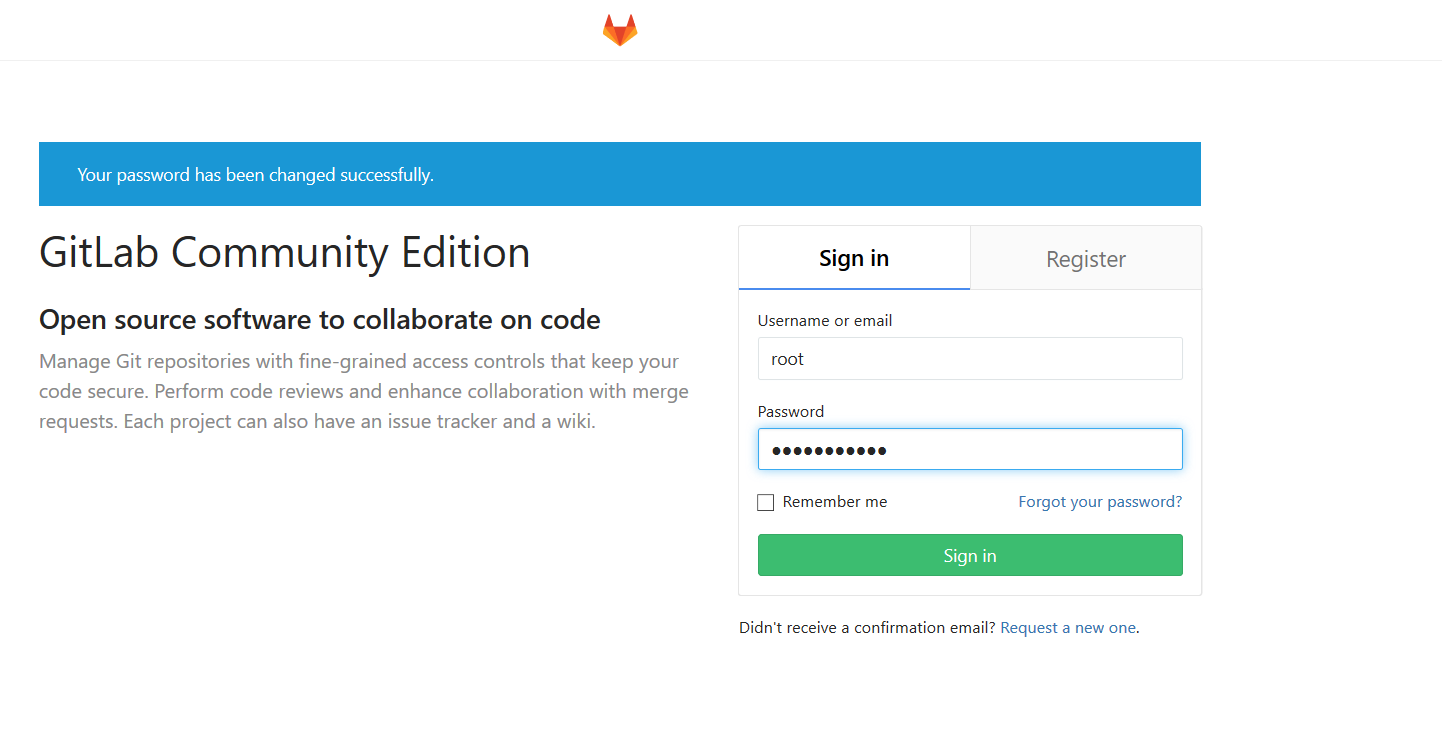
2、首次登录会强制用户修改密码。密码修改成功后,输入新密码进行登录。
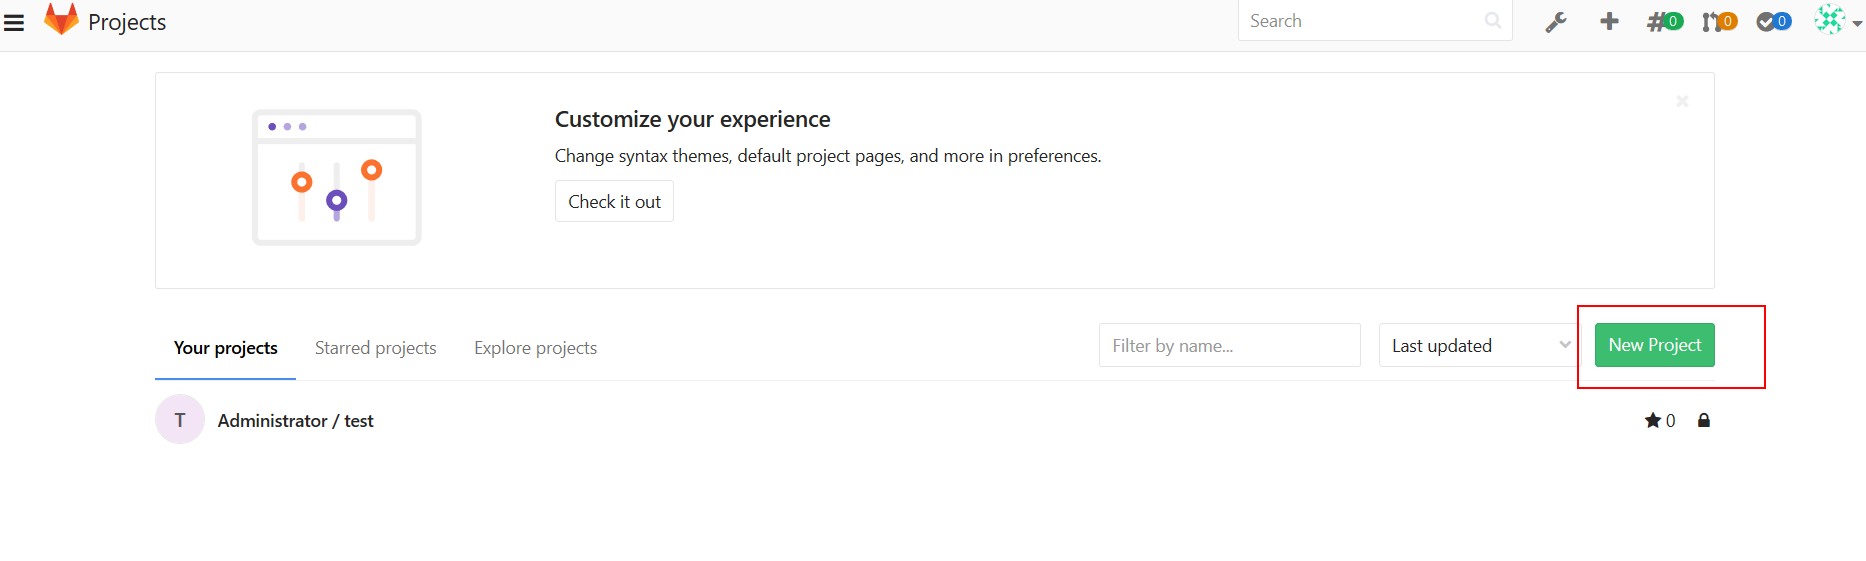
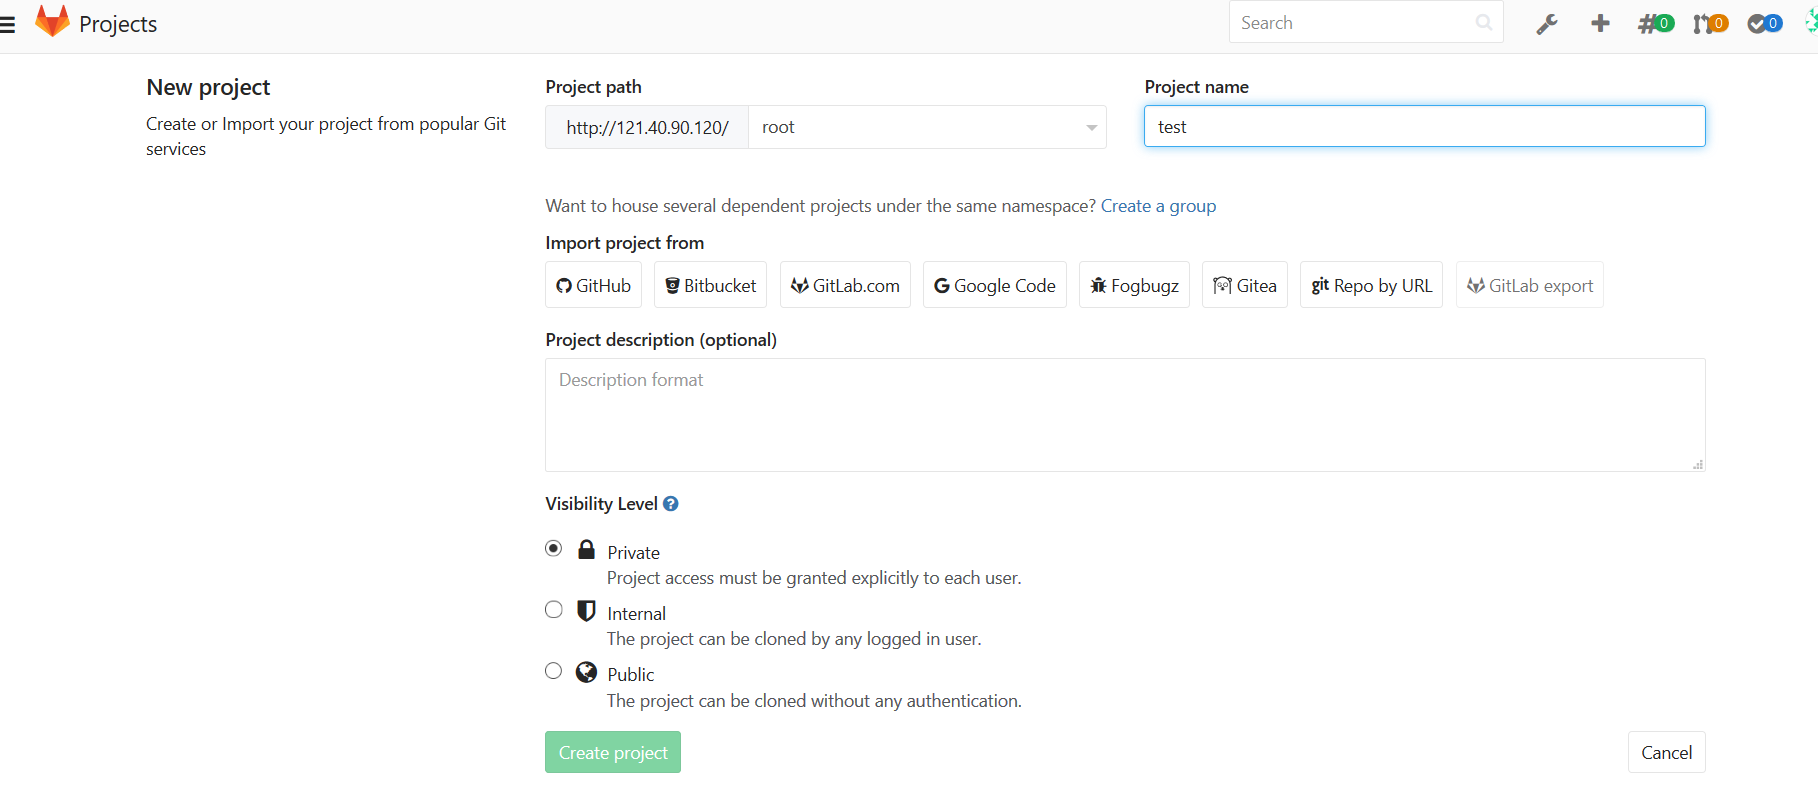
创建Project
1、安装Git工具linux:安装Git,使用自带的源安装。
yum install git
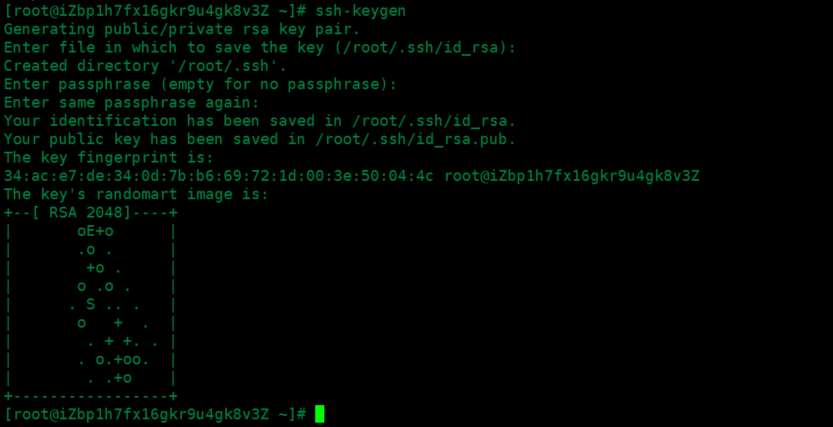
2、生成密钥文件:使用ssh-keygen生成密钥文件.ssh/id_rsa.pub。

3.在GitLab的主页中新建一个Project
4.添加ssh key导入步骤2中生成的密钥文件内容:
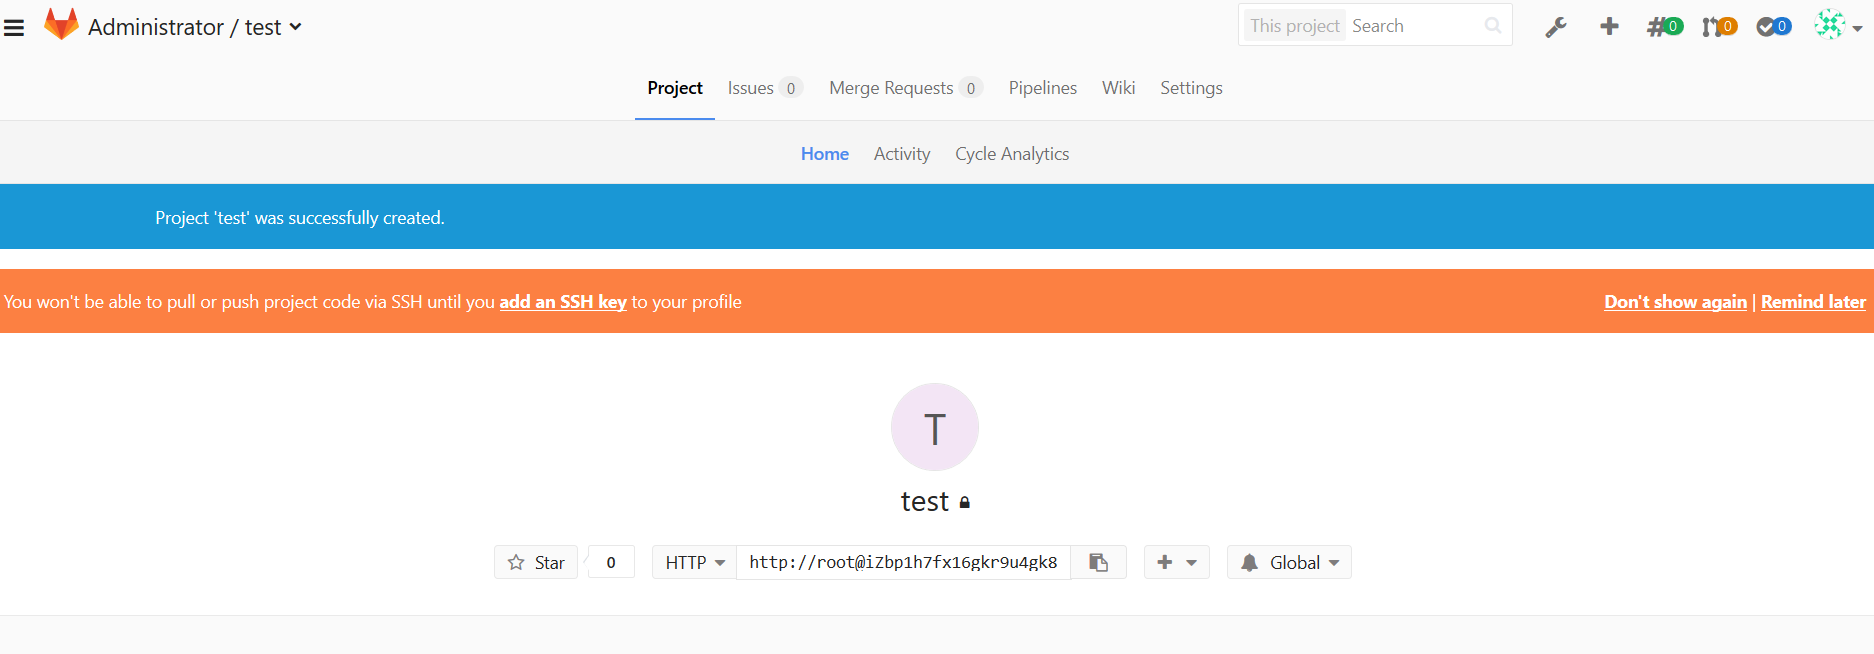
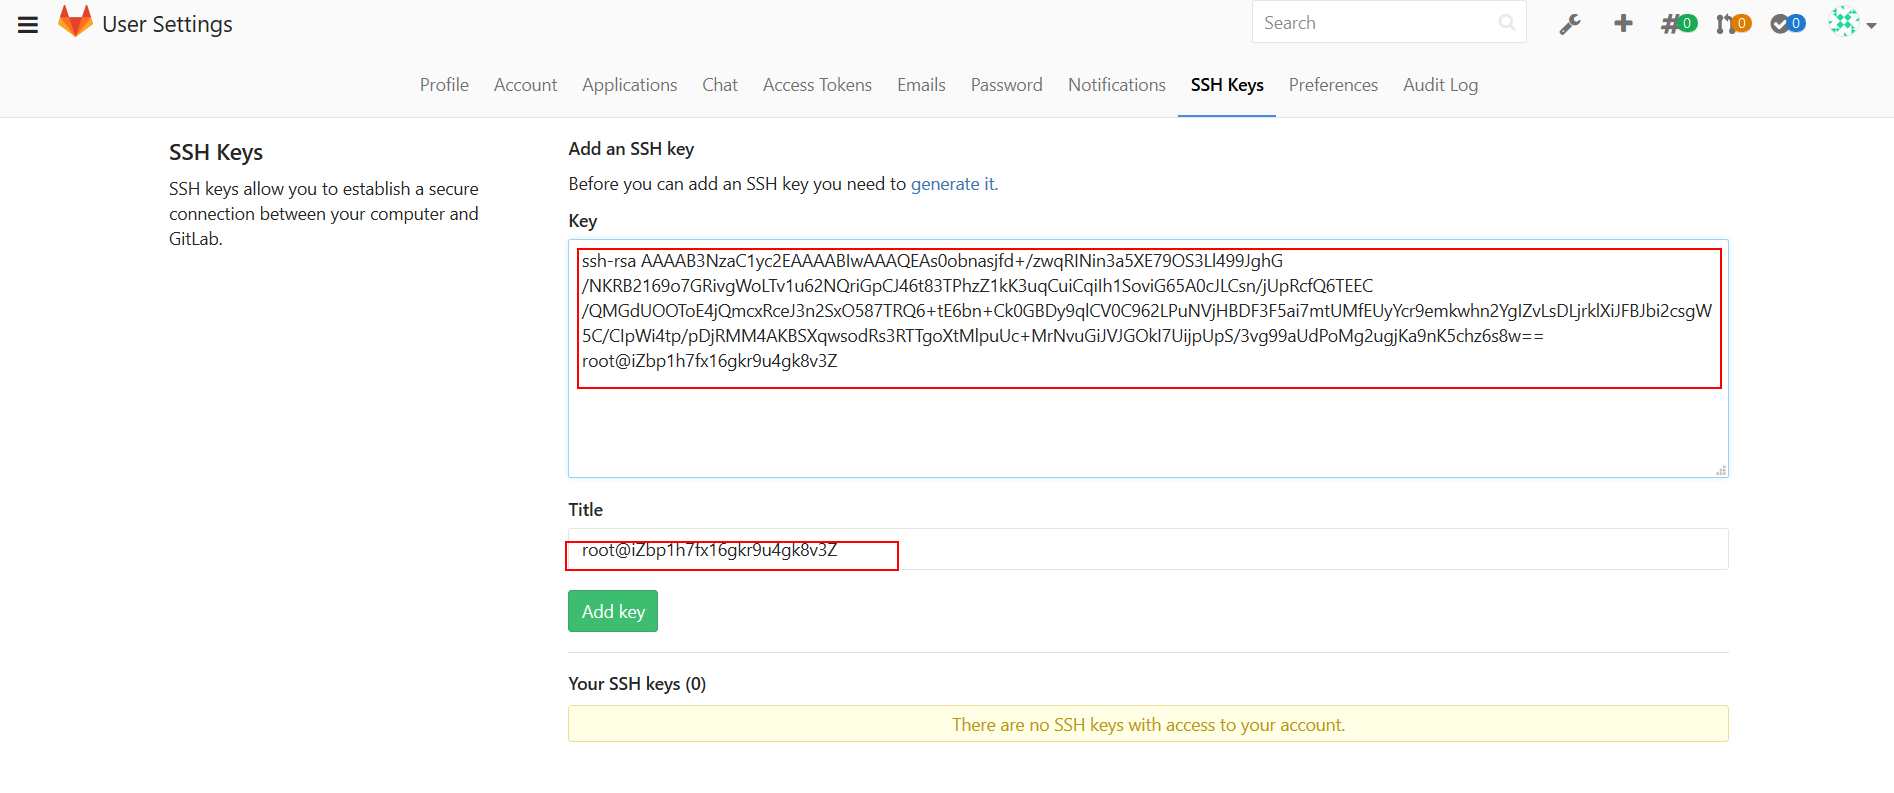
ssh key添加完成:

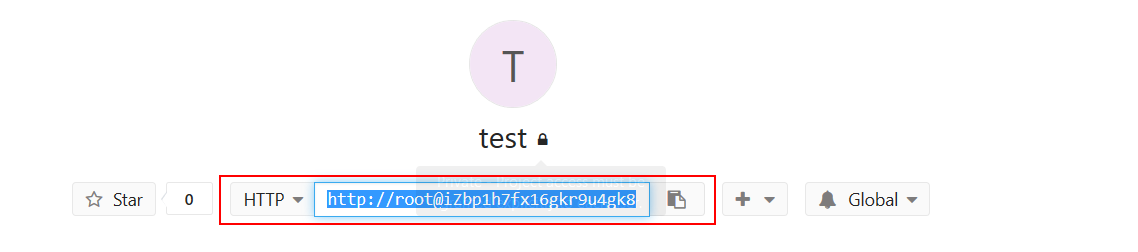
项目地址,该地址在进行clone操作时需要用到:
简单配置
1、配置使用Git仓库的人员姓名(以上海驻云为例)
git config --global user.name "上海驻云" git config --global user.email "support@jiagouyun.com"
git clone git@iZbp1h7fx16gkr9u4gk8v3Z:root/test.git

上传文件
1、进入到项目目录
cd test/ echo “test” > /root/test.shcp /root/test.sh ./ 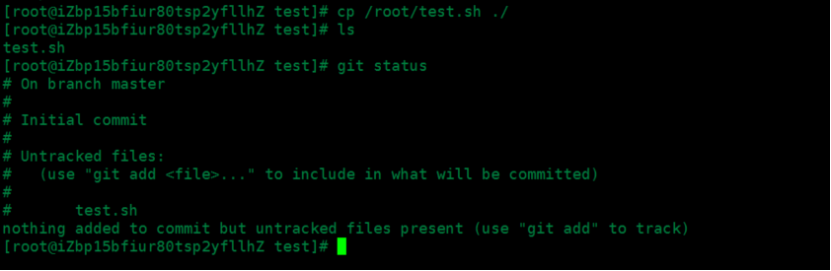
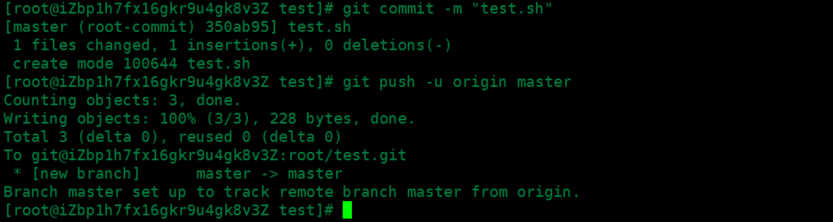
4、将test.sh文件加入到索引中
git add test.sh git commit -m “test.sh”git push -u origin master
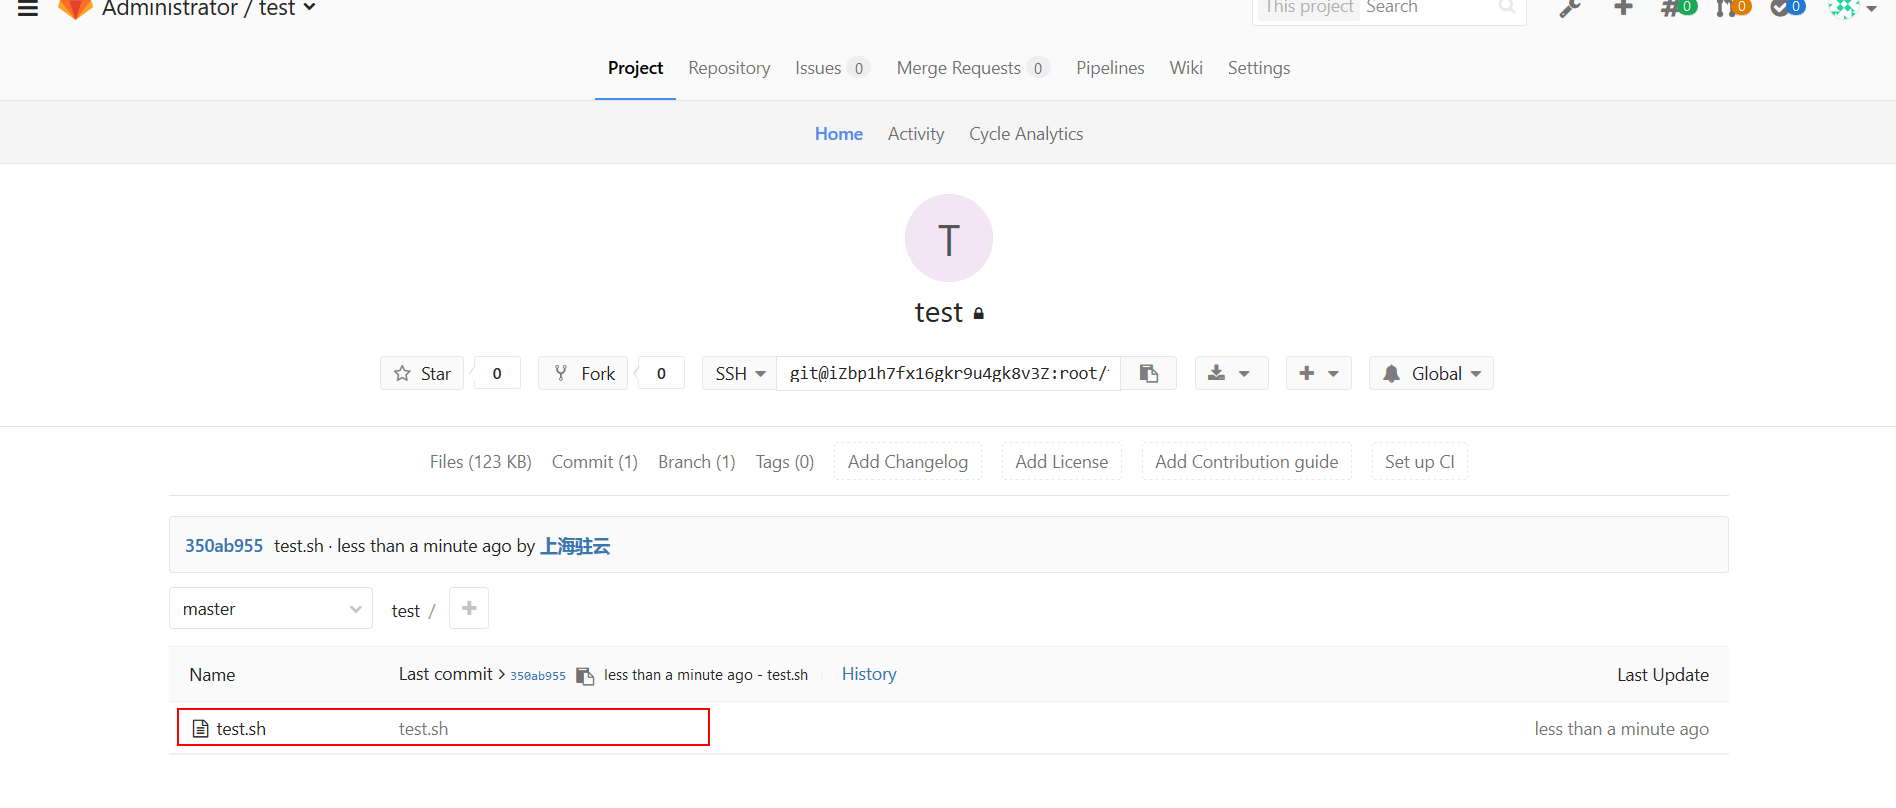
7、在网页中查看上传的test.sh文件已经同步到GitLab中
参考文章: https://yq.aliyun.com/articles/74395