基于阿里云的云盾证书服务,系统是centos6.8,web服务器是nginx1.8.0,简单记录下踩坑情况。

申请证书
-
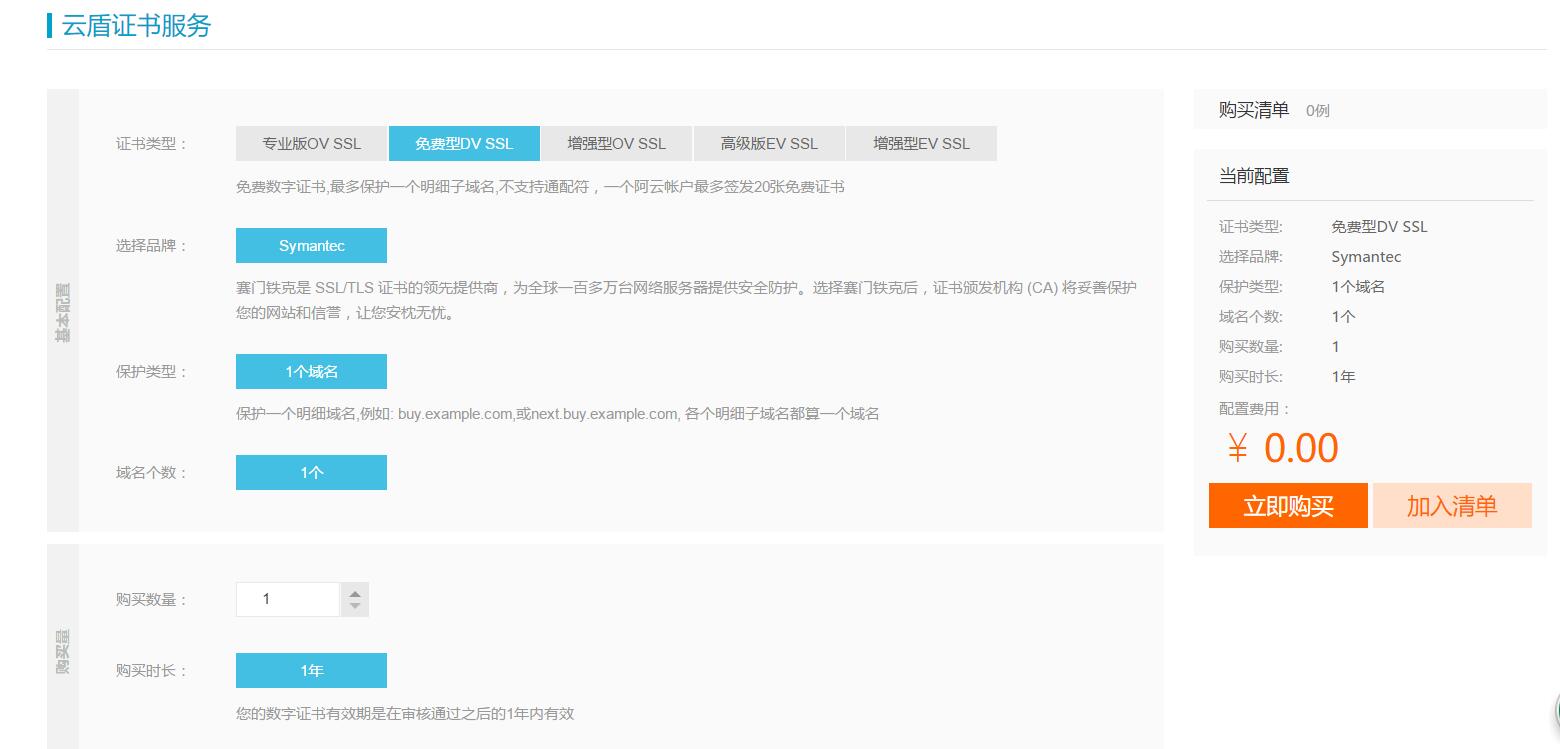
登录阿里云控制台→安全(云盾)→证书服务→购买证书(https://common-buy.aliyun.com/?spm=5176.2020520163.cas.1.zTLyhO&commodityCode=cas#/buy)

-
完成购买后补全信息:填写域名信息、填写个人信息。注意验证域名这步,没有勾选证书绑定。。。那句的话需要在域名解析中增加一条txt类型的解析。
-
上传,选择系统生成CSR,点击创建然后再提交审核。
-
审核成功后就可以下载证书然后上传到网站了,下面说下配置
配置SSL
可以将证书放置在任意位置,这里放置在nginx配置目录下的ssl目录里(需要新建ssl目录)
编辑配置文件
vim blog_ssl.conf
server {
    listen      80;
    server_name    domainname;
    return      301 https://$server_name$request_uri;
}
server
{
    listen 443;
    server_name domainname;
    ssl on;
    index index.html index.htm index.php;
    root /path/to/webroot;
    ssl_certificate_key  sslpath/214091409160173.key;
    ssl_certificate      /sslpath/214091409160173.pem;
    ssl_session_timeout 5m;
    ssl_ciphers ECDHE-RSA-AES128-GCM-SHA256:ECDHE:ECDH:AES:HIGH:!NULL:!aNULL:!MD5:!ADH:!RC4;
    ssl_protocols TLSv1 TLSv1.1 TLSv1.2;
    ssl_prefer_server_ciphers on;
    location / {
       # if (!-e $request_filename){
       #   rewrite ^/(.*) /index.php last;
       # }
	root  /path/to/webroot/subdir/web;
        try_files  $uri subdir/web/index.php?$args;

        # avoiding processing of calls to non-existing static files by Yii
        location ~ .(js|css|png|jpg|gif|swf|ico|pdf|mov|fla|zip|rar)$ {
            access_log  off;
            expires  360d;

           try_files  $uri =404;
        }
    }
    location /admin {
        alias  /path/to/webroot/backend/web;

        rewrite  ^(/admin)/$ $1 permanent;
        try_files  $uri /backend/web/index.php?$args;
    }
    # avoiding processing of calls to non-existing static files by Yii
    location ~ ^/admin/(.+.(js|css|png|jpg|gif|swf|ico|pdf|mov|fla|zip|rar))$ {
        access_log  off;
        expires  360d;

        rewrite  ^/admin/(.+)$ /backend/web/$1 break;
        rewrite  ^/admin/(.+)/(.+)$ /backend/web/$1/$2 break;
        try_files  $uri =404;
    }
    location ~ .php$ {
            fastcgi_pass   127.0.0.1:9000;
            fastcgi_index  index.php;
            #fastcgi_param  SCRIPT_FILENAME  $document_root$fastcgi_script_name;
            fastcgi_param  SCRIPT_FILENAME  $document_root$fastcgi_script_name;
            include        fastcgi_params;


    }
    location = /requirements.php {
        deny all;
    }

    location ~ .(ht|svn|git) {
        deny all;
    }
}
保存,然后sbin/nginx -t检测一下
提示nginx: [emerg] unknown directive "ssl" 说明没有将ssl模块编译进nginx,到nginx的源码路径下重新编译下nginx 加上--with-http_ssl_module 然后make后不用make install 否则就会覆盖安装了。然后将新的可执行程序拷贝覆盖下之前的可执行程序
#cp -rfp objs/nginx /app/local/nginx/sbin/nginx
然后重启nginx
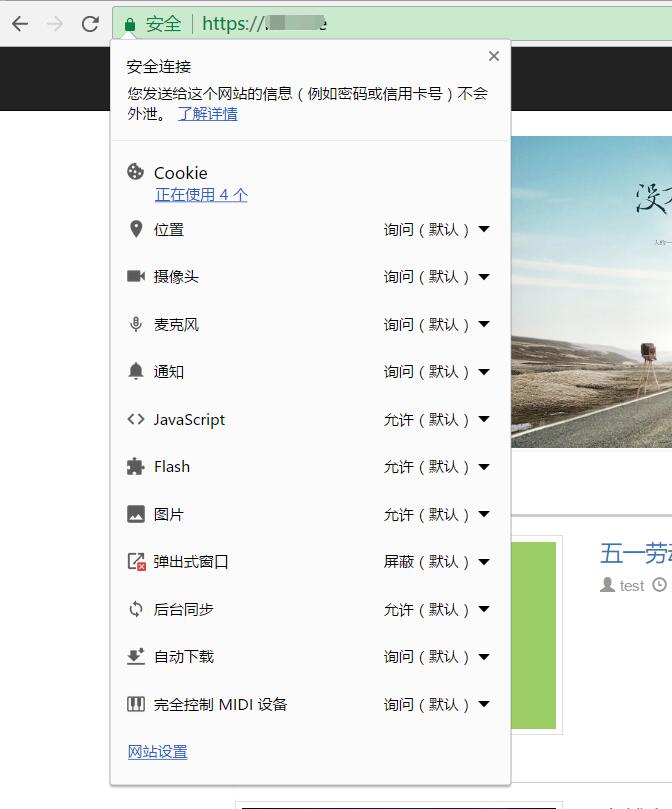
验证配置
