1.开发环境
开发工具:IDEA2018.2.1
JDK:1.9
Maven : 3.3.9
操作系统:window 7 / window 10
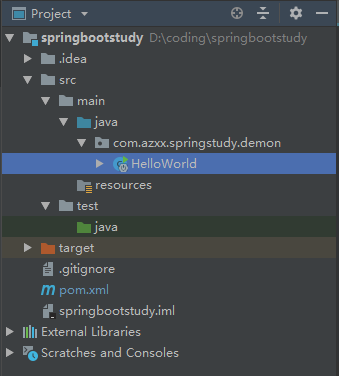
2.项目结构
3.详细步骤
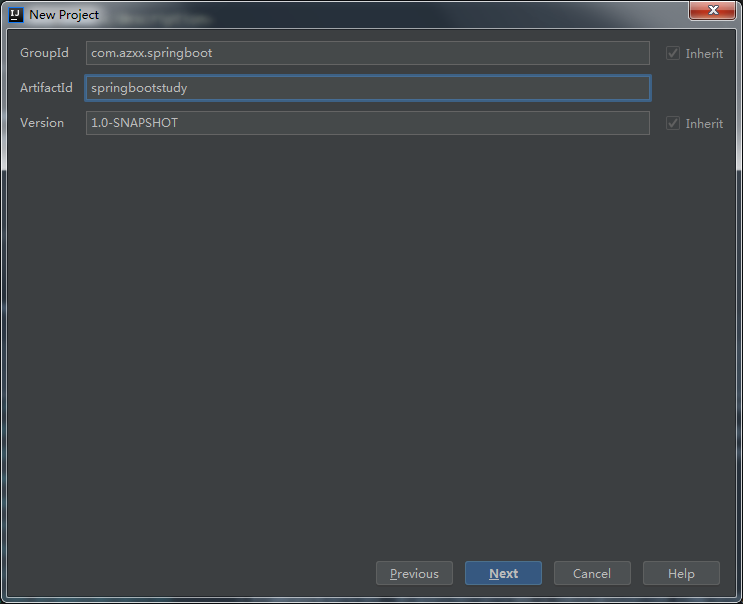
3.1 使用IDEA新建Maven空白项目
file->new->project,然后按照要求填好。如下:
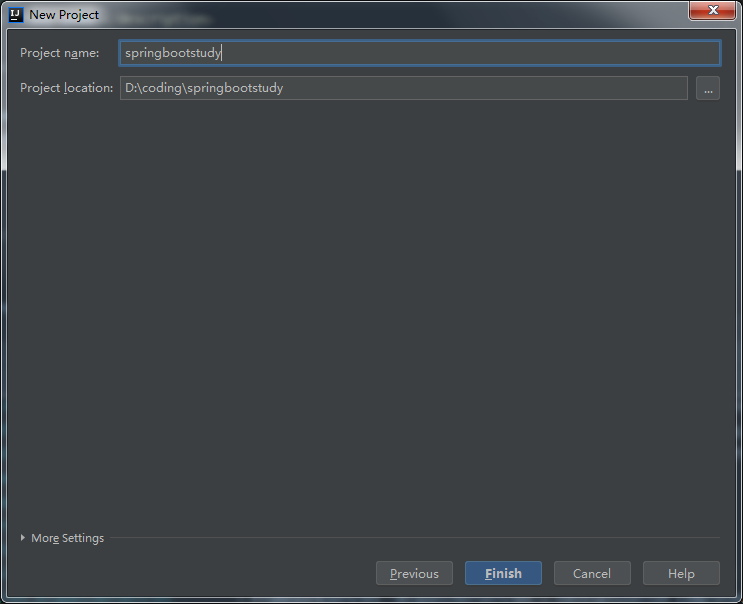
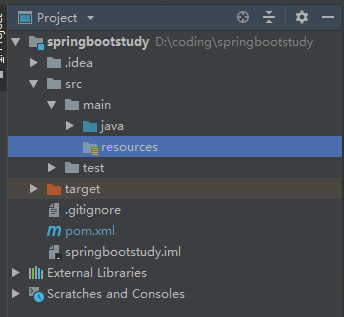
点击finsh后会生成项目如下:
3.2 在pom.xml文件添加继承、依赖和插件配置
<!-- 默认继承 -->
<parent>
    <groupId>org.springframework.boot</groupId>
    <artifactId>spring-boot-starter</artifactId>
    <version>2.0.5.RELEASE</version>
</parent>
<dependencies>
        <dependency>
            <groupId>org.springframework.boot</groupId>
            <artifactId>spring-boot-starter-web</artifactId>
        </dependency>
</dependencies>
<build>
        <plugins>
            <plugin>
                <groupId>org.springframework.boot</groupId>
                <artifactId>spring-boot-maven-plugin</artifactId>
            </plugin>
        </plugins>
</build>
3.3 在com.azxx.springstudy.demon新建HelloWorld.java 并添加注解
@RestController
@EnableAutoConfiguration
public class HelloWorld {

    @RequestMapping("/")
    String helloworld(){
        return "Hello World!";
    }

    public static void main(String[] args) {
        SpringApplication.run(HelloWorld.class,args);
    }
}
3.3 运行main方法,并打开localhost:8080。HelloWorld就完成了。

4 解释说明
@RestController 和 @RequestMapping 并不是spring boot 所特有的,他么其实是Spring MVC中的注解。有兴趣的同学可以查看Spring MVC中的注解说明,这里只做简单介绍
@RestController 表示这个类所扮演的角色,是处理Web 请求的,并表示返回给调用者的数据是string字符串类型。
@RequestMapping 这个注解提供了路由信息,可以通过指定的路径来执行指定的方法。在本例中是为根路径/,我们可以通过localhost:8080/即可调用helloworld方法。
@EnableAutoConfiguration 这个注解启用了spring boot 的自动配置。在本例中我们项目中依赖了spring-boot-starter-web,spring boot 就会自动为我们添加Tomcat、Spring MVC相关配置。