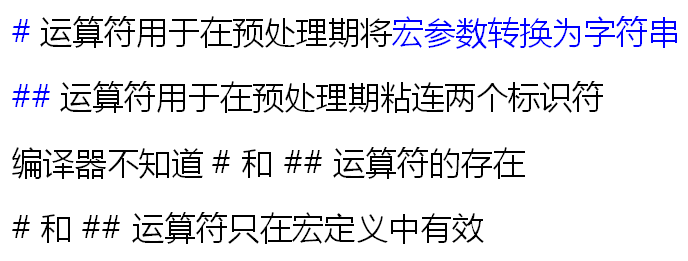
#运算符:
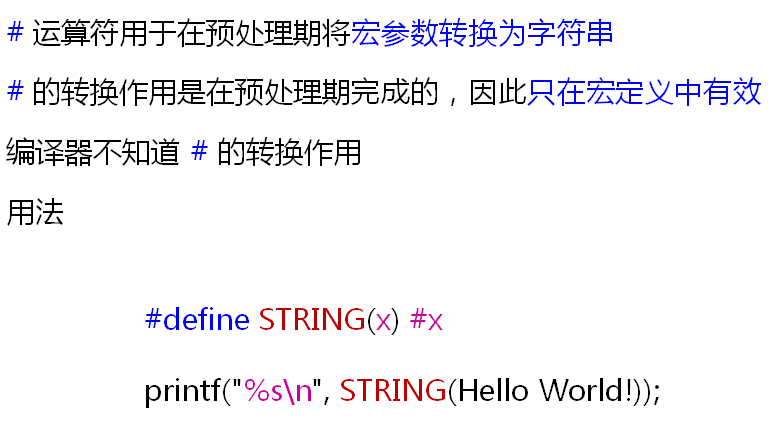
示例程序:
 1 #include <stdio.h>
 2
 3 #define STRING(x) #x
 4
 5 int main()
 6 {
 7
 8     printf("%s
", STRING(Hello world!));
 9     printf("%s
", STRING(100));
10     printf("%s
", STRING(while));
11     printf("%s
", STRING(return));
12
13     return 0;
14 }
运行结果如下:

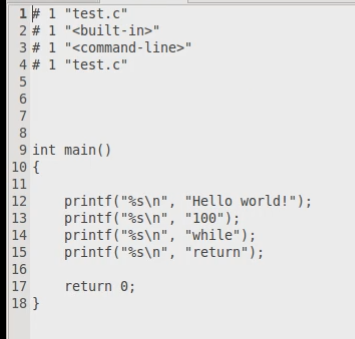
执行gcc -E test.c -o test.i单步编译,得到中间文件如下:
工程开发中#的使用示例:
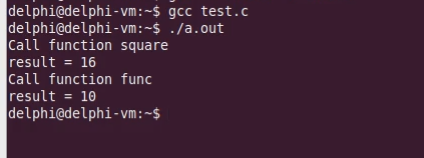
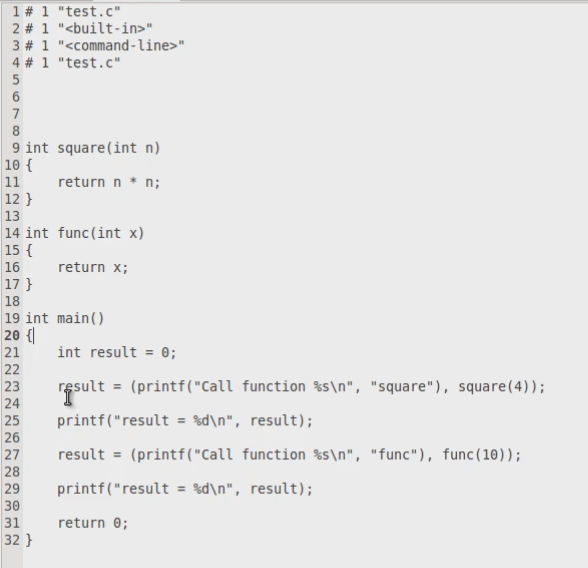
 1 #include <stdio.h>
 2
 3 #define CALL(f, p) (printf("Call function %s
", #f), f(p))
 4
 5 int square(int n)
 6 {
 7     return n * n;
 8 }
 9
10 int func(int x)
11 {
12     return x;
13 }
14
15 int main()
16 {
17     int result = 0;
18
19     result = CALL(square, 4);
20
21     printf("result = %d
", result);
22
23     result = CALL(func, 10);
24
25     printf("result = %d
", result);
26
27     return 0;
28 }
运行结果如下:
单步编译的结果如下:
##运算符:
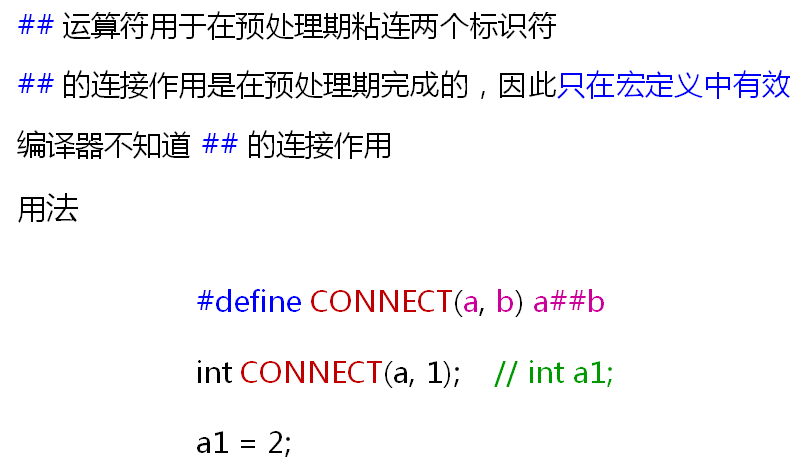
示例如下:
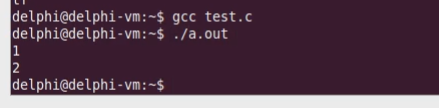
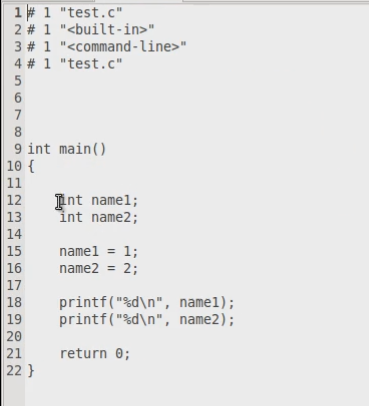
 1 #include <stdio.h>
 2
 3 #define NAME(n) name##n
 4
 5 int main()
 6 {
 7
 8     int NAME(1);
 9     int NAME(2);
10
11     NAME(1) = 1;
12     NAME(2) = 2;
13
14     printf("%d
", NAME(1));
15     printf("%d
", NAME(2));
16
17     return 0;
18 }
运行结果如下:
单步编译结果如下:
工程中的应用,在工程中我们可能需要定义成百上千个相同的结构体的变量,这时##就派上用场了。
示例如下:
 1 #include <stdio.h>
 2
 3 #define STRUCT(type) typedef struct _tag_##type type;
 4                      struct _tag_##type
 5
 6 STRUCT(Student)
 7 {
 8     char* name;
 9     int id;
10 };
11
12 int main()
13 {
14
15     Student s1;
16     Student s2;
17
18     s1.name = "s1";
19     s1.id = 0;
20
21     s2.name = "s2";
22     s2.id = 1;
23
24     printf("s1.name = %s
", s1.name);
25     printf("s1.id = %d
", s1.id);
26     printf("s2.name = %s
", s2.name);
27     printf("s2.id = %d
", s2.id);
28
29     return 0;
30 }
运行结果如下:

这样免去了写成百上千个typedef的过程。
预处理单步编译结果:
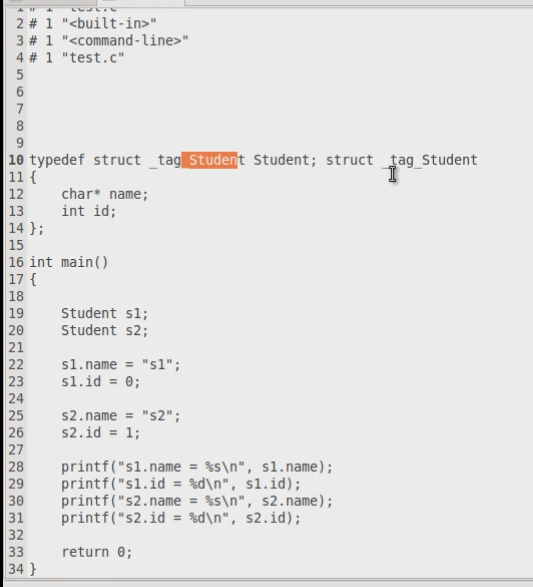
以上的程序时##运算符在工程中的典型应用。
小结: