一、首先创建一个基于vue脚手架的项目工程,命名为parent
vue create parent

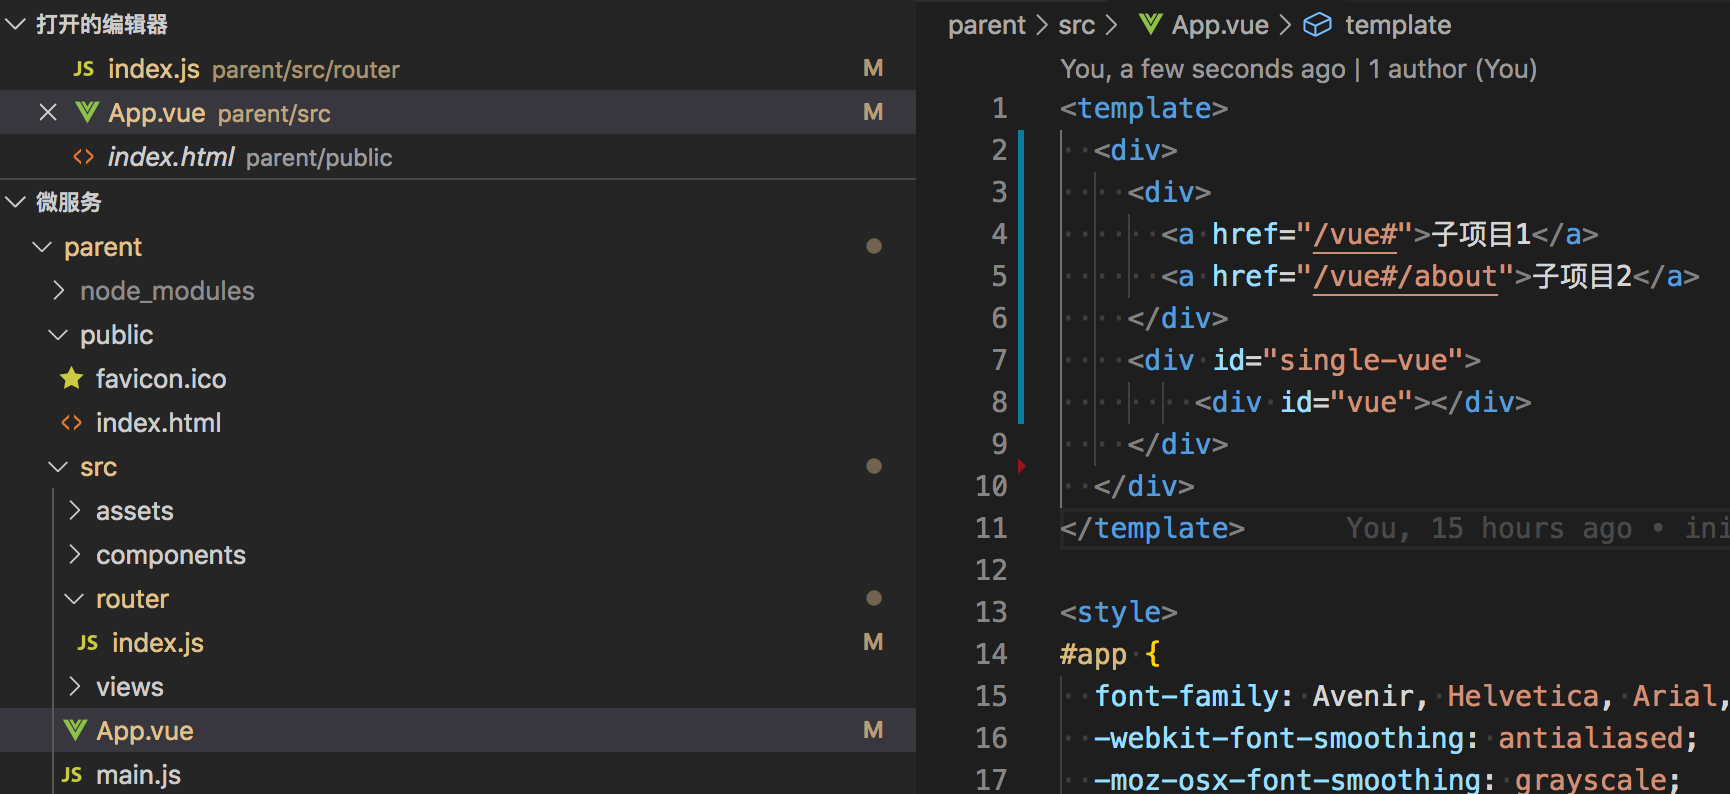
1.针对这个parent项目:
安装single-spa
npm install single-spa --save -d
安装后的效果

2.设置子项目路由
在路由中注册统一路由,我们注册一个子服务路由,不填写component字段
{
    path: '/single-router',
    name: 'single-router'
}
3.搭建子项目入口
4.注册子项目
使用single-spa注册子项目
singleSpa.registerApplication:这是注册子项目的方法。参数如下:
- appName: 子项目名称
- applicationOrLoadingFn: 子项目注册函数,用户需要返回 single-spa 的生命周期对象。后面我们会介绍single-spa的生命周期机制
- activityFn: 回调函数入参
location对象,可以写自定义匹配路由加载规则。singleSpa.start:这是启动函数。
在项目中新建一个 single-spa-config.js,并在main.js中引入
single-spa-config.js
// single-spa-config.js
import * as singleSpa from 'single-spa'; //导入single-spa
/*
* runScript:一个promise同步方法。可以代替创建一个script标签,然后加载服务
* */
const runScript = async (url) => {
    return new Promise((resolve, reject) => {
        const script = document.createElement('script');
        script.src = url;
        script.onload = resolve;
        script.onerror = reject;
        const firstScript = document.getElementsByTagName('script')[0];
        firstScript.parentNode.insertBefore(script, firstScript);
    });
};
singleSpa.registerApplication( //注册微前端服务
    'singleDemo',
    async () => {
        await runScript('http://127.0.0.1:3000/js/chunk-vendors.js');
        await runScript('http://127.0.0.1:3000/js/app.js');
        return window.singleVue;
    },
    location => location.pathname.startsWith('/vue') // 配置微前端模块前缀
);
singleSpa.start(); // 启动
二、创建一个子项目,命名为vue-child1
1.安装single-spa-vue包
npm install single-spa-vue --save -d