前置条件:jdk
安装模式:单机,伪集群,集群
一、下载
二、解压
三、配置
1、新建以下目录:data,log
2、conf 目录中配置 zoo.cfg 文件
# The number of milliseconds of each tick
tickTime=2000
# The number of ticks that the initial
# synchronization phase can take
initLimit=10
# The number of ticks that can pass between
# sending a request and getting an acknowledgement
syncLimit=5
# the directory where the snapshot is stored.
# do not use /tmp for storage, /tmp here is just
# example sakes.
dataDir=D:\Software\Java\apache-zookeeper-3.6.1-bin\data
dataLogDir=D:\Software\Java\apache-zookeeper-3.6.1-bin\log
# the port at which the clients will connect
clientPort=2181
admin.serverPort=8888
四、启动
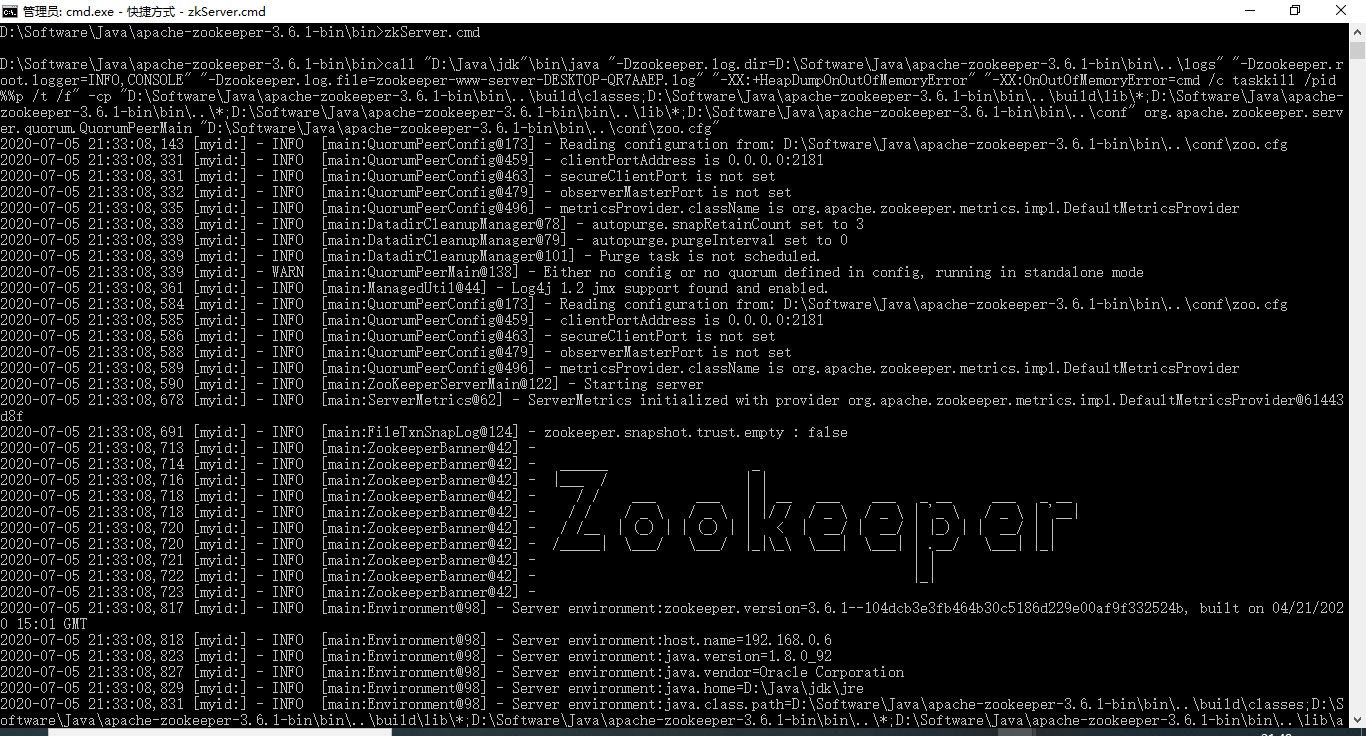
bin 目录中服务端:zkServer.cmd
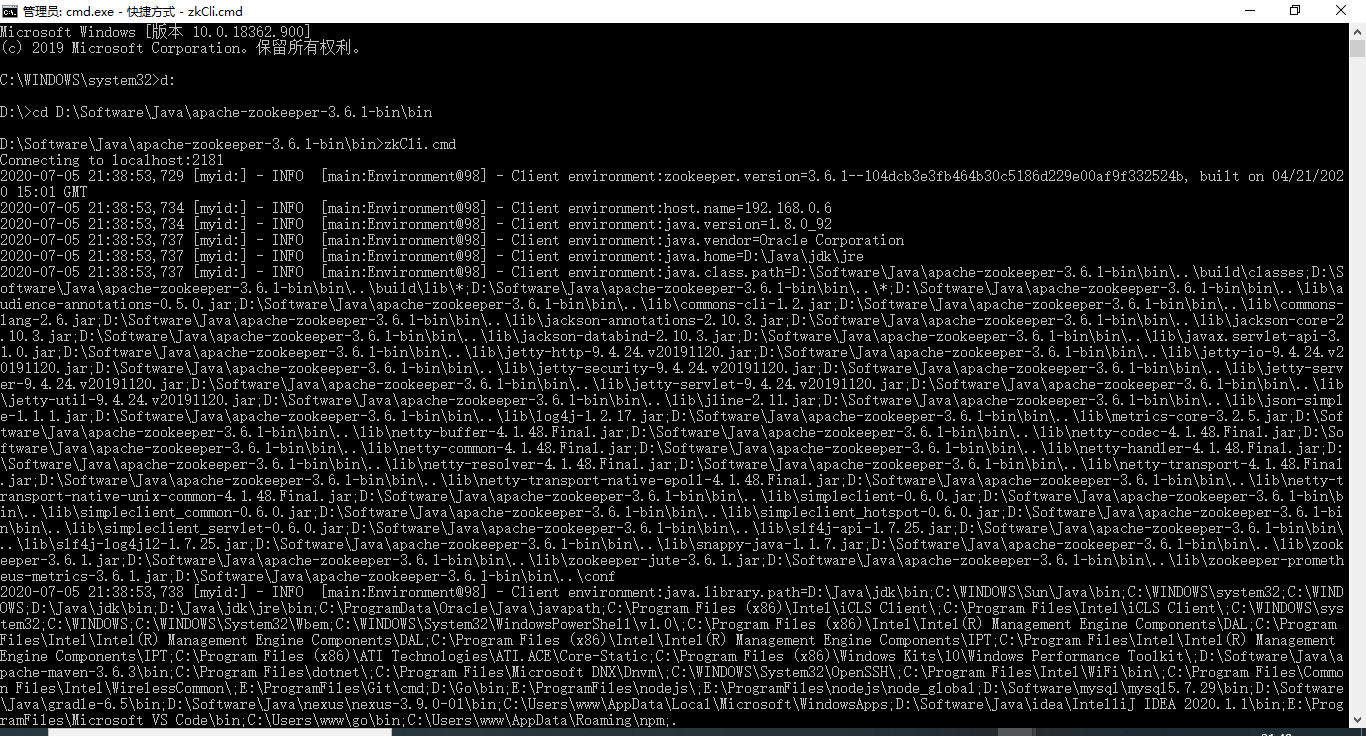
bin 目录中客户端:zkCli.cmd
五、UI查看器

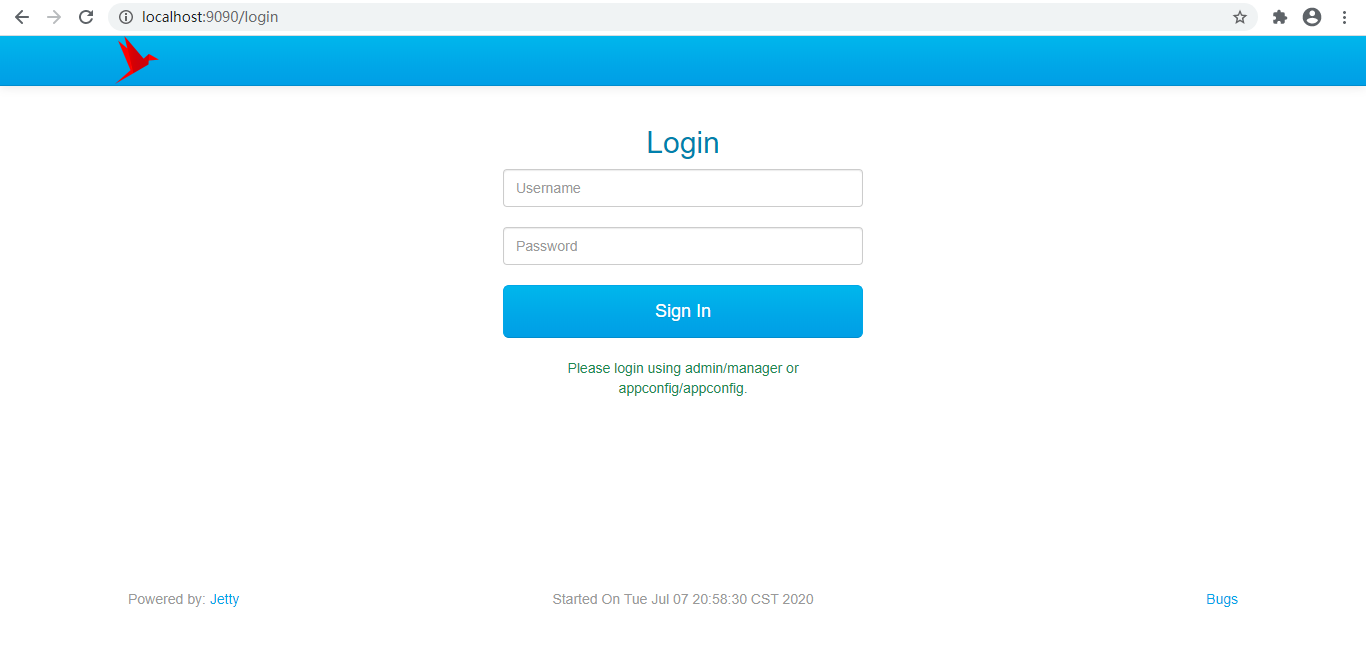
六、zkui
zkui 为 zookeeper 提供了一个 web 管理界面,可以对 zookeepr 的节点值进行CRUD操作,同时也提供了安全认证。
github地址:https://github.com/DeemOpen/zkui
下载源码,在 idea 中打开,并启动
默认用户名/密码:admin / manager,可在 config.cfg 中配置

参考资料: