开发工具android stdio,组件Radio Button
1.新建空项目DDDD
2.将事先准备好的图标复制到对应的文件夹中(如图),这五个文件夹都要拷进去,图标文件http://pan.baidu.com/s/1slVnev7

3.在values/colors.xml中加入几种会用到的颜色资源
<?xml version="1.0" encoding="utf-8"?>
<resources>
    <color name="colorPrimary">#3F51B5</color>
    <color name="colorPrimaryDark">#303F9F</color>
    <color name="colorAccent">#FF4081</color>
    <color name="main_menu_color">#f6f7f9</color>
    <color name="main_menu_color_normal">#6E7174</color>
    <color name="main_menu_color_check">#4169E1</color>
    <color name="divider_color">#E1E1E1</color>
</resources>
4.在values/styles.xml中为RadioButton编写统一样式
<resources>

    <!-- Base application theme. -->
    <style name="AppTheme" parent="Theme.AppCompat.Light.DarkActionBar">
        <!-- Customize your theme here. -->
        <item name="colorPrimary">@color/colorPrimary</item>
        <item name="colorPrimaryDark">@color/colorPrimaryDark</item>
        <item name="colorAccent">@color/colorAccent</item>
    </style>

    <style name="RadioButtonButtomTab">
        <item name="android:layout_width">0dp</item>
        <item name="android:layout_height">match_parent</item>
        <item name="android:layout_weight">1</item>
        <item name="android:button">@null</item>
        <item name="android:gravity">center</item>
        <item name="android:textColor">@drawable/top_menu</item>
        <item name="android:paddingTop">6dp</item>
        <item name="android:background">@color/main_menu_color</item>
    </style>
</resources>
5.在res/drawable下新建几个RadioButton对应的xml文件,将图片导入

<?xml version="1.0" encoding="utf-8"?>
<selector xmlns:android="http://schemas.android.com/apk/res/android">
    <item android:drawable="@mipmap/friends_selected" android:state_checked="true"/>
    <item android:drawable="@mipmap/friends"/>
</selector>
<?xml version="1.0" encoding="utf-8"?>
<selector xmlns:android="http://schemas.android.com/apk/res/android">
    <item android:drawable="@mipmap/location_selected" android:state_checked="true"/>
    <item android:drawable="@mipmap/location"/>
</selector>
<?xml version="1.0" encoding="utf-8"?>
<selector xmlns:android="http://schemas.android.com/apk/res/android">
    <item android:drawable="@mipmap/step_selected" android:state_checked="true"/>
    <item android:drawable="@mipmap/step"/>
</selector>
<?xml version="1.0" encoding="utf-8"?>
<selector xmlns:android="http://schemas.android.com/apk/res/android">
    <item android:drawable="@mipmap/weather_selected" android:state_checked="true"/>
    <item android:drawable="@mipmap/weather"/>
</selector>
<?xml version="1.0" encoding="utf-8"?>
<selector xmlns:android="http://schemas.android.com/apk/res/android">
<item android:color="@color/main_menu_color_check" android:state_checked="true"/>
    <item android:color="@color/main_menu_color_normal"/>
</selector>
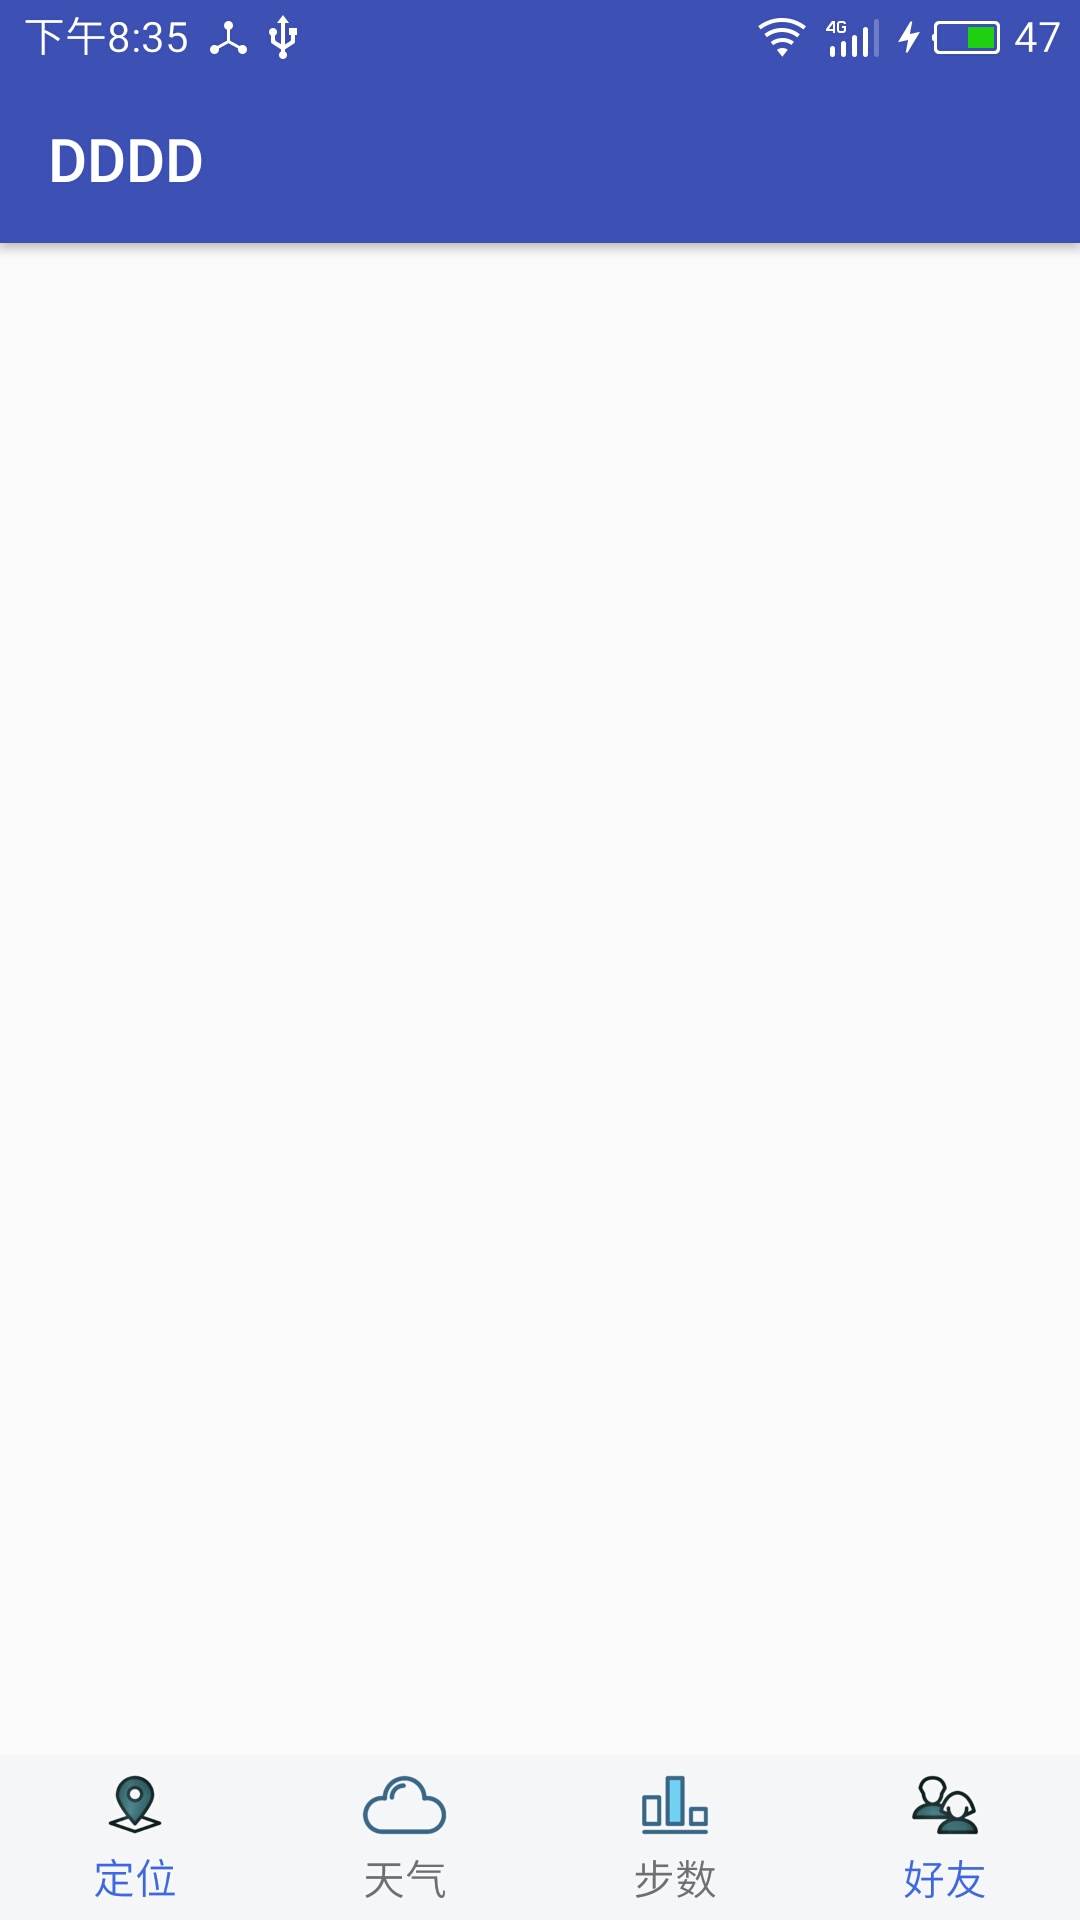
6. 编写activity_main.xml文件,并将之前写好的样式和图片资源导入RadioButton,界面部分就此完工,继续加功能的话,就要通过监听器实现活动间的跳转了。
<?xml version="1.0" encoding="utf-8"?>
<RelativeLayout xmlns:android="http://schemas.android.com/apk/res/android"
    xmlns:tools="http://schemas.android.com/tools"
    android:id="@+id/activity_main"
    android:layout_width="match_parent"
    android:layout_height="match_parent"
    tools:context="test.example.com.dddd.MainActivity">

    <LinearLayout
        android:gravity="bottom"
        android:orientation="vertical"
        android:layout_width="match_parent"
        android:layout_height="match_parent">
        <RadioGroup
            android:orientation="horizontal"
            android:layout_width="match_parent"
            android:layout_height="55dp">
            <RadioButton
                style="@style/RadioButtonButtomTab"
                android:drawableTop="@drawable/main_menu_location"
                android:checked="true"
                android:text="定位"
                />
            <RadioButton
                style="@style/RadioButtonButtomTab"
                android:drawableTop="@drawable/main_menu_weather"
                android:text="天气" />
            <RadioButton
                style="@style/RadioButtonButtomTab"
                android:drawableTop="@drawable/main_menu_step"
                android:text="步数"
                />
            <RadioButton
                android:text="好友"
                android:drawableTop="@drawable/main_menu_friends"
                style="@style/RadioButtonButtomTab"/>
        </RadioGroup>
    </LinearLayout>
</RelativeLayout>
最终效果如图