因为tvm版本变化较大,v5.0-v6.0目录结构都不一样,所以安装要参照官方文档
https://tvm.apache.org/docs/install/from_source.html
之前在服务器上按照官方文档装都装不上,在运行sudo apt-get update命令时候一直无法更新软件列表,我也没把这个问题放到心上,后来发现公司的代理不能连上阿里源,所以我把源换回了官方,后来按照官方文档装就好了,但是还有几个python的依赖没装上,以后再说吧。
源文件 /etc/apt/sources.list
换源的时候记得要备份以前的源文件,换完了不好使也可以直接换回去
ubuntu18.04官方源
# deb cdrom:[Ubuntu 18.04.3 LTS _Bionic Beaver_ - Release amd64 (20190805)]/ bionic main restricted

# See http://help.ubuntu.com/community/UpgradeNotes for how to upgrade to
# newer versions of the distribution.
deb http://us.archive.ubuntu.com/ubuntu/ bionic main restricted
# deb-src http://us.archive.ubuntu.com/ubuntu/ bionic main restricted

## Major bug fix updates produced after the final release of the
## distribution.
deb http://us.archive.ubuntu.com/ubuntu/ bionic-updates main restricted
# deb-src http://us.archive.ubuntu.com/ubuntu/ bionic-updates main restricted

## N.B. software from this repository is ENTIRELY UNSUPPORTED by the Ubuntu
## team. Also, please note that software in universe WILL NOT receive any
## review or updates from the Ubuntu security team.
deb http://us.archive.ubuntu.com/ubuntu/ bionic universe
# deb-src http://us.archive.ubuntu.com/ubuntu/ bionic universe
deb http://us.archive.ubuntu.com/ubuntu/ bionic-updates universe
# deb-src http://us.archive.ubuntu.com/ubuntu/ bionic-updates universe

## N.B. software from this repository is ENTIRELY UNSUPPORTED by the Ubuntu
## team, and may not be under a free licence. Please satisfy yourself as to
## your rights to use the software. Also, please note that software in
## multiverse WILL NOT receive any review or updates from the Ubuntu
## security team.
deb http://us.archive.ubuntu.com/ubuntu/ bionic multiverse
# deb-src http://us.archive.ubuntu.com/ubuntu/ bionic multiverse
deb http://us.archive.ubuntu.com/ubuntu/ bionic-updates multiverse
# deb-src http://us.archive.ubuntu.com/ubuntu/ bionic-updates multiverse

## N.B. software from this repository may not have been tested as
## extensively as that contained in the main release, although it includes
## newer versions of some applications which may provide useful features.
## Also, please note that software in backports WILL NOT receive any review
## or updates from the Ubuntu security team.
deb http://us.archive.ubuntu.com/ubuntu/ bionic-backports main restricted universe multiverse
# deb-src http://us.archive.ubuntu.com/ubuntu/ bionic-backports main restricted universe multiverse

## Uncomment the following two lines to add software from Canonical's
## 'partner' repository.
## This software is not part of Ubuntu, but is offered by Canonical and the
## respective vendors as a service to Ubuntu users.
# deb http://archive.canonical.com/ubuntu bionic partner
# deb-src http://archive.canonical.com/ubuntu bionic partner

deb http://security.ubuntu.com/ubuntu bionic-security main restricted
# deb-src http://security.ubuntu.com/ubuntu bionic-security main restricted
deb http://security.ubuntu.com/ubuntu bionic-security universe
# deb-src http://security.ubuntu.com/ubuntu bionic-security universe
deb http://security.ubuntu.com/ubuntu bionic-security multiverse
# deb-src http://security.ubuntu.com/ubuntu bionic-security multiverse
换源之后进行更新
sudo apt-get update
sudo apt-get upgrade
新建目录存放tvm源码
sudo mkdir tvm
clone代码到本地
sudo git clone --recursive https://github.com/apache/tvm tvm
--recursive一定要加上
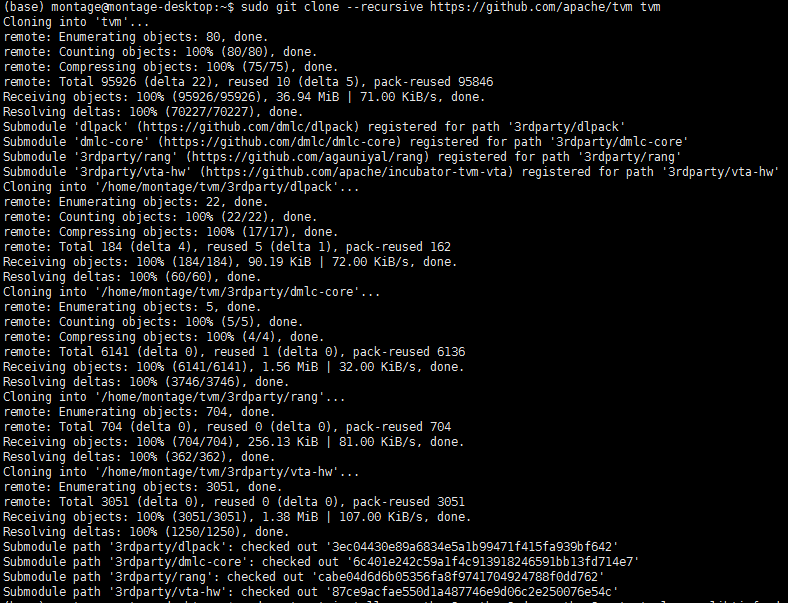
查看一下源码结构

安装需要的库
sudo apt-get install -y python3 python3-dev python3-setuptools gcc libtinfo-dev zlib1g-dev build-essential cmake libedit-dev libxml2-dev
在tvm目录中新建build文件夹,后面再build文件夹中进行编译
sudo mkdir build
将配置文件拷贝到build文件夹中
sudo cp cmake/config.cmake build
在开始编译前需要下载llvm
下载地址:https://releases.llvm.org/download.html
直接选择自己系统对应的版本
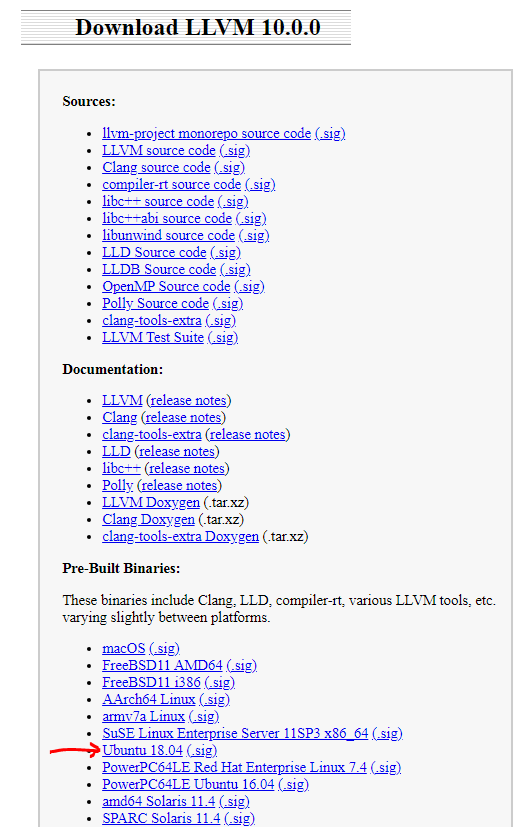
点击下载,下载到对应目录中,查看下文件的全名然后进行解压
sudo xz –d clang+llvm-10.0.0-x86_64-linux-gnu-ubuntu-18.04.tar.xz
sudo tar –xvf clang+llvm-10.0.0-x86_64-linux-gnu-ubuntu-18.04.tar
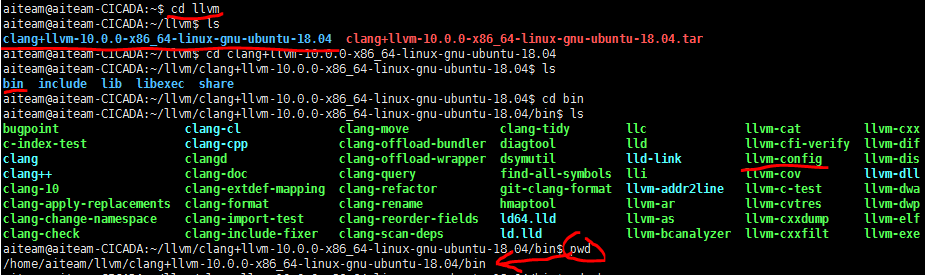
我的路径是这样的

接下来将路径添加到环境变量中,完整路径可以进入到llvm文件夹中,然后用pwd命令获取
sudo vim ~/.bashrc
在.bashrc文件的末尾加上llvm的路径,每个人的路径不一样,要看自己解压的位置

然后
source ~/.bashrc
输入命令
llvm-config --version
查看配置是否成功

成功
然后要修改build文件夹中的config.cmake文件,将如下选项改为ON
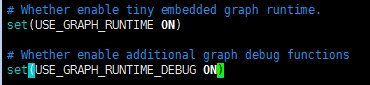

因为我用llvm所以llvm设置为ON,如果用到其他东西,对应选项都要置为ON,详细参照官方文档
修改完成后开始编译tvm
先进入到build目录
cd /home/montage/tvm/build
开始编译
sudo cmake ..

如果编译的时候出现找不到llvm-config的情况,如下:
CMake Error at cmake/utils/FindLLVM.cmake:47 (find_package):
  Could not find a package configuration file provided by "LLVM" with any of
  the following names:

    LLVMConfig.cmake
    llvm-config.cmake

  Add the installation prefix of "LLVM" to CMAKE_PREFIX_PATH or set
  "LLVM_DIR" to a directory containing one of the above files.  If "LLVM"
  provides a separate development package or SDK, be sure it has been
  installed.
Call Stack (most recent call first):
  cmake/modules/LLVM.cmake:31 (find_llvm)
  CMakeLists.txt:337 (include)


-- Configuring incomplete, errors occurred!
See also "/home/aiteam/tvm/build/CMakeFiles/CMakeOutput.log".
See also "/home/aiteam/tvm/build/CMakeFiles/CMakeError.log".
说明你的服务器中安装了多个版本的llvm,cmake不能找到明确位置
解决方法:
找到之前llvm下载安装的位置,然后将这个llvm-config文件的位置加到tvm/build/config.cmake中

把ON替换成llvm的位置,如红线所示
再编译就没问题了
sudo make -j4
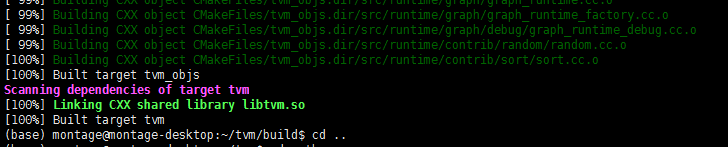
编译完成
安装conda环境
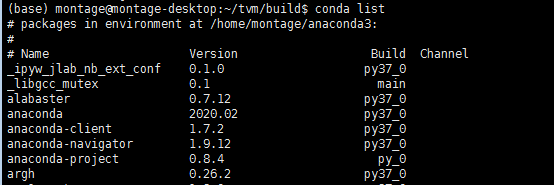
服务器上已经装了anaconda,所以直接运行命令就可以了

出现问题,是网络问题,anaconda是一个集成环境,所以我觉得不装在conda中,直接装在python里应该也不影响,所以继续安装python包
安装python包
官方文档一共提供了两种方法
方法1
在~/.bashrc中加入路径,然后保存退出,这里TVM_HOME路径通过pwd查看

方法2
在环境变量中加入
export MACOSX_DEPLOYMENT_TARGET=10.9
进入tvm文件夹中的python文件夹执行如下命令
python setup.py install --user
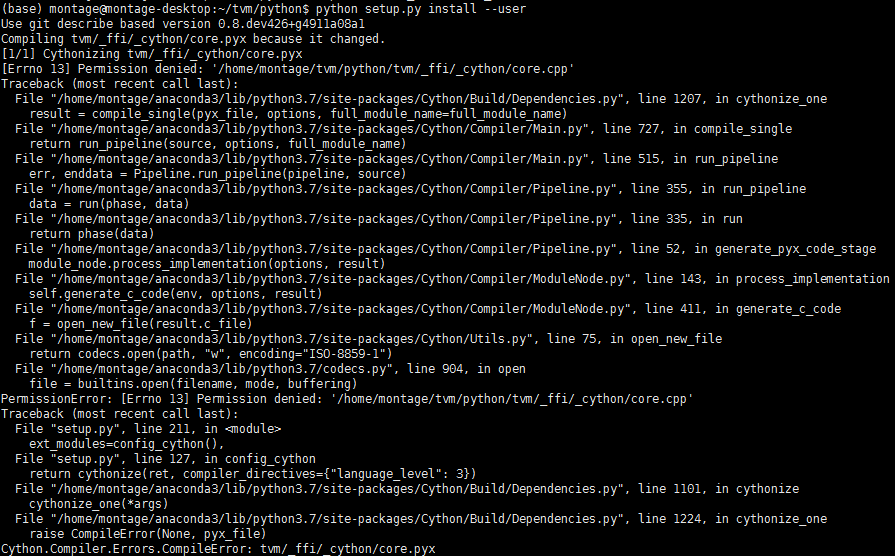
方法2失败,我在自己的虚拟机上也试过这么装,也是同样的错误,所以还是推荐用第一种方法
安装python依赖
pip3 install --user numpy decorator attrs
这个是必需的依赖
pip3 install --user tornado
使用RPC Tracker需要安装依赖
pip3 install --user tornado psutil xgboost cloudpickle
使用自动debug需要安装的依赖
就只有前两个包能找到,其他的都找不到
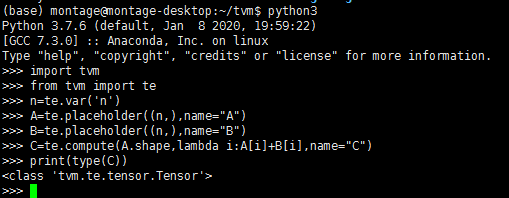
尝试运行一下官方demo
from __future__ import absolute_import, print_function

import tvm
import tvm.testing
from tvm import te
import numpy as np

# Global declarations of environment.

tgt_host = "llvm"
# Change it to respective GPU if gpu is enabled Ex: cuda, opencl, rocm
tgt = "cuda"


n = te.var("n")
A = te.placeholder((n,), name="A")
B = te.placeholder((n,), name="B")
C = te.compute(A.shape, lambda i: A[i] + B[i], name="C")
print(type(C))
在spyder中也可以运行

基本上算是成功了,docker安装官网的文档似乎有些问题,所以还是得自己编译安装
如果编译都成功了,但是在python中导入tvm时出现如下错误

可能是你的python版本过低,这是我在虚拟机上安装tvm遇到的情况,在python3.6中运行就正常了
