1.搭建环境windows10+jdk1.8+eclipse4.8+maven
2.为了学习微服务架构学习搭建基础项目
3.分为两种搭建方式为maven项目和单独建立springboot项目(eclipse需要安装相关的插件)
第一种使用maven搭建
1)创建maven项目 file--new---other --maven-project
2) 配置pom文件将springbootz相关的包引入
<?xml version="1.0" encoding="UTF-8"?>
<project xmlns="http://maven.apache.org/POM/4.0.0" xmlns:xsi="http://www.w3.org/2001/XMLSchema-instance"
xsi:schemaLocation="http://maven.apache.org/POM/4.0.0 http://maven.apache.org/xsd/maven-4.0.0.xsd">
<modelVersion>4.0.0</modelVersion>
<!-- spring boot基本环境 -->
<parent>
<groupId>org.springframework.boot</groupId>
<artifactId>spring-boot-starter-parent</artifactId>
<version>1.5.6.RELEASE</version>
</parent>
<groupId>com.wj</groupId>
<artifactId>springboot</artifactId>
<version>0.0.1-SNAPSHOT</version>
<name>springboot</name>
<!-- FIXME change it to the project's website -->
<url>http://www.example.com</url>
<properties>
<project.build.sourceEncoding>UTF-8</project.build.sourceEncoding>
<maven.compiler.source>1.7</maven.compiler.source>
<maven.compiler.target>1.7</maven.compiler.target>
</properties>
<dependencies>
<dependency>
<groupId>junit</groupId>
<artifactId>junit</artifactId>
<version>4.11</version>
<scope>test</scope>
</dependency>
<!--web应用基本环境配置 -->
<dependency>
<groupId>org.springframework.boot</groupId>
<artifactId>spring-boot-starter-web</artifactId>
</dependency>
</dependencies>
<build>
<pluginManagement><!-- lock down plugins versions to avoid using Maven defaults (may be moved to parent pom) -->
<plugins>
<plugin>
<artifactId>maven-clean-plugin</artifactId>
<version>3.0.0</version>
</plugin>
<!-- see http://maven.apache.org/ref/current/maven-core/default-bindings.html#Plugin_bindings_for_jar_packaging -->
<plugin>
<artifactId>maven-resources-plugin</artifactId>
<version>3.0.2</version>
</plugin>
<plugin>
<artifactId>maven-compiler-plugin</artifactId>
<version>3.7.0</version>
</plugin>
<plugin>
<artifactId>maven-surefire-plugin</artifactId>
<version>2.20.1</version>
</plugin>
<plugin>
<artifactId>maven-jar-plugin</artifactId>
<version>3.0.2</version>
</plugin>
<plugin>
<artifactId>maven-install-plugin</artifactId>
<version>2.5.2</version>
</plugin>
<plugin>
<artifactId>maven-deploy-plugin</artifactId>
<version>2.8.2</version>
</plugin>
<!-- spring-boot-maven-plugin插件就是打包spring boot应用的 -->
<plugin>
<groupId>org.springframework.boot</groupId>
<artifactId>spring-boot-maven-plugin</artifactId>
</plugin>
</plugins>
</pluginManagement>
</build>
</project>
3)创建先关的资源文件包 src/main/java 和src/main/resources
4) 创建测试的类
新建目录com.springboot和com.spring.web两个目录
在com.wj.spring目录下新建类App.java
package com.wj.springboot;
import org.springframework.boot.SpringApplication;
import org.springframework.boot.autoconfigure.SpringBootApplication;
/**
* Hello world!
*
*/
@SpringBootApplication
public class App {
public static void main(String[] args) {
SpringApplication.run(App.class, args);
}
}
在com.wj.spring.web下新建类OneController.java
package com.wj.springboot.web;
import org.springframework.stereotype.Controller;
import org.springframework.web.bind.annotation.RequestMapping;
import org.springframework.web.bind.annotation.ResponseBody;
@Controller
public class OneController {
@RequestMapping("/")
@ResponseBody
public String index() {
return "hello spring boot";
}
}
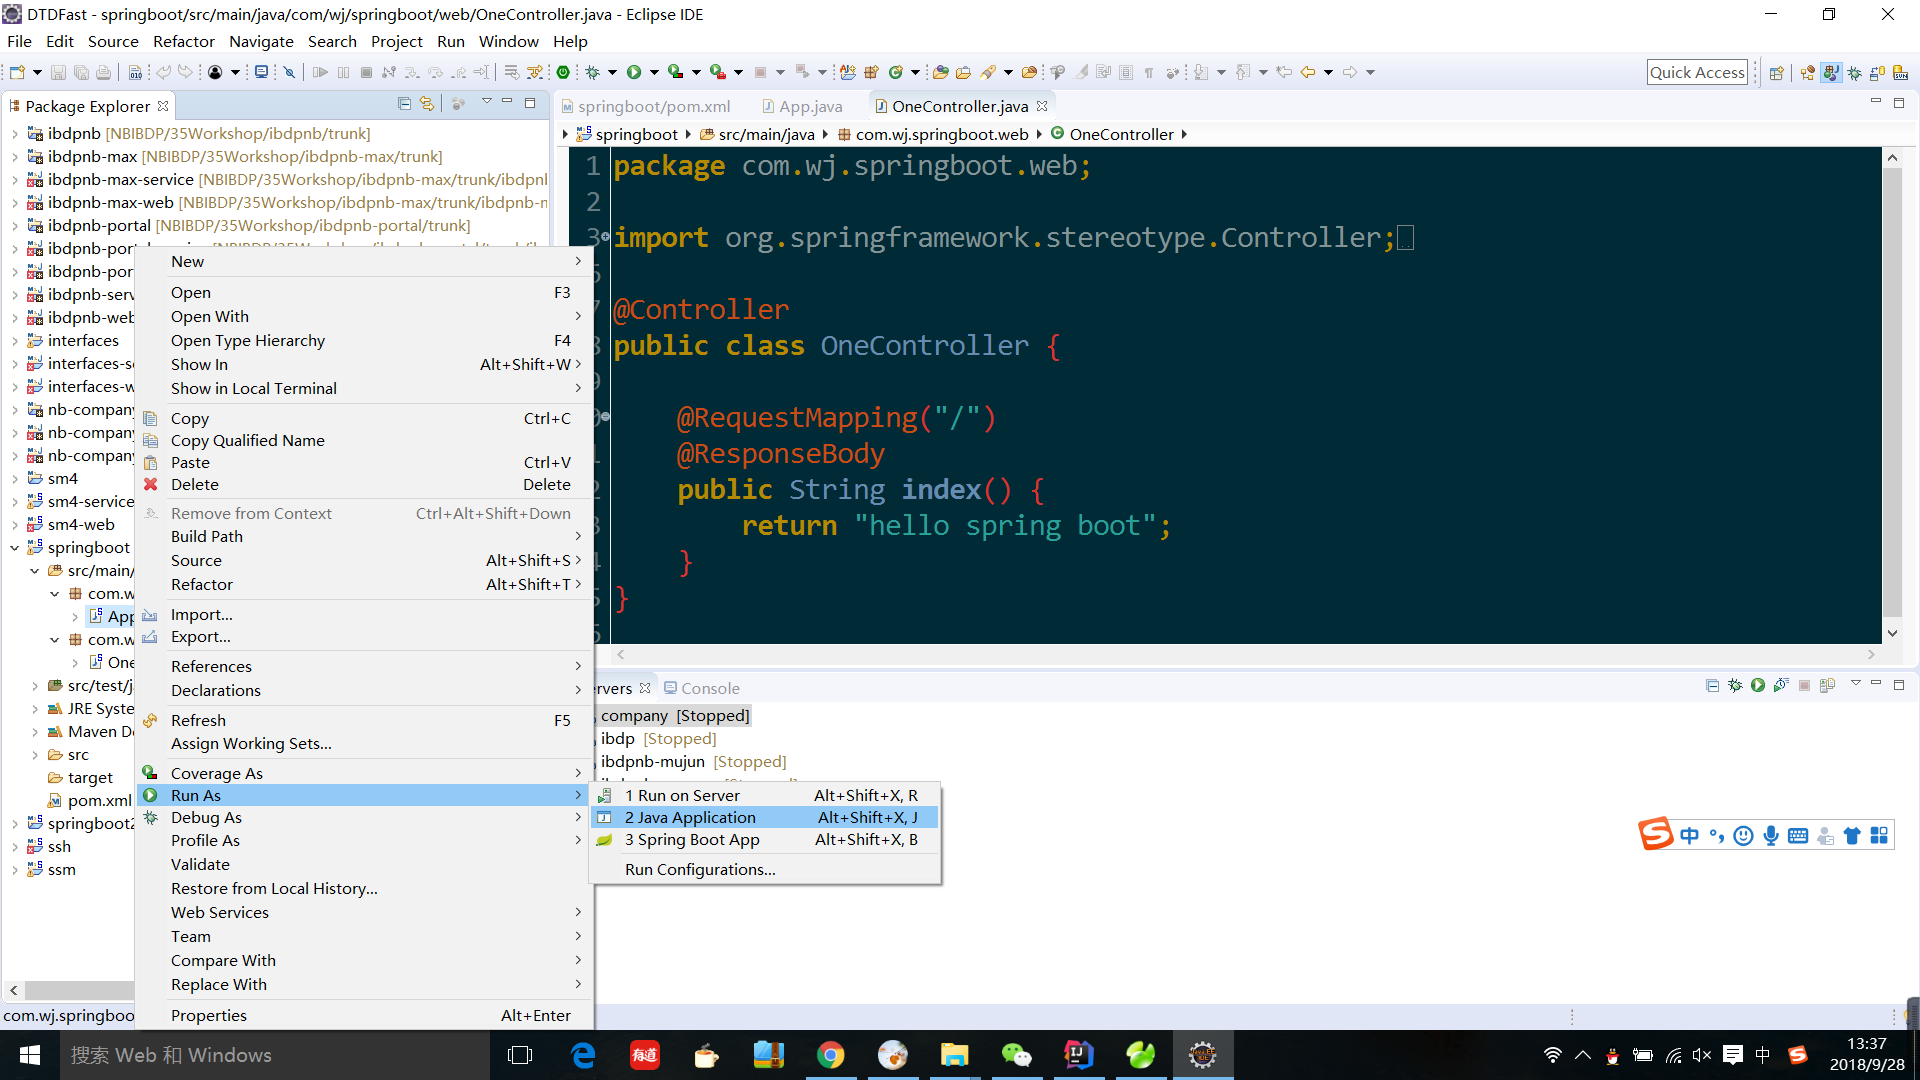
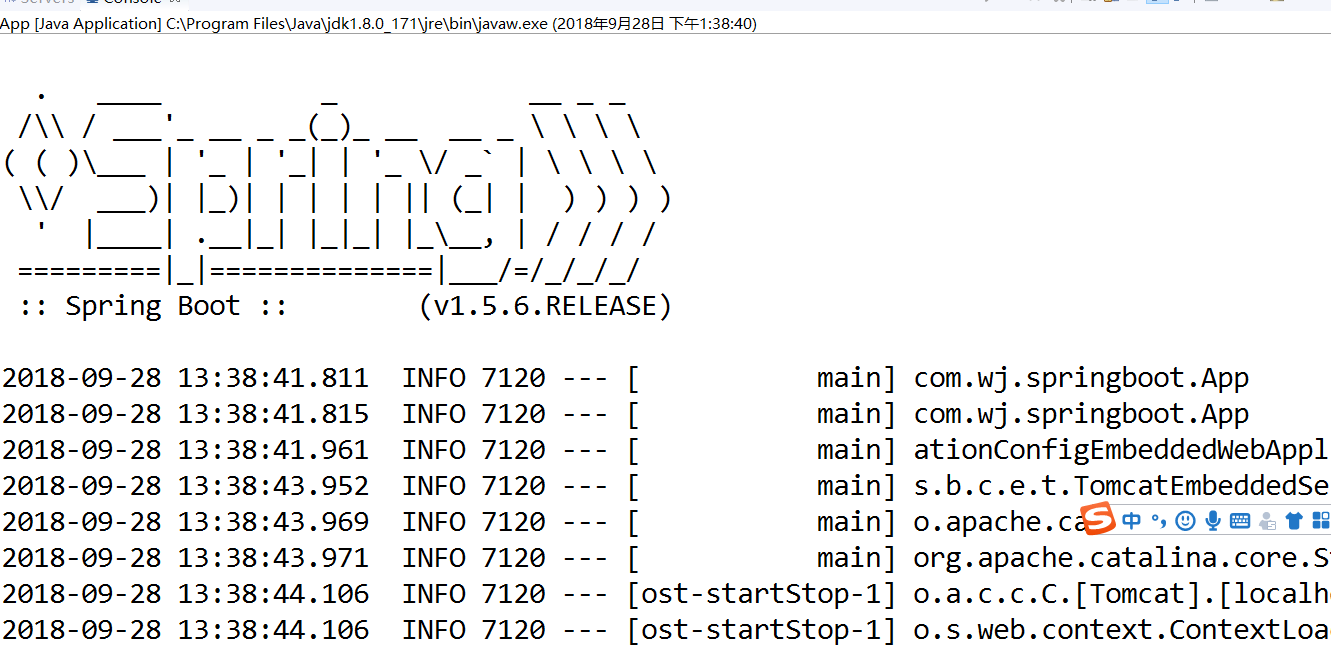
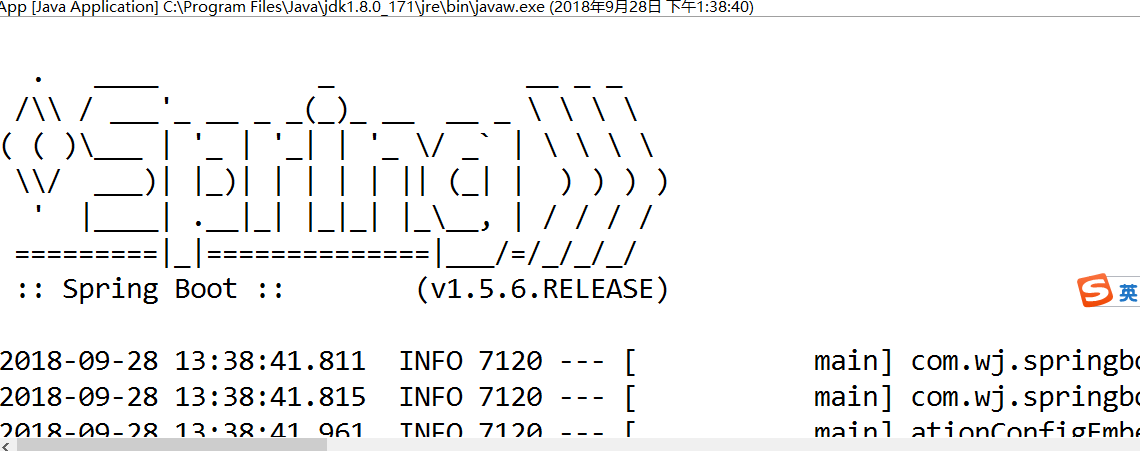
5)然后run运行App.java启动项目,看日志输出窗口出现下图
6)在浏览器打开路径http://localhost:8080出现下边的图例
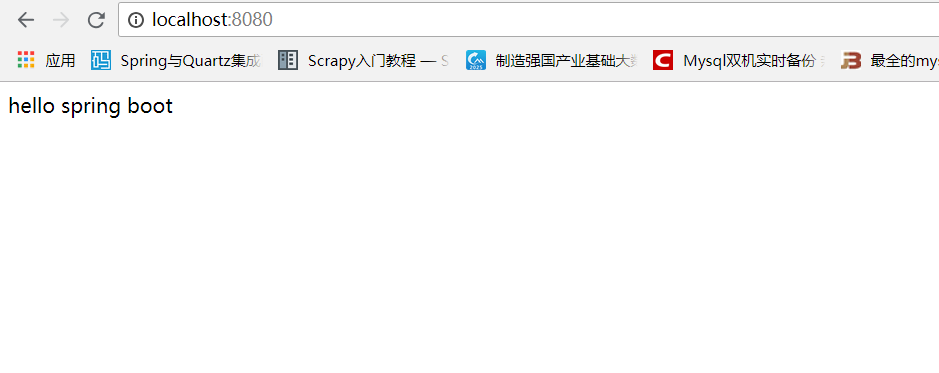
即搭建成功
第二种通过新建springboot项目创建
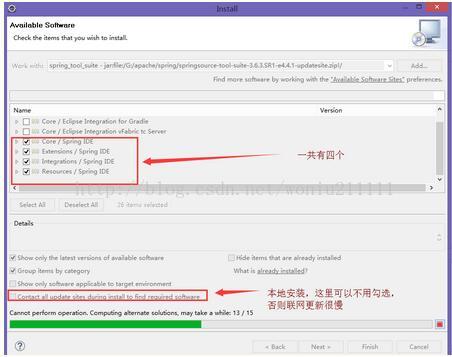
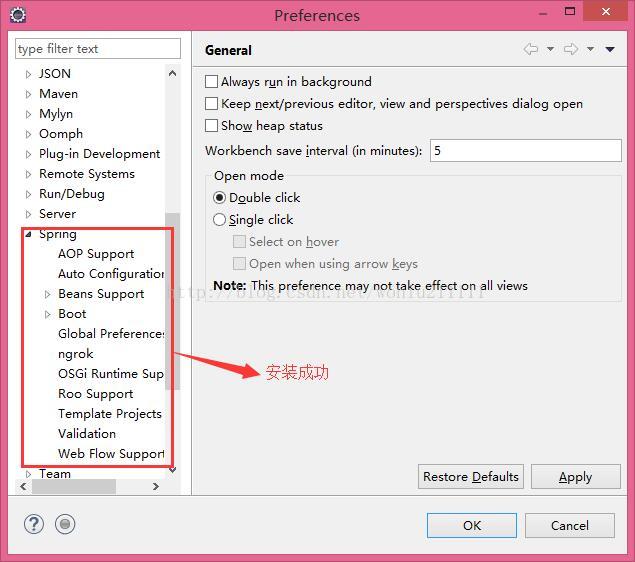
1)eclipse安装springboot相关插件
首先查看eclispe的版本
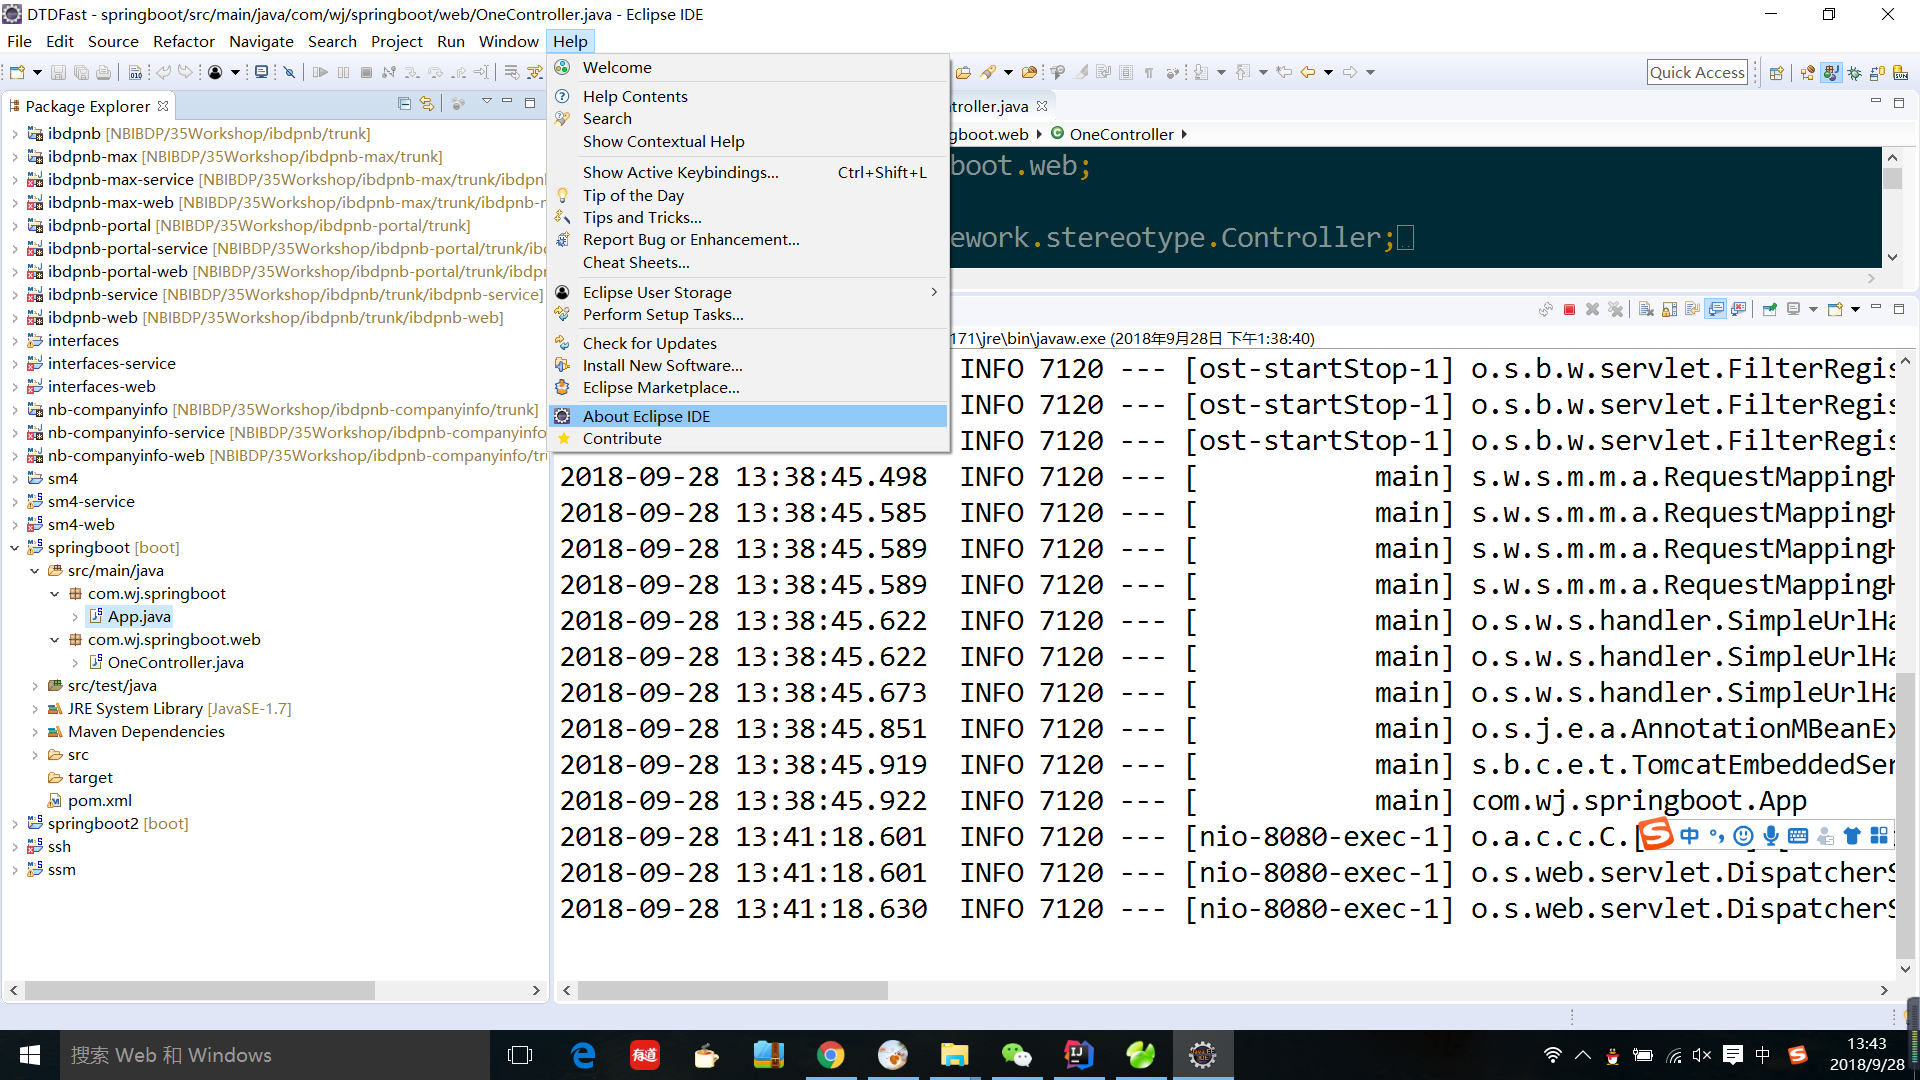

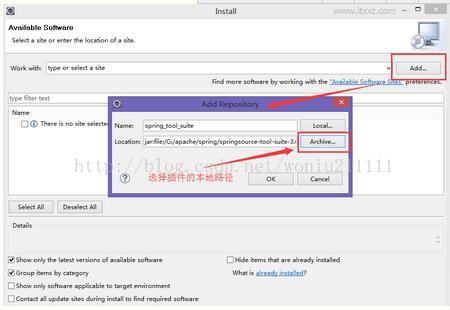
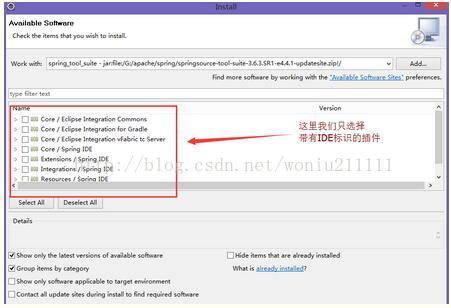
然后安装springboot相关插件spring-tool-suite
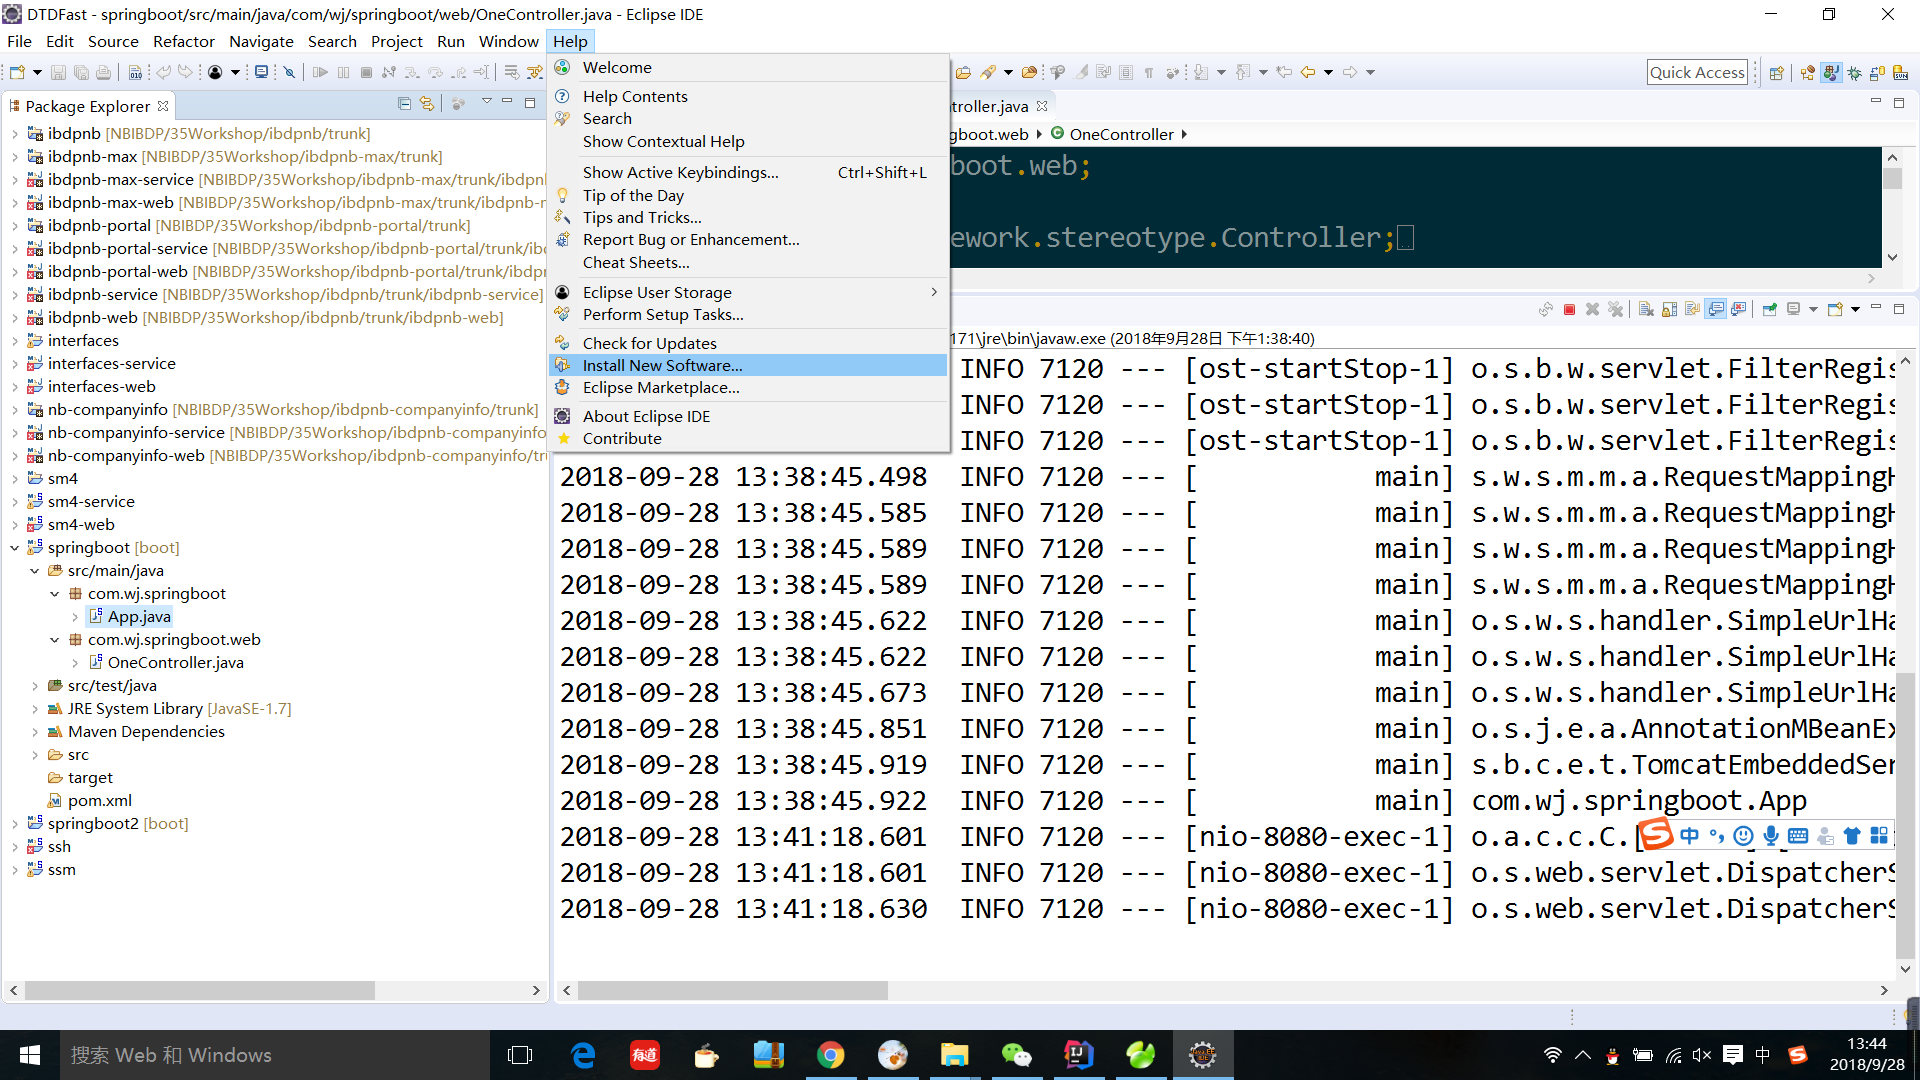
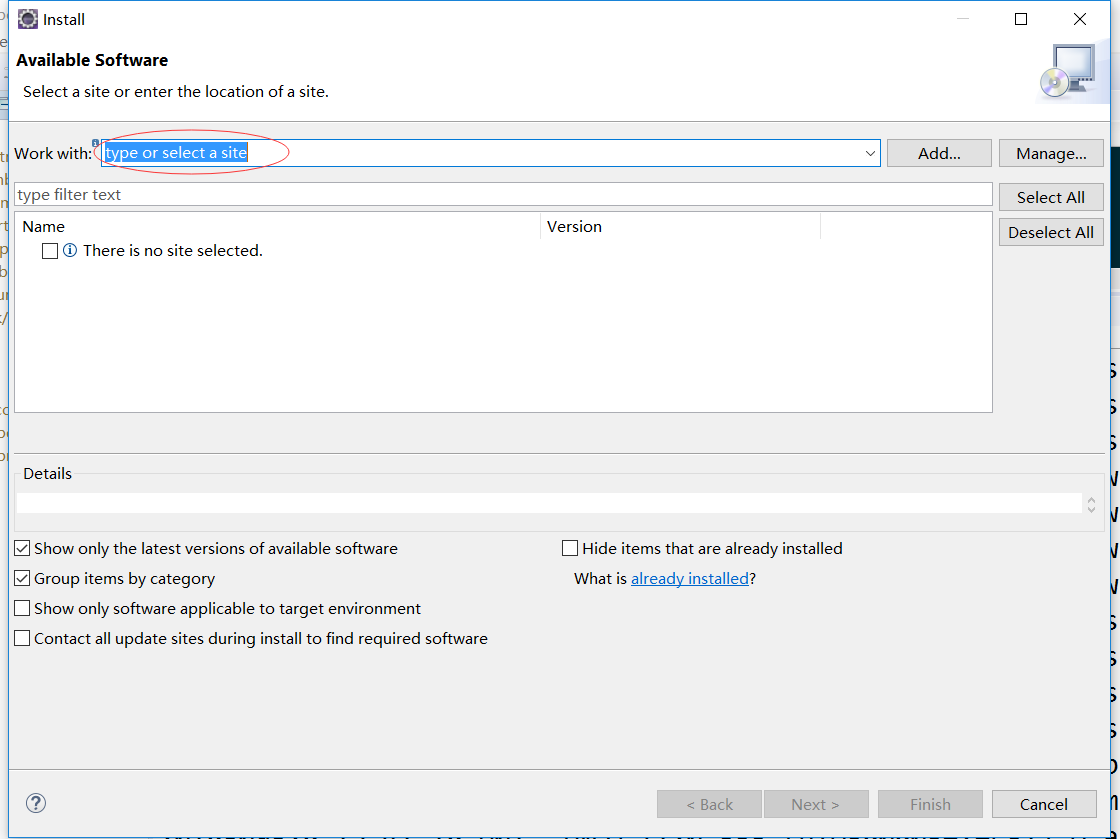
Eclipse --> Help--> Install new Sofware
2)创建项目
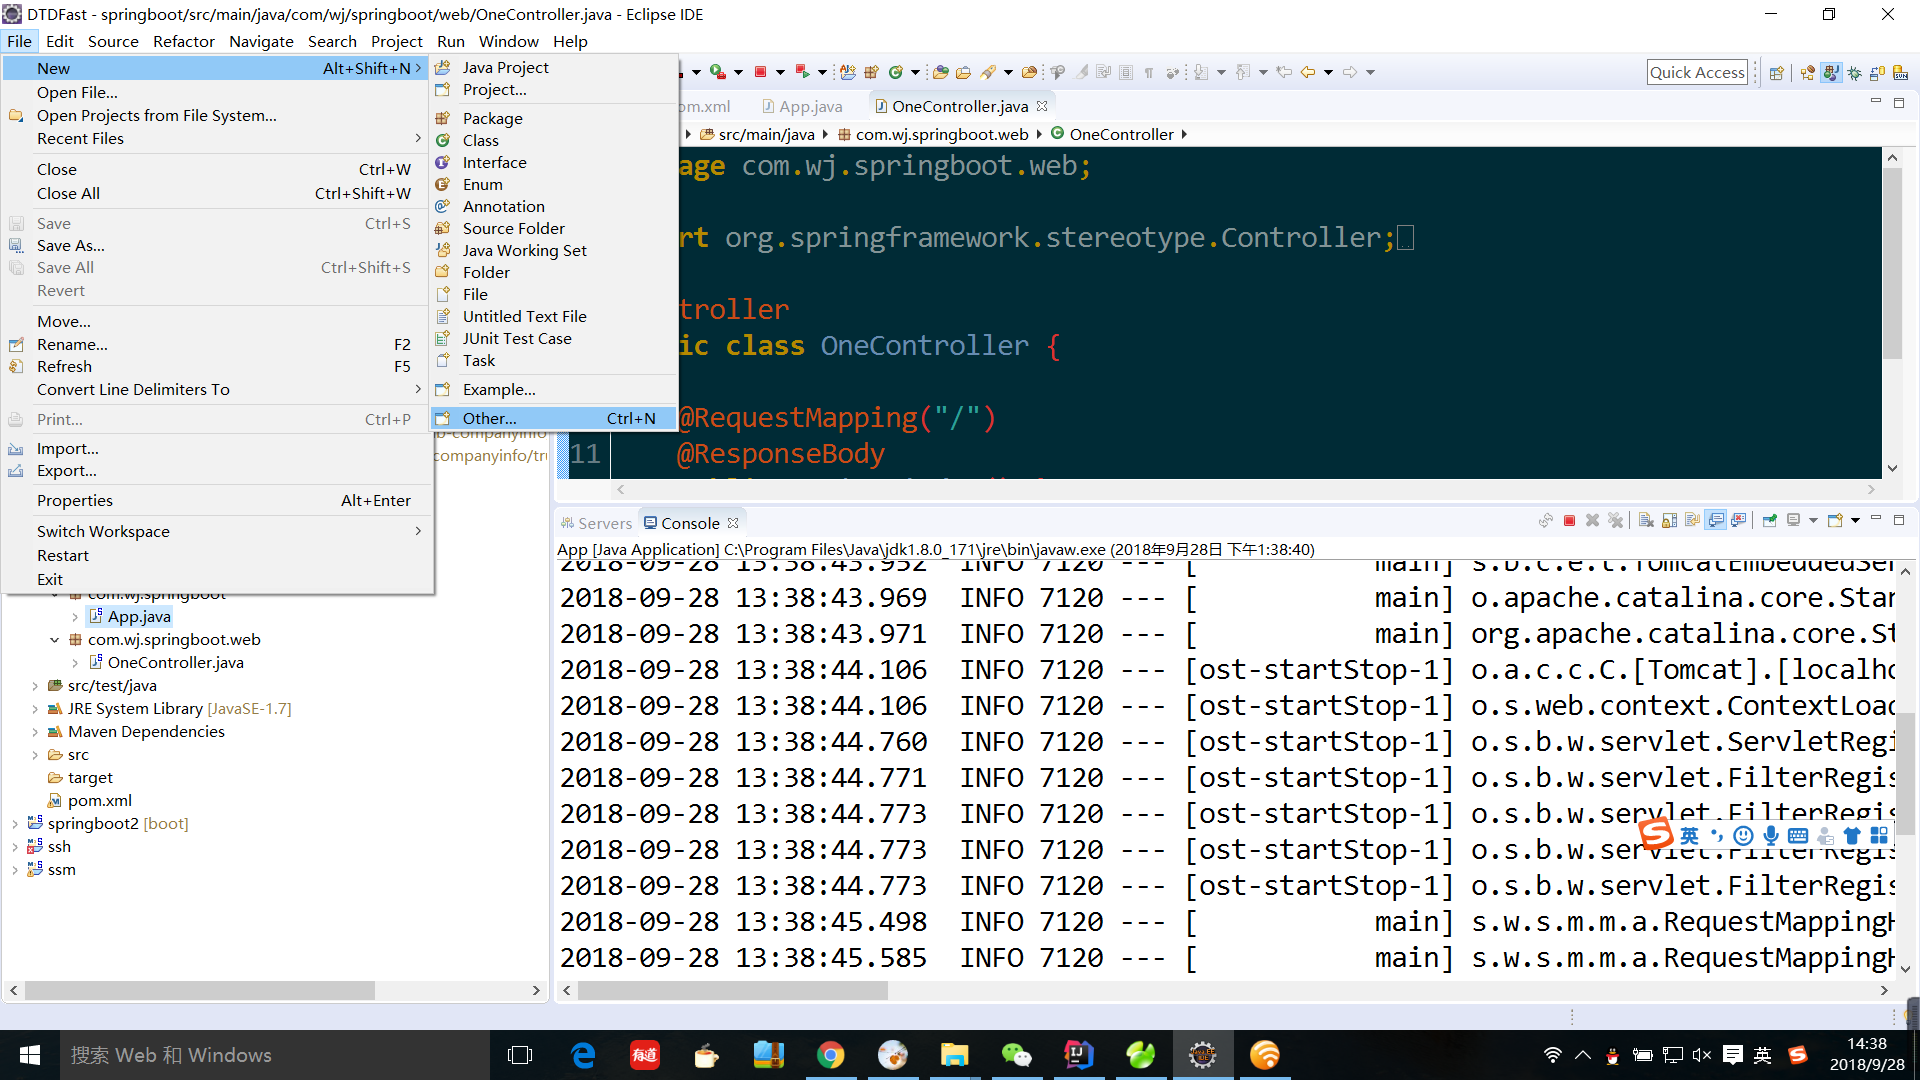

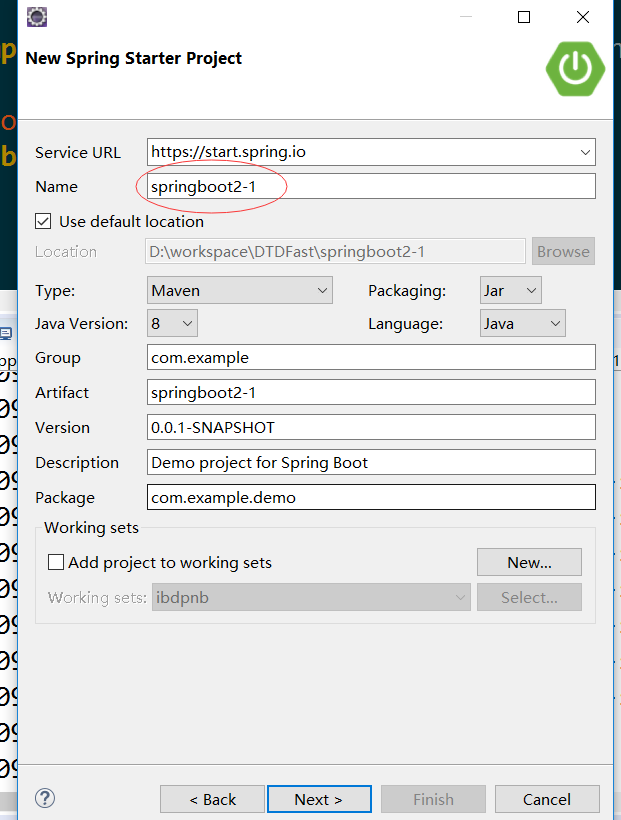
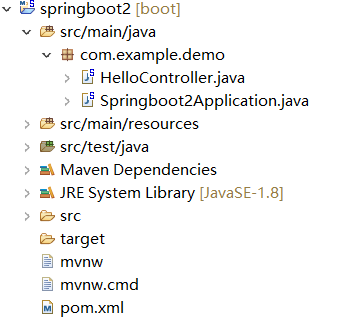
3)run运行springbootsApplication.java
4)浏览器 访问http://localhost:8080