如何用构建springboot项目见往期文章。
这篇文章的主要目的是快速搭建websocket的项目。所以概念就不介绍了。
下面就直奔主题主题
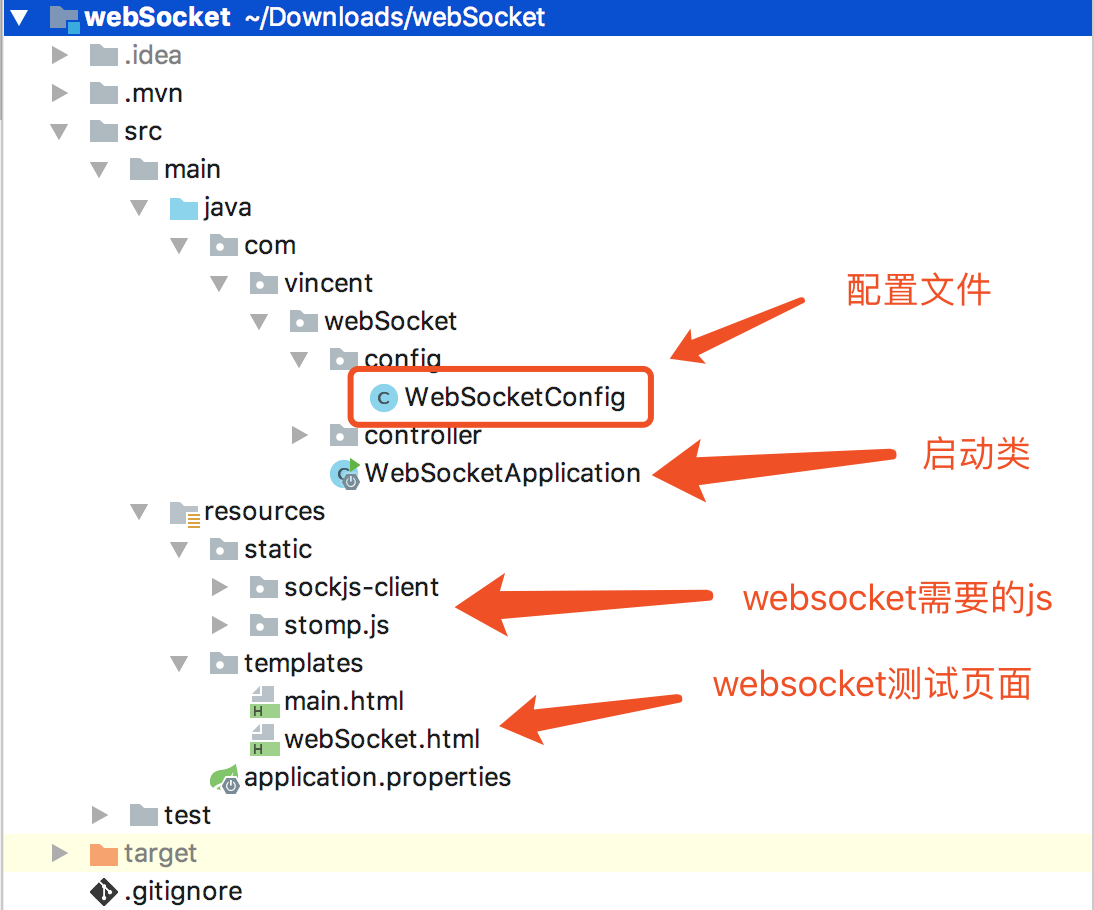
项目结构:
pom文件
<?xml version="1.0" encoding="UTF-8"?>
<project xmlns="http://maven.apache.org/POM/4.0.0" xmlns:xsi="http://www.w3.org/2001/XMLSchema-instance"
         xsi:schemaLocation="http://maven.apache.org/POM/4.0.0 http://maven.apache.org/xsd/maven-4.0.0.xsd">
    <modelVersion>4.0.0</modelVersion>

    <groupId>com.vincent</groupId>
    <artifactId>webSocket</artifactId>
    <version>0.0.1-SNAPSHOT</version>
    <packaging>jar</packaging>

    <name>webSocket</name>
    <description>Demo project for Spring Boot</description>

    <parent>
        <groupId>org.springframework.boot</groupId>
        <artifactId>spring-boot-starter-parent</artifactId>
        <version>2.0.4.RELEASE</version>
        <relativePath/> <!-- lookup parent from repository -->
    </parent>

    <properties>
        <project.build.sourceEncoding>UTF-8</project.build.sourceEncoding>
        <project.reporting.outputEncoding>UTF-8</project.reporting.outputEncoding>
        <java.version>1.8</java.version>
    </properties>

    <dependencies>
        <dependency>
            <groupId>org.springframework.boot</groupId>
            <artifactId>spring-boot-starter-web</artifactId>
        </dependency>

        <dependency>
            <groupId>org.springframework.boot</groupId>
            <artifactId>spring-boot-starter-test</artifactId>
            <scope>test</scope>
        </dependency>
        <dependency>
            <groupId>org.springframework.boot</groupId>
            <artifactId>spring-boot-starter-thymeleaf</artifactId>
        </dependency>
        <dependency>
            <groupId>org.springframework.boot</groupId>
            <artifactId>spring-boot-starter-websocket</artifactId>
        </dependency>
        <dependency>
            <groupId>com.alibaba</groupId>
            <artifactId>fastjson</artifactId>
            <version>1.2.30</version>
        </dependency>


    </dependencies>

    <build>
        <plugins>
            <plugin>
                <groupId>org.springframework.boot</groupId>
                <artifactId>spring-boot-maven-plugin</artifactId>
            </plugin>
        </plugins>
    </build>


</project>
WebSocketConfig配置类
package com.vincent.webSocket.config;

import org.springframework.context.annotation.Configuration;
import org.springframework.messaging.simp.config.MessageBrokerRegistry;
import org.springframework.web.socket.config.annotation.AbstractWebSocketMessageBrokerConfigurer;
import org.springframework.web.socket.config.annotation.EnableWebSocketMessageBroker;
import org.springframework.web.socket.config.annotation.StompEndpointRegistry;


@Configuration
@EnableWebSocketMessageBroker
public class WebSocketConfig extends AbstractWebSocketMessageBrokerConfigurer {

    @Override
    public void registerStompEndpoints(StompEndpointRegistry registry) {
        //关系客户端创建连接时的url,准确的说,就是js中new SockJS(path)的参数部分;
        registry.addEndpoint("/urlRelate").withSockJS();
    }

    @Override
    public void configureMessageBroker(MessageBrokerRegistry registry) {
        //在topic这个域上可以向客户端发消息,体现在js上就是
        // stompClient.subscribe('/topic',function(){})
        registry.enableSimpleBroker("/topic");
        //客户端向服务端发送时的主题上面需要加"/app"作为前缀
        registry.setApplicationDestinationPrefixes("/app");
    }
}
TestController验证用的controller类
package com.vincent.webSocket.controller;

import com.alibaba.fastjson.JSONObject;
import org.springframework.beans.factory.annotation.Autowired;
import org.springframework.messaging.simp.SimpMessagingTemplate;
import org.springframework.stereotype.Controller;
import org.springframework.web.bind.annotation.RequestMapping;


@Controller
public class TestController {

    @Autowired
    private SimpMessagingTemplate simpMessagingTemplate;

    @RequestMapping("/index")
    public String index() {
        return "main";
    }

    @RequestMapping("/webSocket")
    public String webSocket() {
        return "webSocket";
    }

    @RequestMapping("/sendMessage")
    public String sendMessage() {
        JSONObject jsonObject = new JSONObject();
        jsonObject.put("aaa", "bbb");
        simpMessagingTemplate.convertAndSend("/topic", jsonObject);
        return "main";
    }

}
webSocket.html
<!DOCTYPE html>
<html lang="en">
<head>
    <meta http-equiv="Content-Type" content="text/html; charset=utf-8"/>
    <meta http-equiv="X-UA-Compatible" content="IE=edge,chrome=1">
    <title>aaa</title>
    <script type="text/javascript" src="sockjs-client/1.1.4/sockjs.min.js"></script>
    <script type="text/javascript" src="stomp.js/2.3.3/stomp.min.js"></script>
    <script type="text/javascript">


        var url = 'http://localhost:8080';
        var stompClient = null;
        var path = url + '/urlRelate';
        console.log("path" + path);
        var socket = new SockJS(path);
        stompClient = Stomp.over(socket);
        stompClient.connect({}, function (frame) {
            stompClient.subscribe('/topic', function (message) {
                console.log(message);
            });
        });


    </script>
</head>
<body>
hello webSocket
</body>
</html>
启动项目
访问http://localhost:8080/webSocket
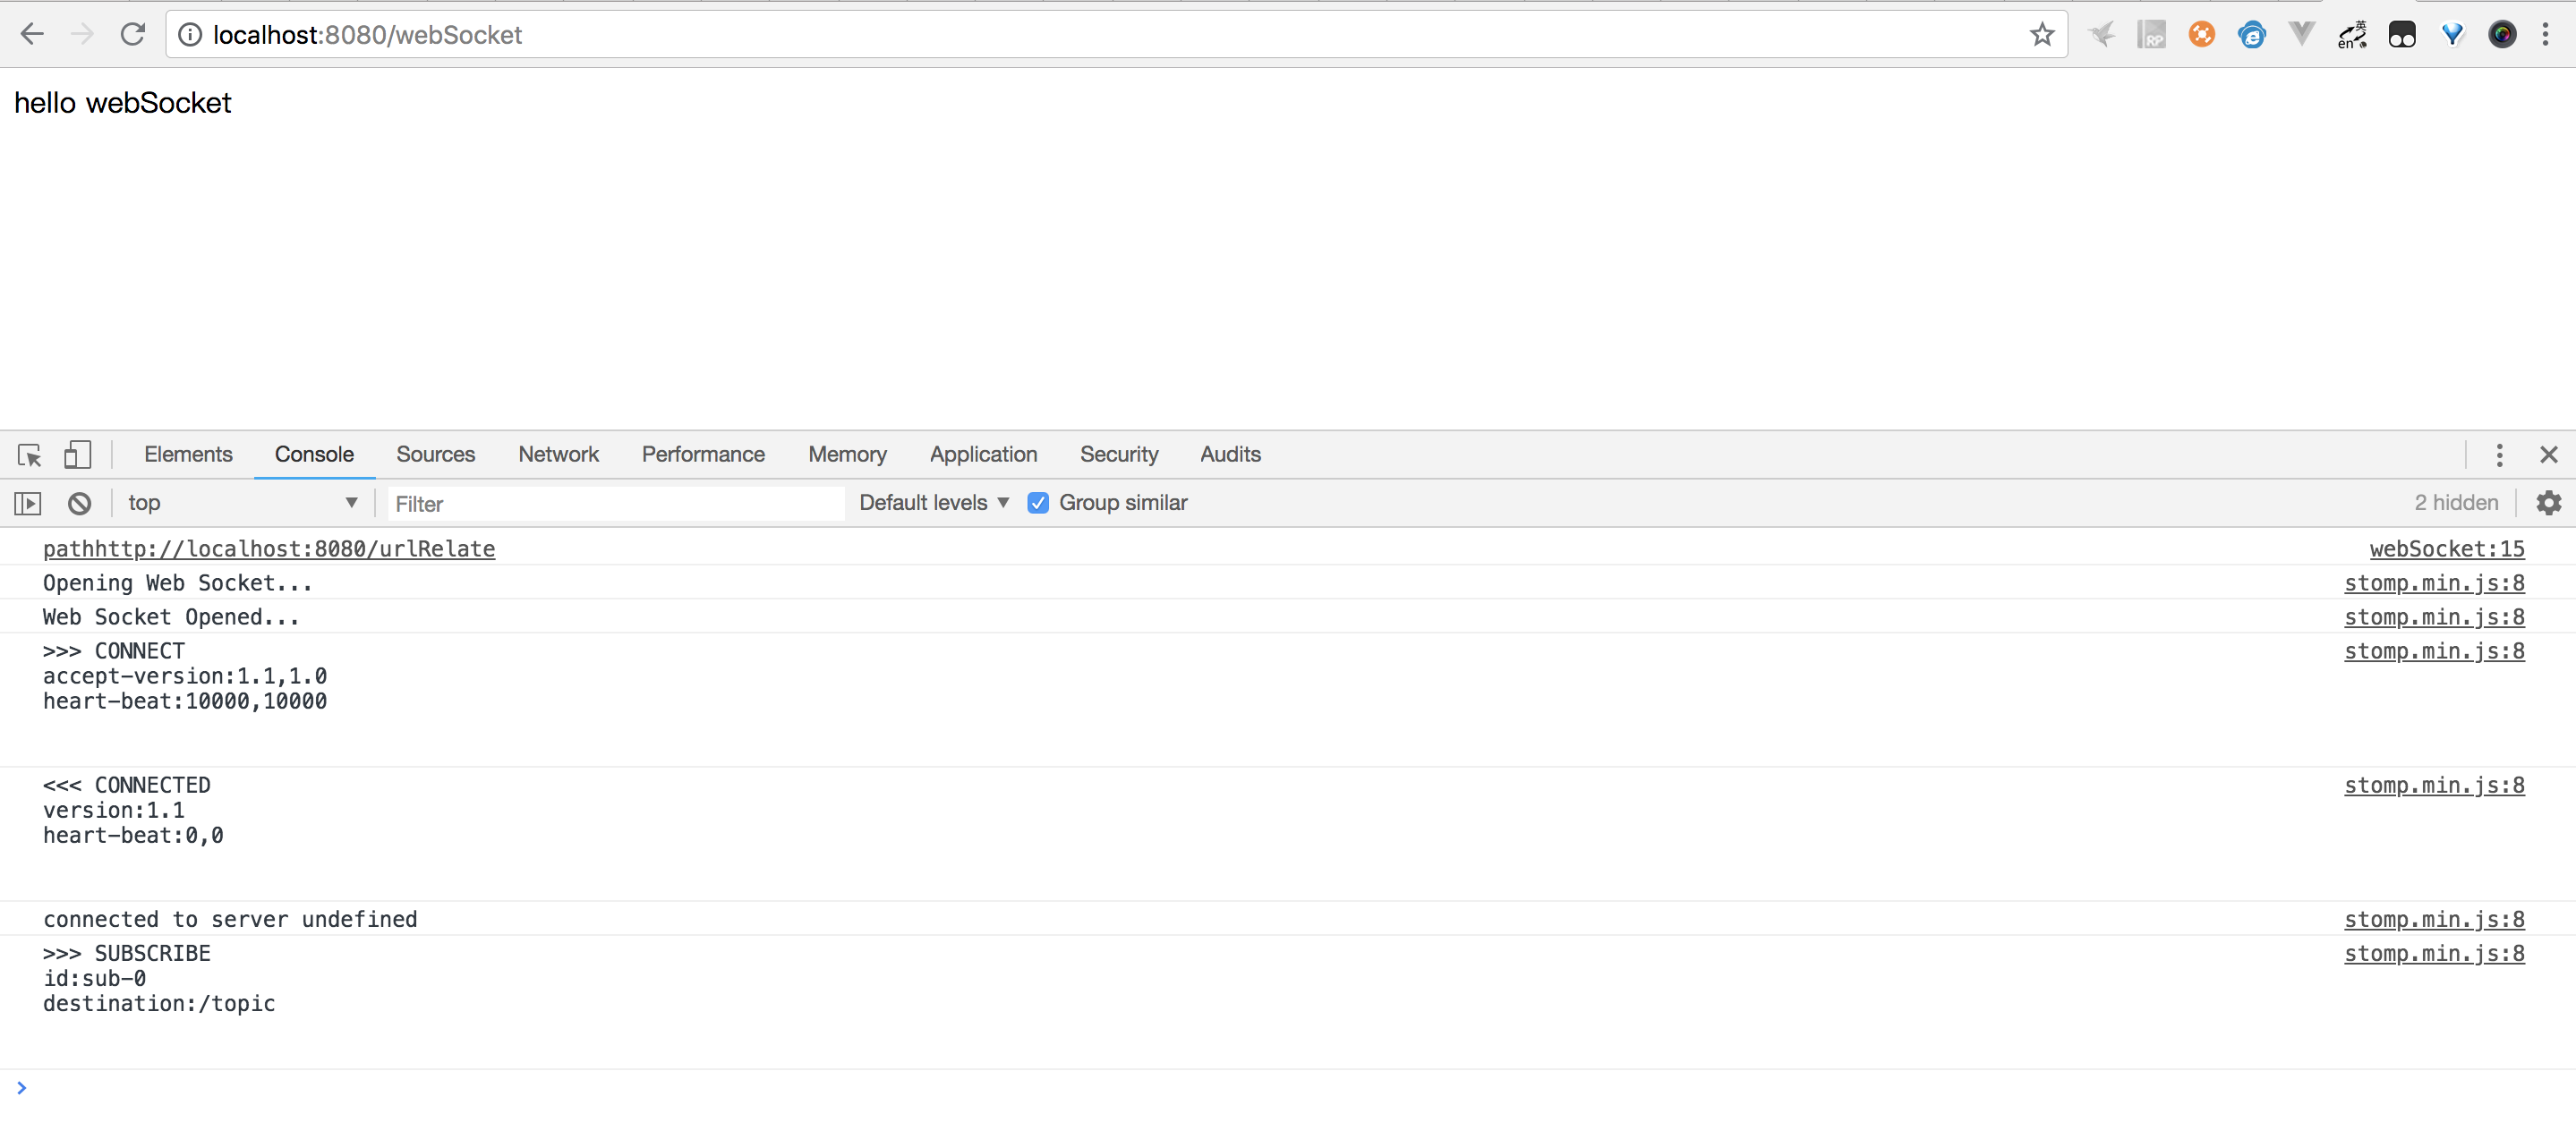
现在我们再访问下http://localhost:8080/sendMessage
继续看下控制行

如图前端html已经接收到后端发送的信息。