noNVC基础用法:
1、下载noVNC
git clone https://github.com/novnc/noVNC.git
2、编辑qemu.conf配置文件
Vim /etc/libvirt/qemu.conf
将配置文件中的vnc_listen = "0.0.0.0" 启用
3、查看虚拟机vnc端口
Virsh vncdisplay vm001
:0 // 表示5900
也可以在创建虚拟机xml文件是指定vm的vnc端口
<graphics type='vnc' port='5910' autoport='no' listen='0.0.0.0'>
           <listen type='address' address='0.0.0.0'/>
</graphics>
4、启动noVNC
.noVNC/utils/launch.sh --vnc host_ip:5910
noVNC高级用法:
在基础用法用需要为每启用一个代理,在实际应用中不可能为每台虚拟机都架一个代理,这种方式对端口号的消耗也是巨大的。
因此我们需要做的是使用一个端口来使用多个代理,因此需要引入Token的概念。
这里需要用的是websockify,在 Github 上 noVNC 和 websockify 本来就是独立的两个项目。
在我们第一次运行./noVNC/utils/launch.sh时会自动下载websockify

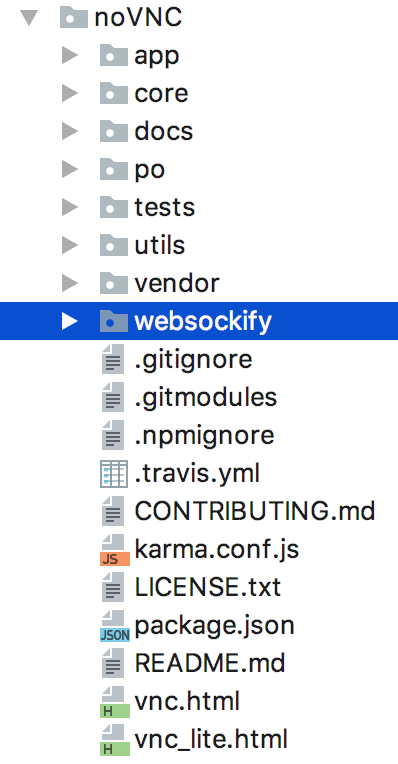
目录结构:
1、创建token文件
在websockify目录中创建目录token,并在该目录下创建token文件,写入以下内容:
token: host_ip:port
这里需要注意的坑是token:后面是有一个空格的(少了这个空格让我调试了一个夜晚)。
2、启动websockify
进入websockify目录 --web ../ 是为了使用noVNC的vnc.html和vnc_lite.html文件
./run --web ../ --target-config ./token/token localhost:8888
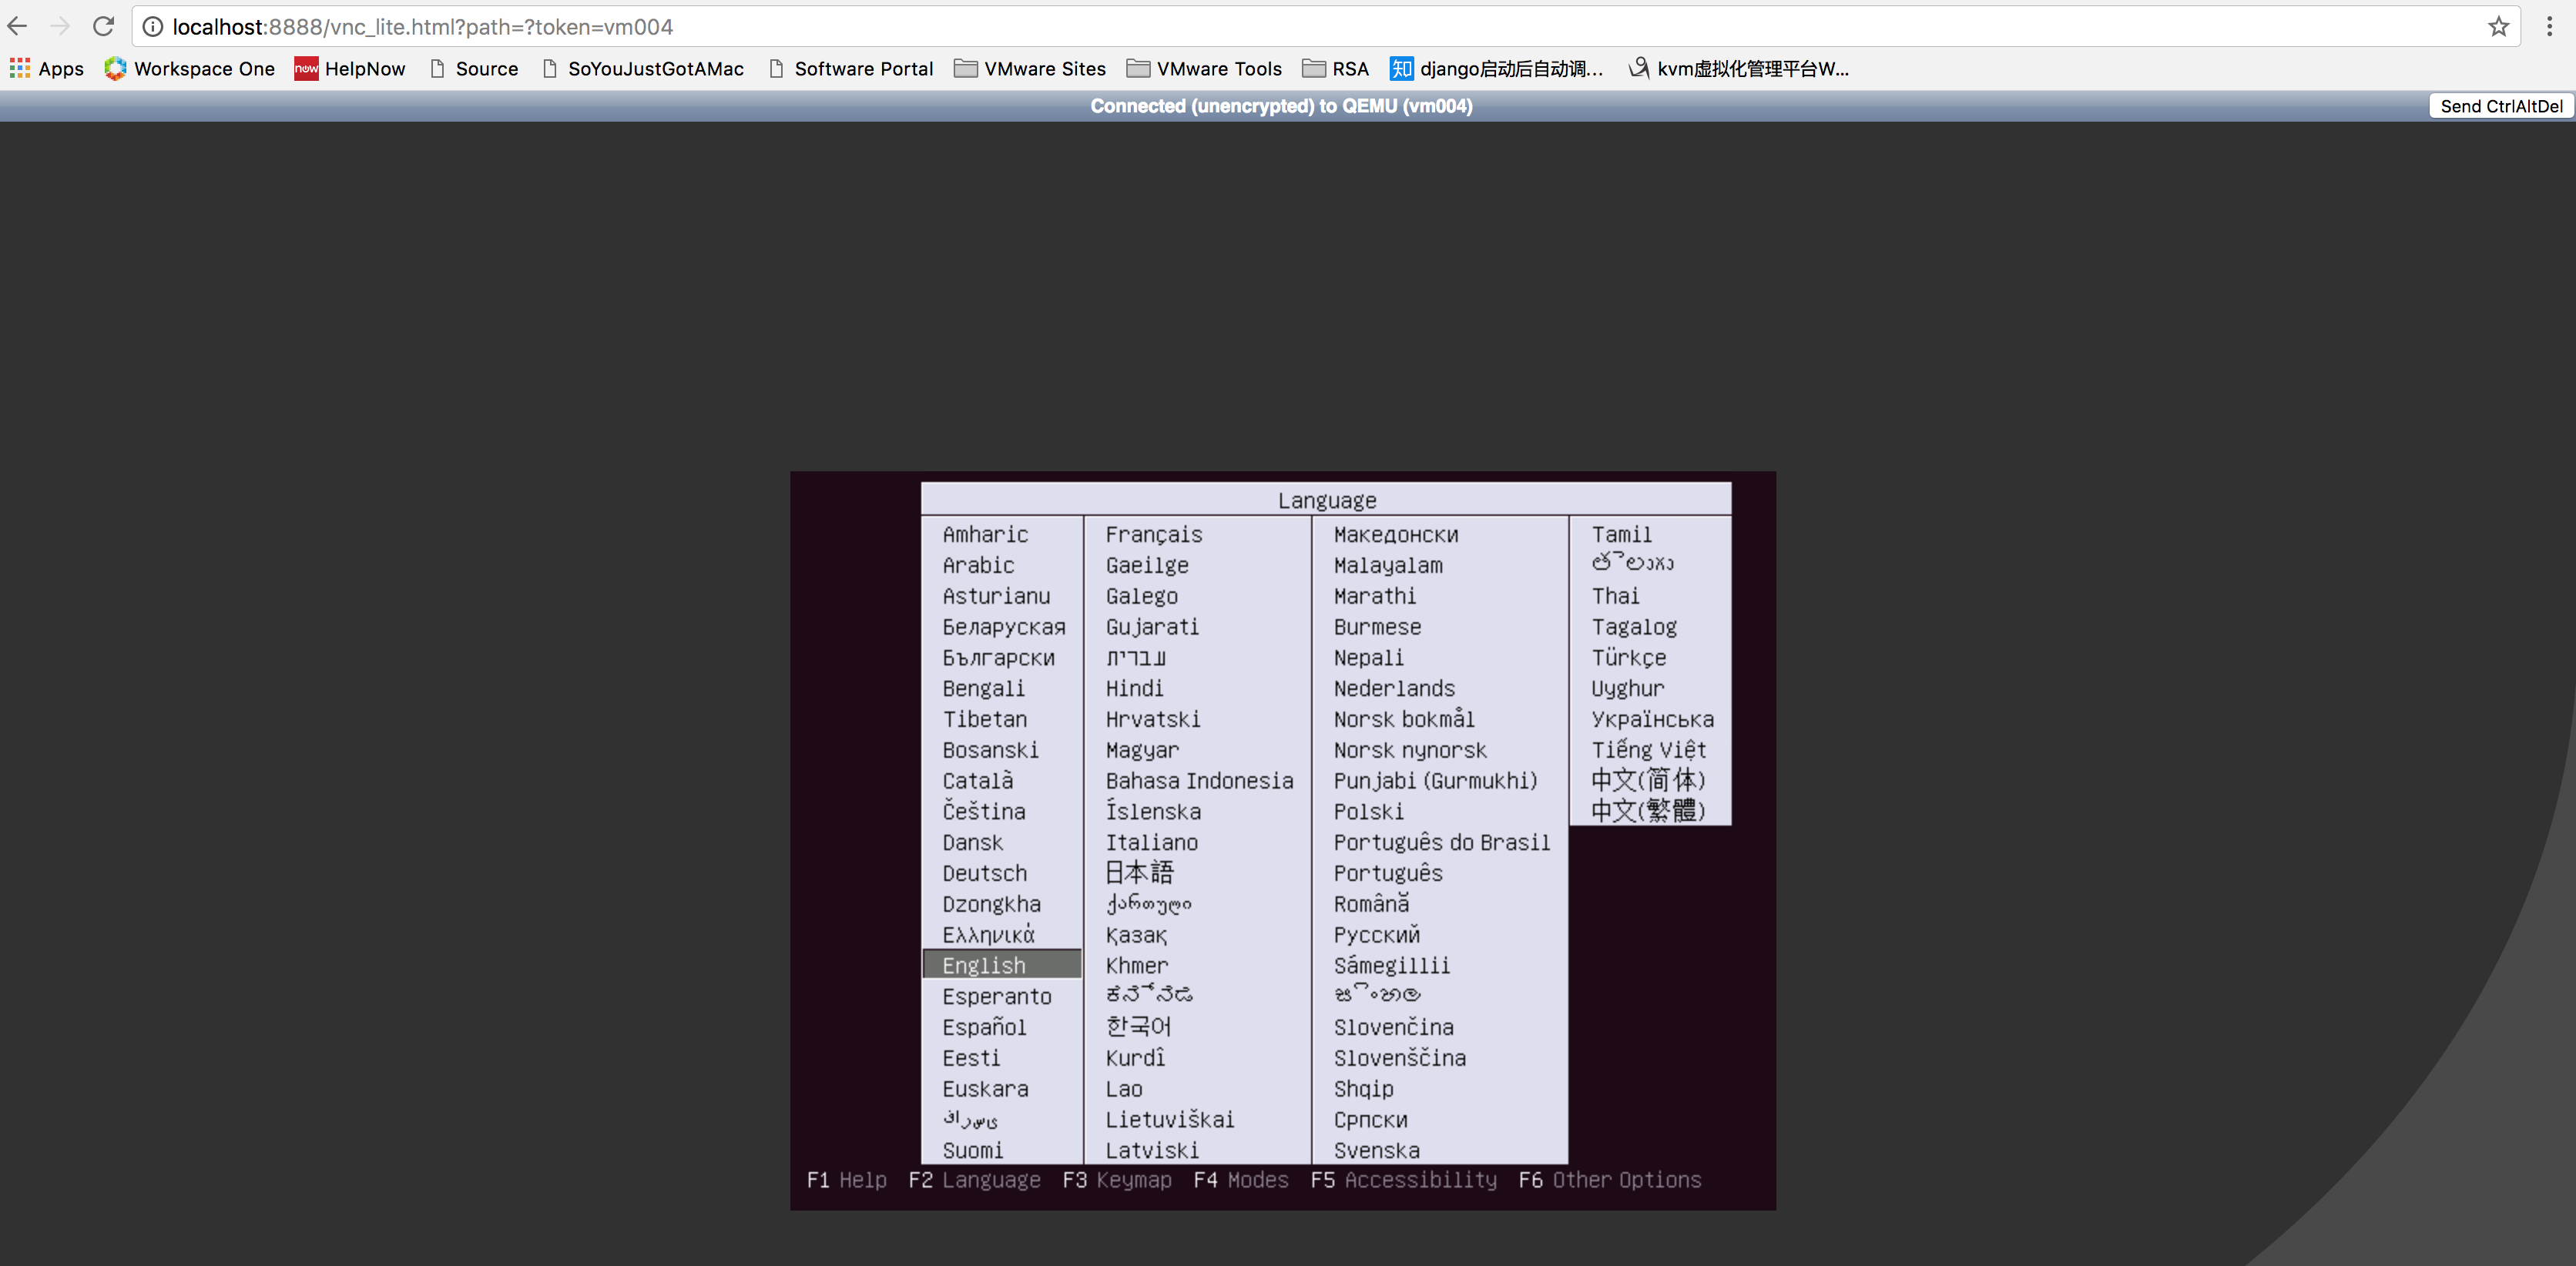
3、浏览器测试
http://localhost:8888/vnc_lite.html?path=?token=vm004 (这里我直接使用的是虚拟机vm004的名称来作为Token,只需要修改Token就能够访问相应的虚拟机)
扩展Token类型
Custom plugins should match the format of the BasePlugin class found in websockify/token_plugins.py. Namely, they should implement an __init__(self, src) method (where src is the value of --token-source), and a lookup(self, token) method which either returns a (host, port) tuple, or None.
The plugin can be placed in any module that's importable by websockify, and then be used as such:
$ ./run ... --token-plugin some.module.TokenClass --token-source 'some information here'
Example:
import memcache
import simplejson

class TokenMemc(object):
    def __init__(self, src):
        self._server = src

    def lookup(self, token):
        client = memcache.Client([self._server], debug=0)
        stuff = client.get(token)
        combo = simplejson.loads(stuff)
        pair = combo["host"]
        return pair.split(':')