概述
Entity Framework (EF) Core 是轻量化、可扩展、开源和跨平台版的常用 Entity Framework 数据访问技术。
EF Core 可用作对象关系映射程序 (O/RM),以便于 .NET 开发人员能够使用 .NET 对象来处理数据库,这样就不必经常编写大部分数据访问代码了。
EF Core 支持多个数据库引擎,请参阅数据库提供程序了解详细信息。
基于 .NET Core 的 EF Core 入门
在本教程中,将创建一个 .NET Core 控制台应用,该应用使用 Entity Framework Core 对 Microsoft SQL Server 数据库执行数据访问。
创建新项目
-
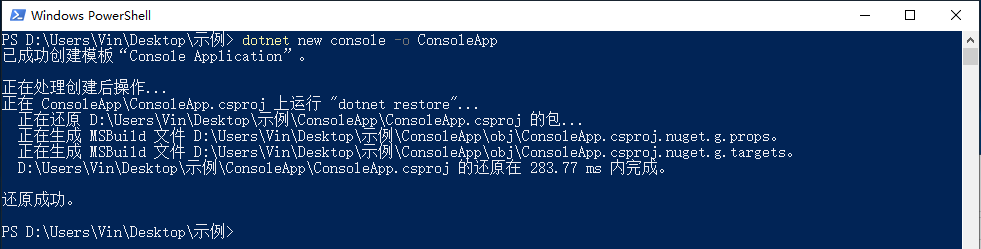
新建控制台项目:
执行 PowerShell 命令
dotnet new console -o ConsoleApp如下图
更改当前目录
-
将当前目录更改为应用程序的目录,如下所示:
cd ConsoleApp
安装 Entity Framework Core
-
安装 Microsoft.EntityFrameworkCore.SqlServer 和 Microsoft.EntityFrameworkCore.Tools
dotnet add package Microsoft.EntityFrameworkCore.SqlServer dotnet add package Microsoft.EntityFrameworkCore.Tools -
运行
dotnet restore来安装新的程序包。
创建模型
-
使用以下内容创建一个新的 Model.cs 文件。
using Microsoft.EntityFrameworkCore;
using System.Collections.Generic;

namespace ConsoleApp
{
    public class BloggingContext : DbContext
    {
        public DbSet<Blog> Blogs { get; set; }
        public DbSet<Post> Posts { get; set; }

        protected override void OnConfiguring(DbContextOptionsBuilder optionsBuilder)
        {
            optionsBuilder.UseSqlServer("Server=你的数据库地址;Database=ConsoleApp;User Id=你的数据库账号;Password=你的数据库密码;");
        }
    }

    public class Blog
    {
        public int BlogId { get; set; }
        public string Url { get; set; }

        public ICollection<Post> Posts { get; set; }
    }

    public class Post
    {
        public int PostId { get; set; }
        public string Title { get; set; }
        public string Content { get; set; }

        public int BlogId { get; set; }
        public Blog Blog { get; set; }
    }
}
在实际应用程序中,应将每个类放在单独的文件中,并将连接字符串放在配置文件或环境变量中。 为简化本教程,所有内容均放在一个文件中。
创建数据库
有了模型后,即可通过迁移创建数据库。
- 运行
dotnet ef migrations add InitialCreate以为迁移搭建基架,并为模型创建一组初始表。 - 运行
dotnet ef database update以将新迁移应用到数据库。 在应用迁移之前,此命令可创建数据库。
使用模型
-
打开 Program.cs 并将内容替换为以下代码:
using System; namespace ConsoleApp { class Program { static void Main(string[] args) { using (var db = new BloggingContext()) { db.Blogs.Add(new Blog { Url = "http://blogs.msdn.com/adonet" }); var count = db.SaveChanges(); Console.WriteLine("{0} records saved to database", count); Console.WriteLine(); Console.WriteLine("All blogs in database:"); foreach (var blog in db.Blogs) { Console.WriteLine(" - {0}", blog.Url); } } } } } -
运行
dotnet run从控制台测试应用。
基于 ASP.NET Core 的 EF Core 入门
在本教程中,将使用 Entity Framework Core 构建执行基本数据访问的 ASP.NET Core MVC 应用程序。
创建新项目
-
打开 Visual Studio 2017
-
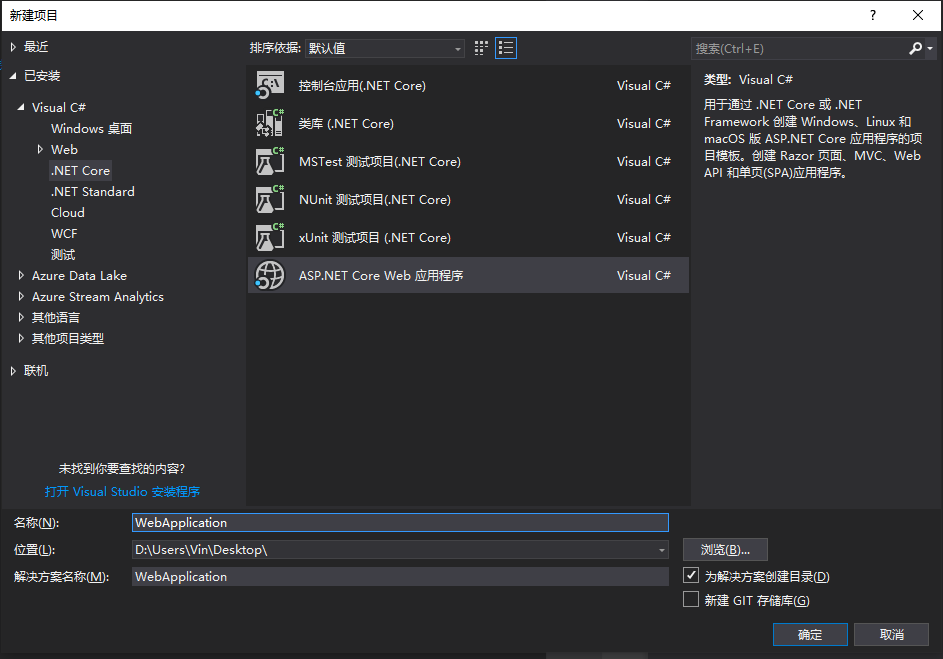
“文件”>“新建”>“项目”
-
从左菜单中选择“已安装”>“Visual C#”>“.NET Core”。
-
选择“ASP.NET Core Web 应用程序”。
-
输入“WebApplication”作为名称,然后单击“确定”。
-
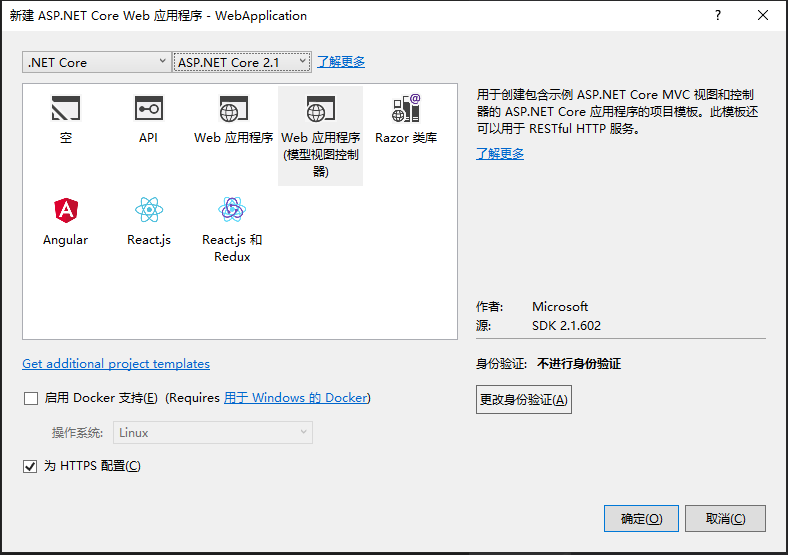
在“新建 ASP.NET Core Web 应用程序”对话框中:
-
确保在下拉列表中选择“.NET Core”和“ASP.NET Core 2.1”
-
选择“Web 应用程序(模型视图控制器)”项目模板
-
确保将“身份验证”设置为“无身份验证”
-
单击“确定”
安装 Entity Framework Core
对于本教程,无需安装提供程序包,因为本教程使用 SQL Server。 SQL Server 提供程序包包含在 Microsoft.AspnetCore.App 元包中。
创建模型
-
右键单击“Models”文件夹,然后选择“添加”>“类”。
-
输入“Model.cs”作为名称,然后单击“确定”。
-
将此文件的内容替换为以下代码:
using System.Collections.Generic;
using Microsoft.EntityFrameworkCore;

namespace WebApplication.Models
{
    public class BloggingContext : DbContext
    {
        public BloggingContext(DbContextOptions<BloggingContext> options)
            : base(options)
        { }

        public DbSet<Blog> Blogs { get; set; }
        public DbSet<Post> Posts { get; set; }
    }

    public class Blog
    {
        public int BlogId { get; set; }
        public string Url { get; set; }

        public ICollection<Post> Posts { get; set; }
    }

    public class Post
    {
        public int PostId { get; set; }
        public string Title { get; set; }
        public string Content { get; set; }

        public int BlogId { get; set; }
        public Blog Blog { get; set; }
    }
}
生产应用通常会将每个类放在单独的文件中。 为简单起见,本教程将这些类放在一个文件中。
使用依赖注入注册上下文
若要使 BloggingContext 可用于 MVC 控制器,请在 Startup.cs 中将其注册为服务。
在应用程序启动过程中,通过依赖关系注入 注册服务(如 BloggingContext),以便能够通过构造函数的参数和属性向使用服务的组件(如 MVC 控制器)自动提供该服务。
-
在 Startup.cs 中,添加以下 using 语句:
using WebApplication.Models; using Microsoft.EntityFrameworkCore; -
将以下
手动高亮的代码添加到ConfigureServices方法:public void ConfigureServices(IServiceCollection services) { services.Configure<CookiePolicyOptions>(options => { // This lambda determines whether user consent for non-essential cookies is needed for a given request. options.CheckConsentNeeded = context => true; options.MinimumSameSitePolicy = SameSiteMode.None; }); services.AddMvc().SetCompatibilityVersion(CompatibilityVersion.Version_2_1); var connection = @"Server=你的数据库地址;Database=WebApplication;User Id=你的数据库账号;Password=你的数据库密码;"; // 手动高亮 services.AddDbContext<BloggingContext> // 手动高亮 (options => options.UseSqlServer(connection)); // 手动高亮 }生产应用通常会将连接字符串放在配置文件或环境变量中。 为简单起见,本教程在代码中定义它。
创建数据库
以下步骤使用迁移创建数据库。
-
“工具”>“NuGet 包管理器”>“包管理器控制台”
-
运行以下命令:
Add-Migration InitialCreate
Update-Database
如果收到错误,指出 The term 'add-migration' is not recognized as the name of a cmdlet,请关闭并重新打开 Visual Studio。
Add-Migration 命令为迁移搭建基架,以便为模型创建一组初始表。 Update-Database 命令创建数据库并向其应用新的迁移。
创建控制器
生成 Blog 实体控制器和视图的基架。
-
在“解决方案资源管理器”中,右键单击“Controllers”文件夹,然后选择“添加”>“控制器”。
-
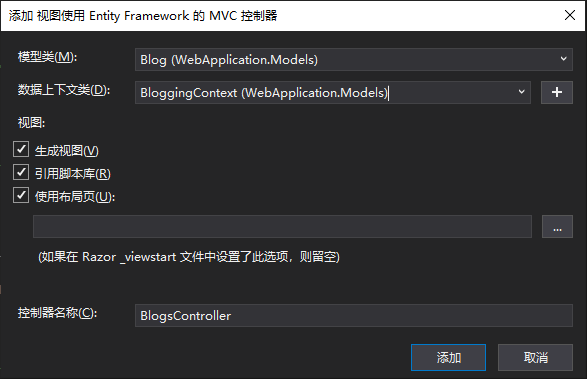
选择“视图使用 Entity Framework 的 MVC 控制器”,然后单击“添加”。
-
将“模型类”设置为“Blog”,将“数据上下文类”设置为“BloggingContext”。
-
单击 添加。
运行此应用程序
- 调试 > 开始执行(不调试)
- 导航到 /Blogs