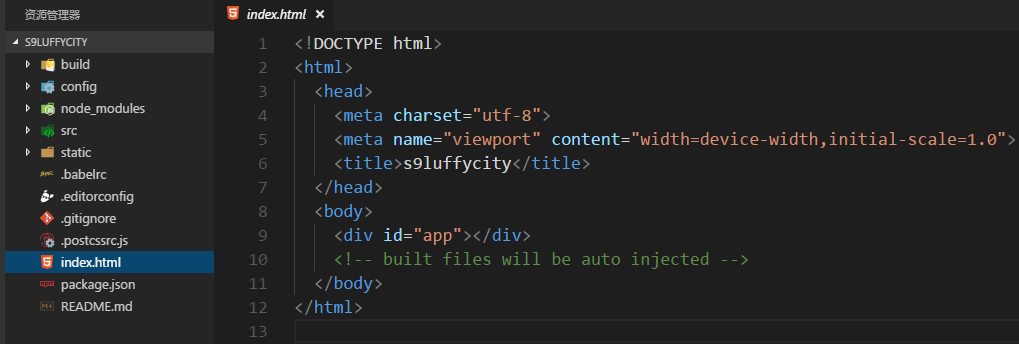
1、后端代码
1、项目结构

2、项目代码
主url
from django.contrib import admin
from django.urls import path, include

urlpatterns = [
    path('admin/', admin.site.urls),
    path('api/v1/', include('api.urls'))
]
url
from django.urls import path, include
from api.view import course

urlpatterns = [
    path('course', course.CourseView.as_view())
]
view
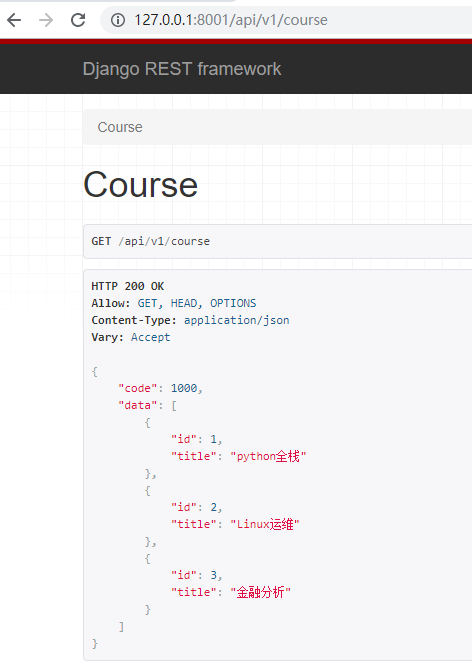
from rest_framework.views import APIView
from rest_framework.response import Response


class CourseView(APIView):
    def get(self, request):
        ret = {
            'code':1000,
            'data':[
                {"id": 1, "title": "python全栈"},
                {"id": 2, "title": "Linux运维"},
                {"id": 3, "title": "金融分析"},
            ]
        }

        return Response(ret)
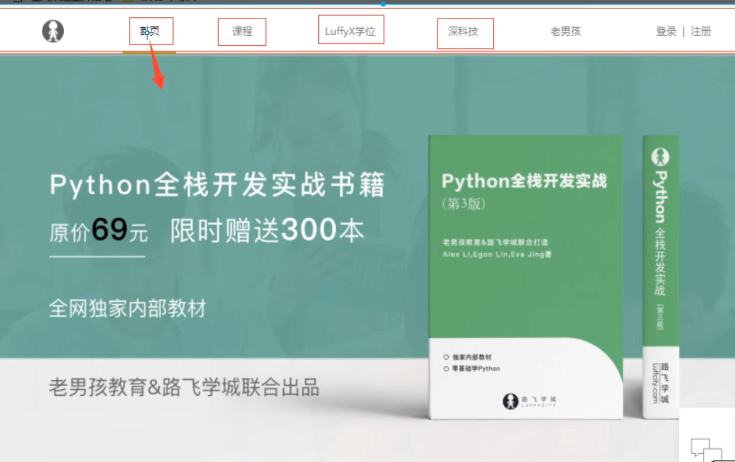
效果
2、vue前端代码
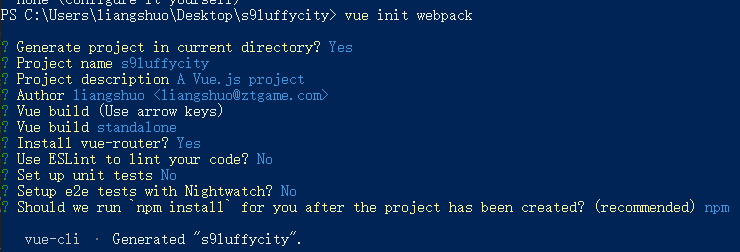
0、生成vue项目
详见: https://www.cnblogs.com/venicid/p/11560093.html#_label1
vue init webpack  # 初始化
npm run dev    # 启动
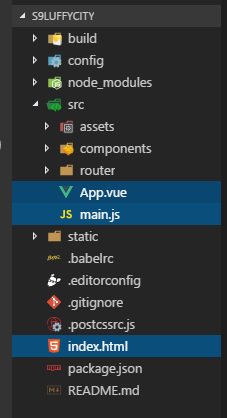
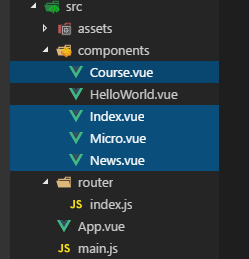
1、项目结构
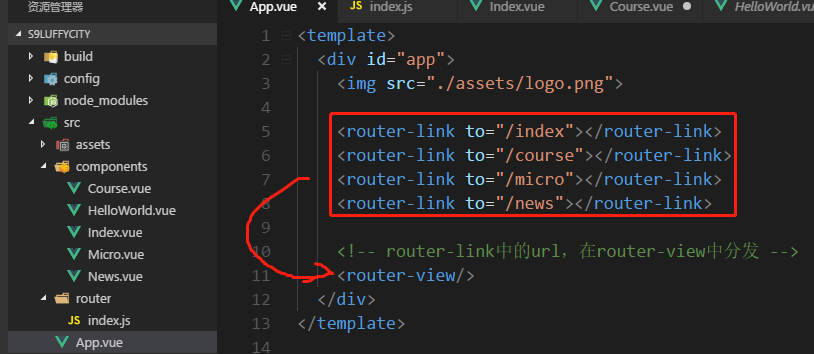
2、route-link
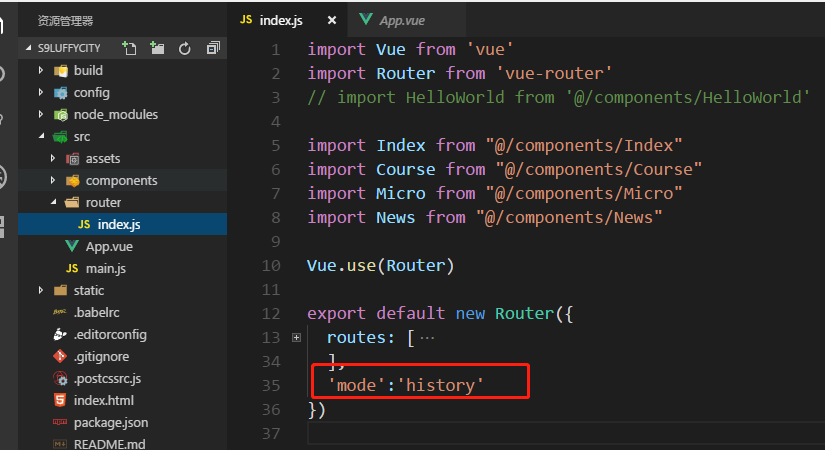
3、路由: index.js


4、各个组件,数据双向绑定
course:v-for


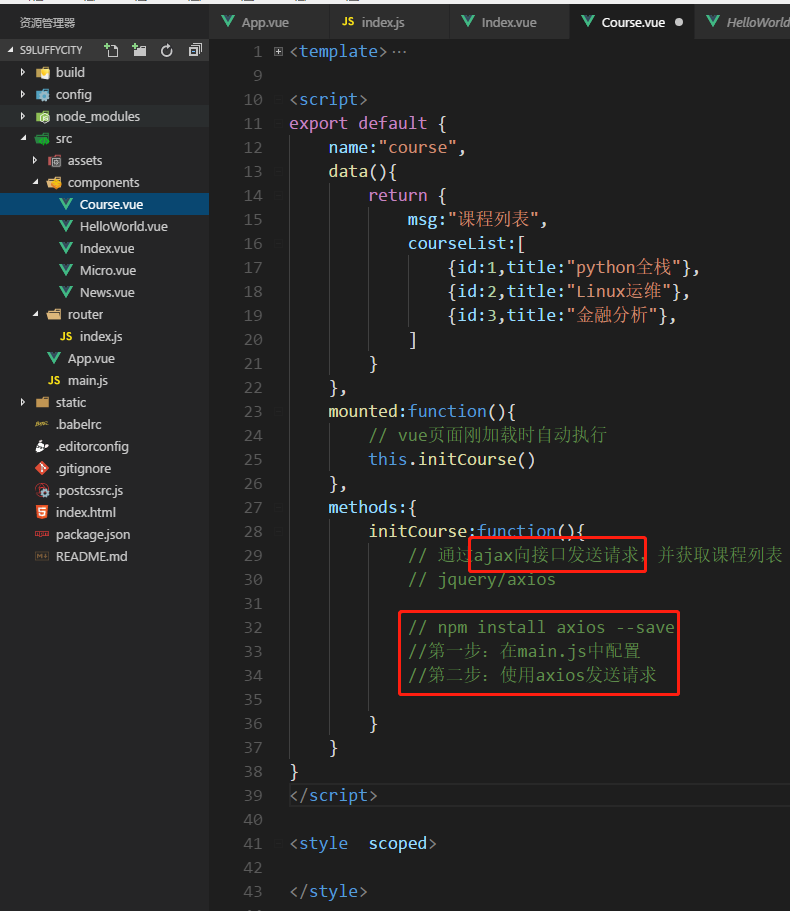
5、ajax请求:axios:aikeshesi
axios/jquery 只用来发ajax请求 aikeshesi
本质上都是 使用 XMLhttprequest对象
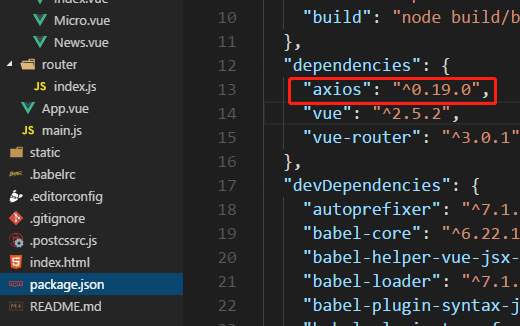
//axios
npm install axios --save
第一步:在main.js中配置
第二步:使用axios发送请求
(1)安装axios

(2)在main.js设置 $axios=axios
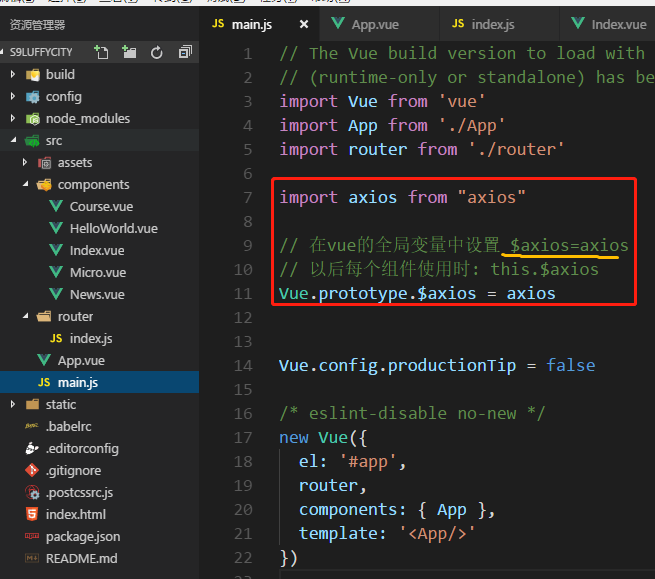
(3) 发送axios请求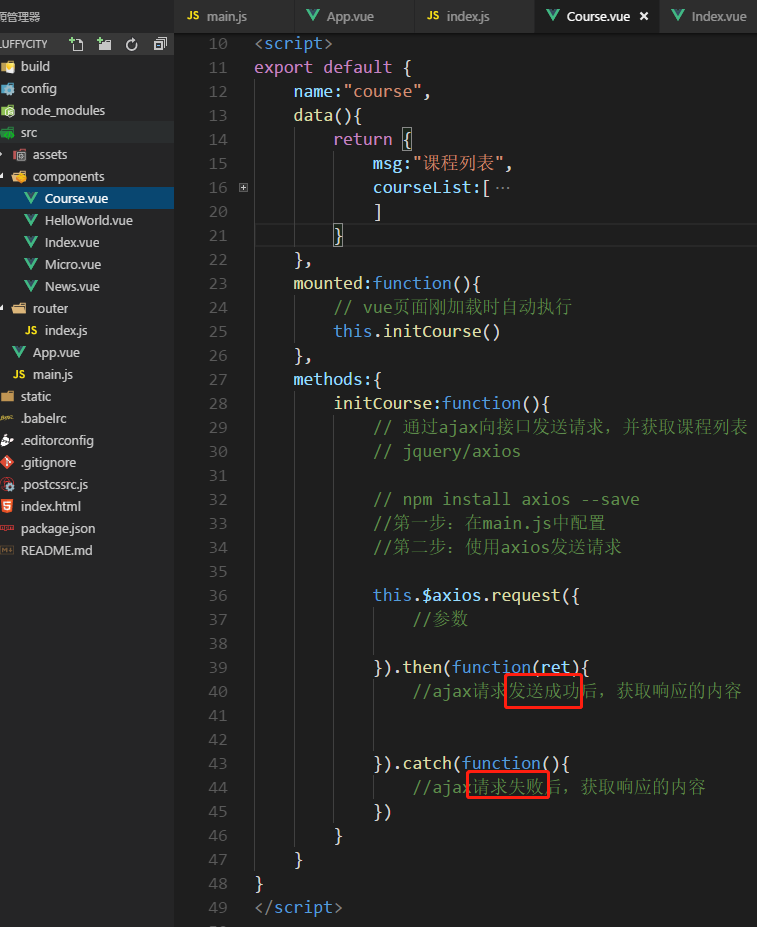
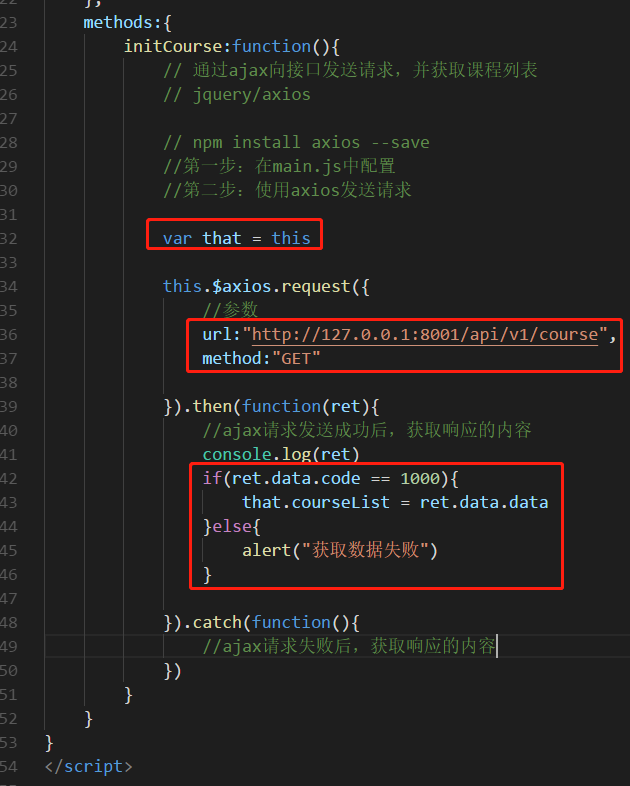
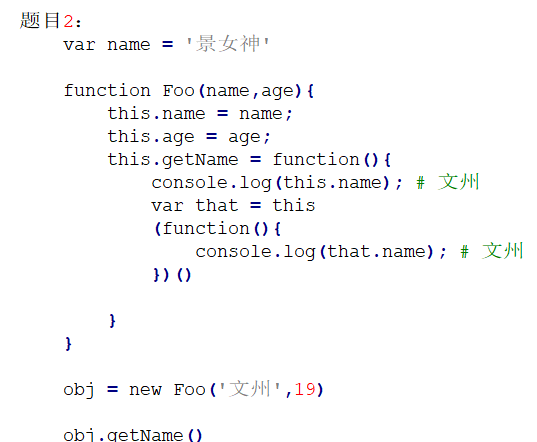
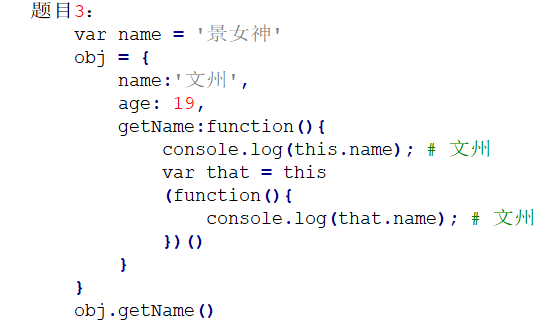
6、var that = this
此时的this不是this了
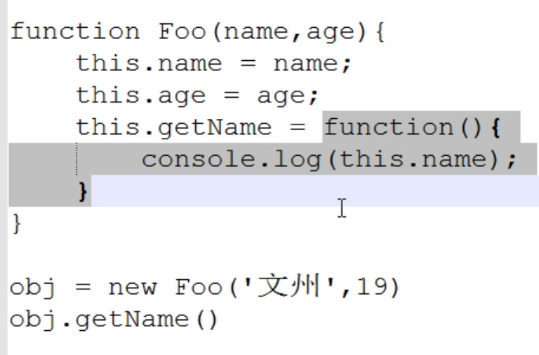
this补充
一般函数
自执行函数
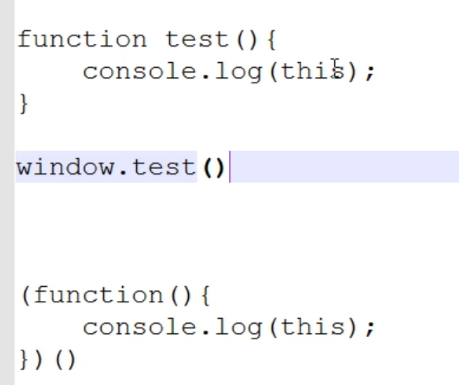
题目

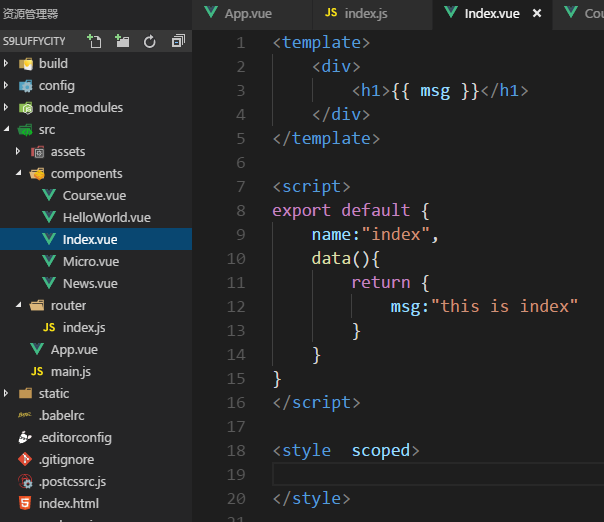
6、代码Course.vue

<template>
<div>
<h1>{{ msg }}</h1>
<ul v-for="row in courseList">
<li>{{ row.title }}</li>
</ul>
</div>
</template>
<script>
export default {
name:"course",
data(){
return {
msg:"课程列表",
courseList:[]
}
},
mounted:function(){
// vue页面刚加载时自动执行
this.initCourse()
},
methods:{
initCourse:function(){
// 通过ajax向接口发送请求,并获取课程列表
// jquery/axios
// npm install axios --save
//第一步:在main.js中配置
//第二步:使用axios发送请求
var that = this
this.$axios.request({
//参数
url:"http://127.0.0.1:8001/api/v1/course",
method:"GET"
}).then(function(ret){
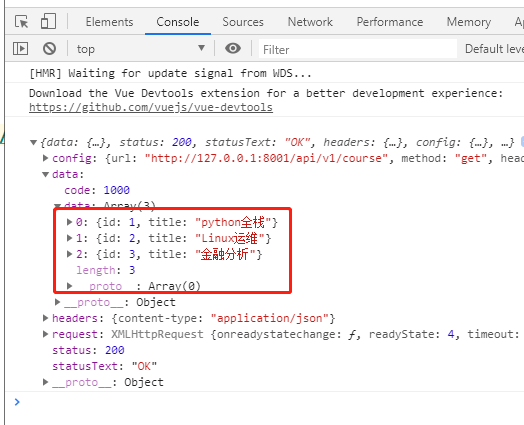
//ajax请求发送成功后,获取响应的内容
console.log(ret)
if(ret.data.code == 1000){
that.courseList = ret.data.data
}else{
alert("获取数据失败")
}
}).catch(function(){
//ajax请求失败后,获取响应的内容
})
}
}
}
</script>
<style scoped>
</style>
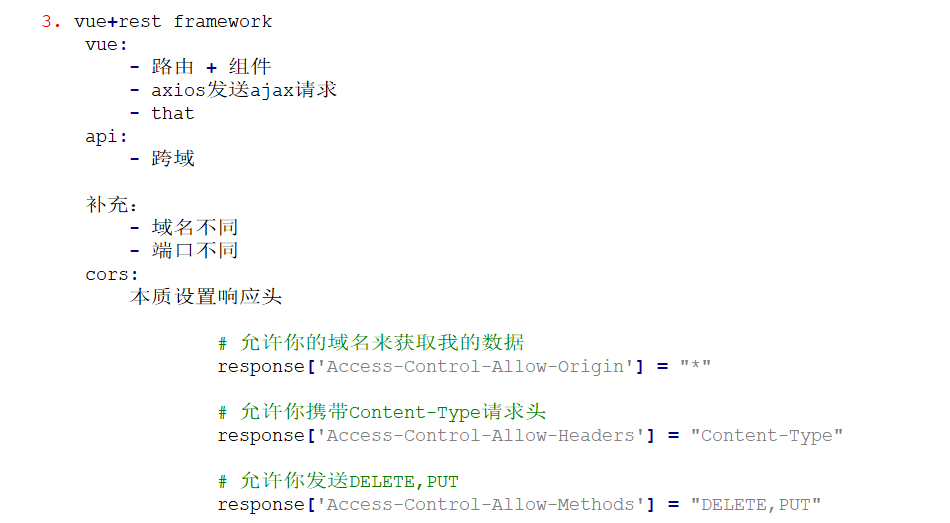
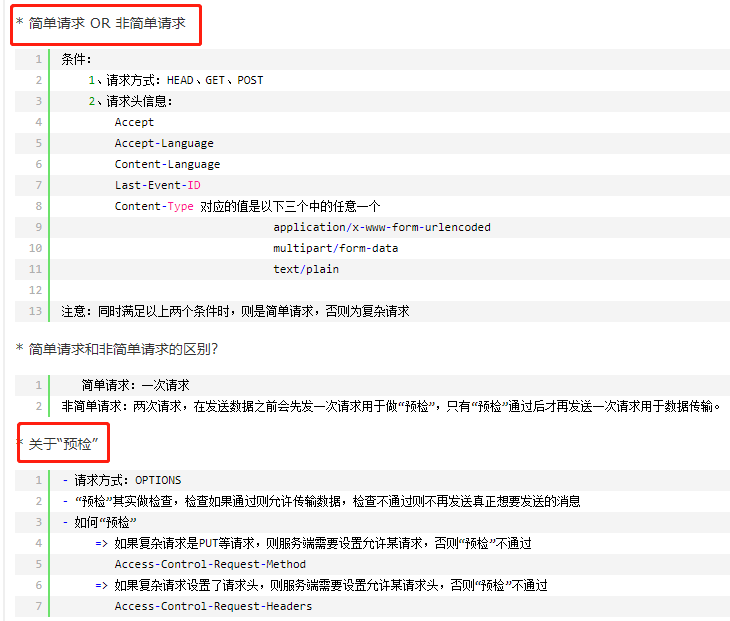
3、CORS跨域实现简答请求
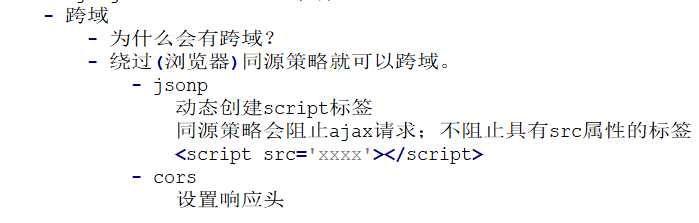
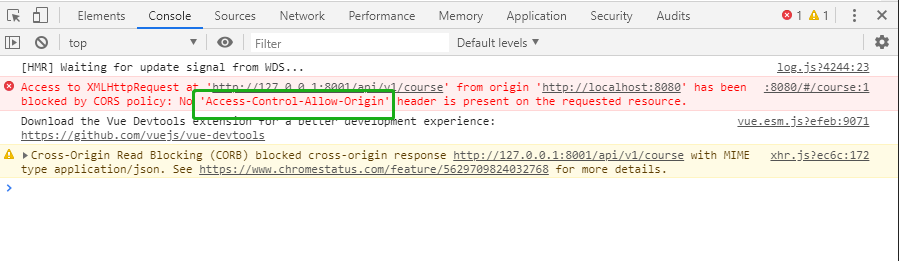
1、问题描述
浏览器的同源策略:域名,协议,端口相同.
https://www.cnblogs.com/venicid/p/9473277.html
vue监听8080
django监听8001
端口不同也会跨域
随着技术的发展,现在的浏览器可以支持主动设置从而允许跨域请求,即:跨域资源共享(CORS,Cross-Origin Resource Sharing),其本质是设置响应头,使得浏览器允许跨域请求。
2、参考blog
wupeiqi : https://www.cnblogs.com/wupeiqi/article/5703697.html
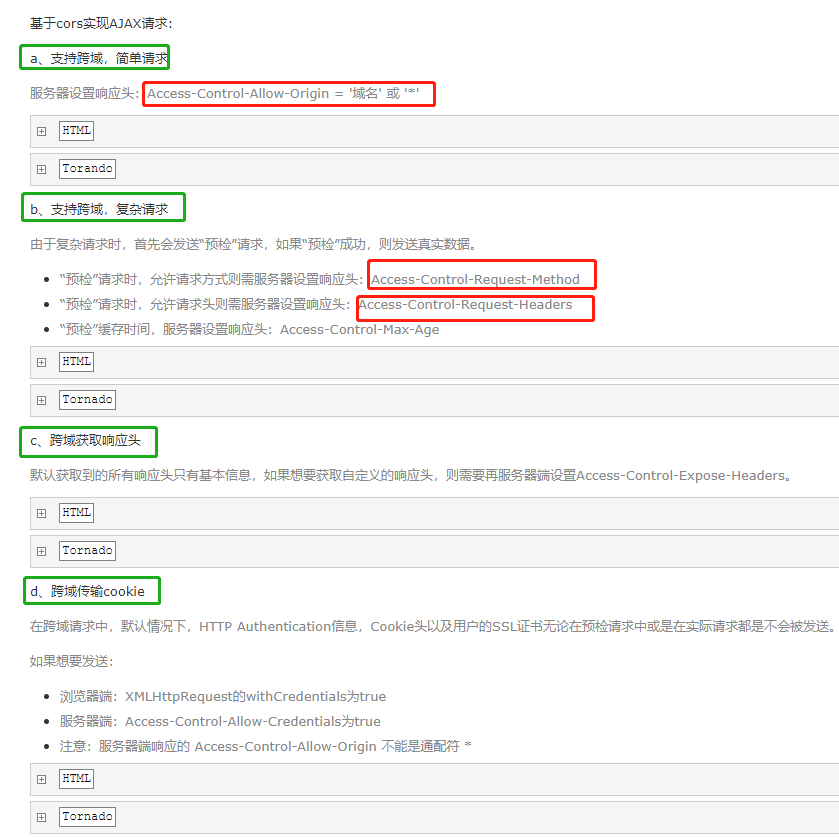
3、添加响应头
中间件,响应的时候加个响应头
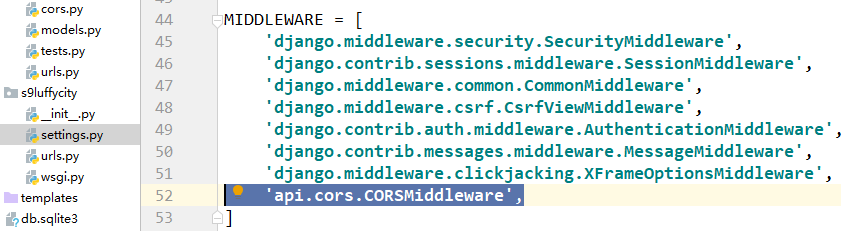

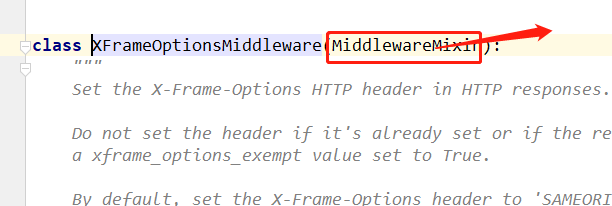
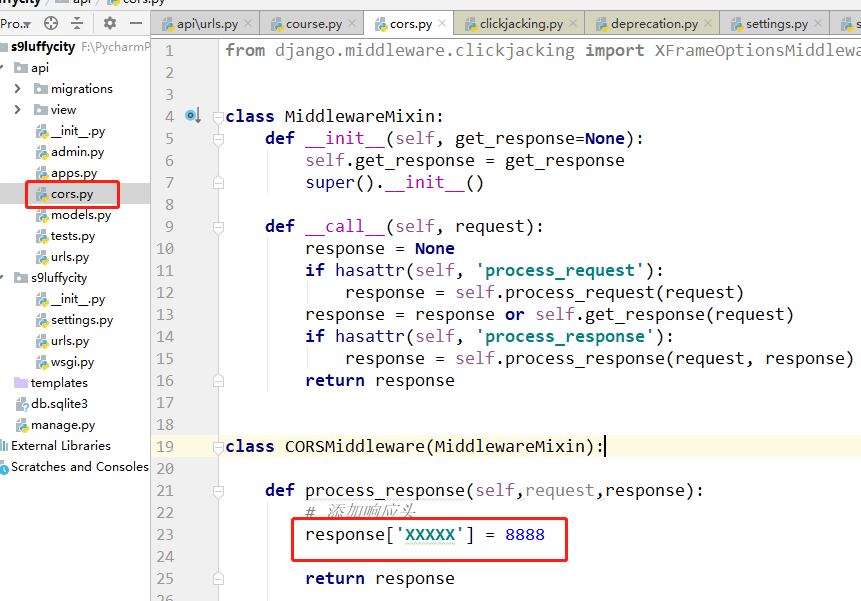

4、代码cors
from django.middleware.clickjacking import XFrameOptionsMiddleware

class MiddlewareMixin:
    def __init__(self, get_response=None):
        self.get_response = get_response
        super().__init__()

    def __call__(self, request):
        response = None
        if hasattr(self, 'process_request'):
            response = self.process_request(request)
        response = response or self.get_response(request)
        if hasattr(self, 'process_response'):
            response = self.process_response(request, response)
        return response


class CORSMiddleware(MiddlewareMixin):

    def process_response(self,request,response):
        # 添加响应头
        # response['XXXXX'] = 8888

        # 1.允许你的域名来获取我的数据
        # response['Access-Control-Allow-Origin'] = "http://localhost:8080"
        response['Access-Control-Allow-Origin'] = "*"

        # 2.允许你携带Content-Type请求头
        response['Access-Control-Allow-Headers'] = "Content-Type,Host,XXX"

        # 3.允许你发送DELETE,PUT
        response['Access-Control-Allow-Methods'] = "DELETE,PUT"

        return response
效果图
3、总结与作业
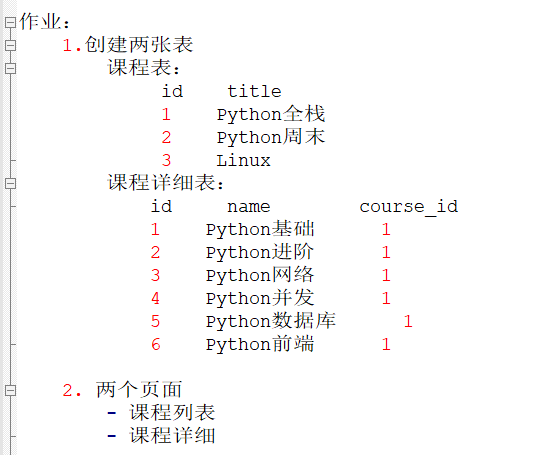
1、作业
2、总结