VUE文档 https://cn.vuejs.org/v2/guide/
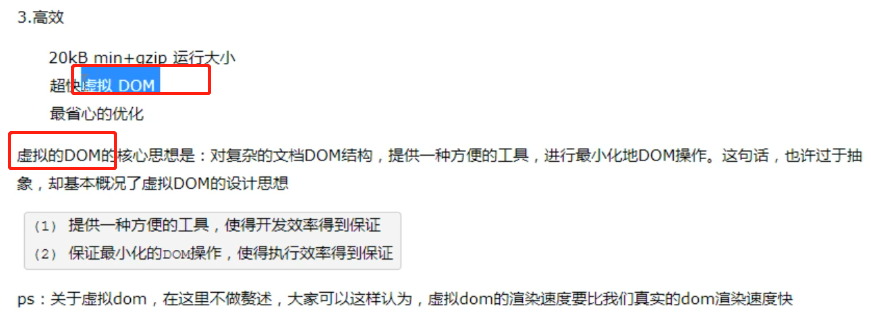
1、vue的介绍
尤雨溪
1、vue的优点

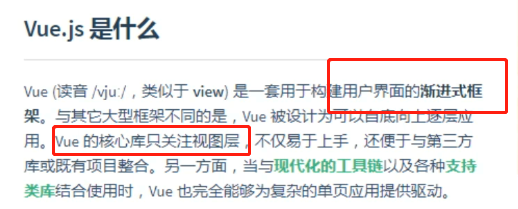
2、vue的介绍


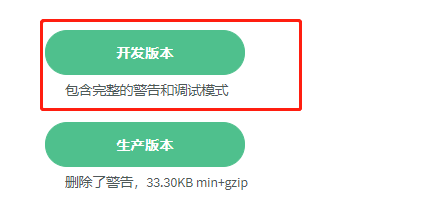
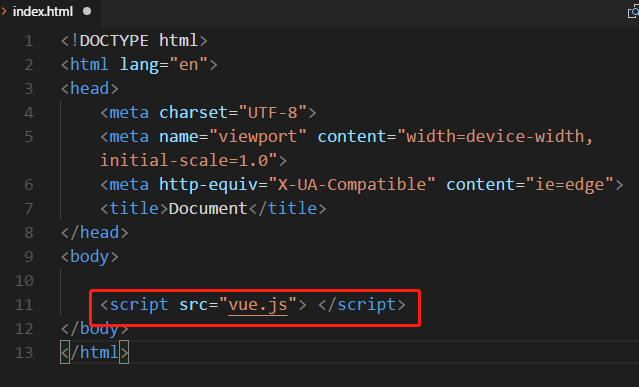
3、vue的安装


4、声明式渲染
<body>
    <div id="app1">
        <!-- 插值语法 react {}  angular {{}} {%%} <% = %>
            你可以任意插
        -->
        <h3>{{title}}</h3>
<h3>{{ 1>2?"true":"false"}}</h3>
    </div>

    <script src="vue.js"> </script>
    <script>
        // vue实例化对象
        var app = new Vue({
            el: "#app1",

            // 所有的数据都放在数据属性中
            data:{
                title:"土豆"
            }
        })

        // 不推荐
        console.log(app)
        console.log(app.$el)
        console.log(app.$data)
        console.log(app.$data.title)

    </script>
</body>
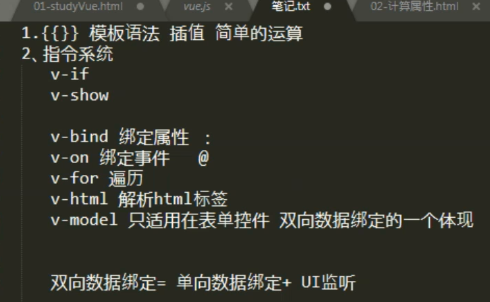
2、指令系统介绍
1、v-if v-for v-on v-show
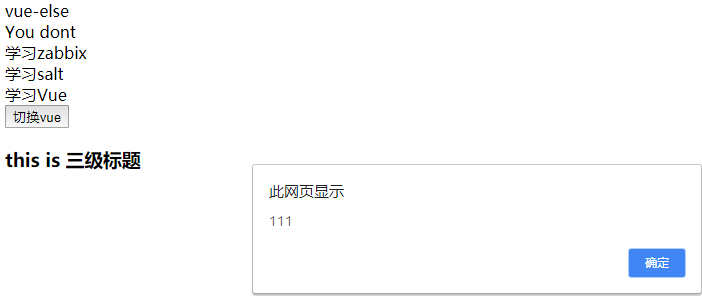
<body>
    <div id="app">
        <!-- v-if -->
        <div v-if='show'>vue-if</div>
        <div v-else>vue-else</div>

        <div v-if='Math.random() > 0.5'>Now you see </div>
        <div v-else>You dont</div>

        <!-- v-for -->
        <div v-for="todo in todolist">{{todo.text}}</div>


        <!-- v-show -->
        <h3 v-show='isShow'>this is 三级标题</h3>

        <!-- v-on -->
        <button v-on:click="clickHandler">切换vue</button>

    </div>


    <script src="vue.js"></script>
    <script>
        // vue的实例对象

        // 指令系统 v-*
        var app = new Vue({
            el: "#app",
            data:{
                show: false,
                todolist:[
                    {text:"学习zabbix"},
                    {text:"学习salt"},
                    {text:"学习Vue"},
                ],
                isShow:true
            },
            methods:{
                clickHandler:function(){
                    alert(111)
                    console.log(this) //整个网页就一个实例化对象
                    this.show = !this.show
                    this.isShow = !this.isShow
                }
            }
        })


        // MVVM Model View ViewModel
        // MTV Model Template View

    </script>
</body>


2、v-bind
<body>
    <div id="app">

        <!-- v-bind -->
        <div title="嘿嘿">这是一个三级标题</div>
        <div v-show='isShow' v-bind:title='data'>这是一个三级标题</div>

        <img src="" alt="">
        <img v-bind:src='imgSrc' v-bind:alt="imgAlt">

        <!-- 简便写法
            v-bin:src  :src
            v-on:click @click
        -->
        <img :src='imgSrc' :alt="imgAlt">
    </div>


    <script src="vue.js"></script>
    <script>
        // vue的实例对象

        // 指令系统 v-*
        var app = new Vue({
            el: "#app",
            data:{
                isShow:true,
                data:"hahah",
                imgSrc:'./images/shiyun.jp',
                imgAlt: `页面加载与${new Date().toLocaleString()}`
            },
        })


    </script>
</body>

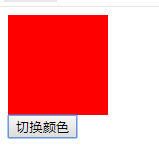
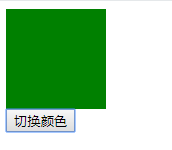
3、v-bind: class与style绑定
传个 v-bind:class 一个对象,以动态地切换class
<!DOCTYPE html>
<html lang="en">
<head>
    <meta charset="UTF-8">
    <meta name="viewport" content="width=device-width, initial-scale=1.0">
    <meta http-equiv="X-UA-Compatible" content="ie=edge">
    <title>Document</title>
    <style type="text/css">
        .box{
           width:100px;
           height: 100px;
           background: red;
        }
        .box2{
           width:100px;
           height: 100px;
           background: green;
        }

    </style>
</head>
<body>
    <div id="app">
       <div class="box" v-bind:class={box2:isGreen} ></div>
       <button @click='changeColor'>切换颜色</button>
    </div>

    <script src="vue.js"></script>
    <script>
        // vue的实例对象

        // 指令系统 v-*
        var app = new Vue({
            el: "#app",
            data:{
                isGreen:false
            },
            methods:{
                changeColor:function(){
                    this.isGreen = !this.isGreen
                },
            }

        })
    </script>
</body>
</html>
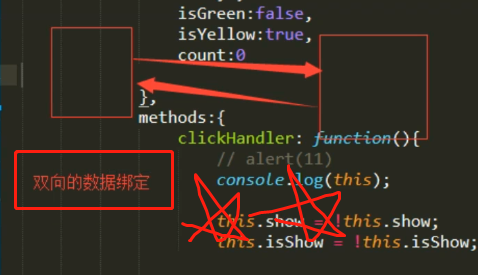
4、vue核心思想:数据驱动视图,双向数据绑定
<body>
    <div id="app">

       <!-- 核心思想概念:数据驱动视图 -->
       <!-- 双向数据绑定 -->
       <button v-on:click = 'count+=1'> 加 {{count}}</button>
    </div>


    <script src="vue.js"></script>
    <script>
        // vue的实例对象

        // 指令系统 v-*
        var app = new Vue({
            el: "#app",
            data:{
                count:0
            },
            methods:{

            }

        })
    </script>
</body>
声明式的指令 :之前写的html,都是
命令式的:Vue
5、监听事件

6、应用:轮播图
版本1


<body>
<div id="app">
<!-- 列表渲染 :轮播图 -->
<!-- 传统写法 -->
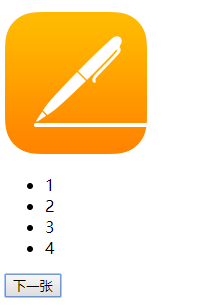
<div>
<img src="./images/vue.png" alt="">
<ul>
<li>1</li>
<li>2</li>
<li>3</li>
<li>4</li>
</ul>
</div>
<!-- Vue -->
<div>
<img :src="imgSrc" >
<ul>
<li v-for = "(item,i) in imgArr" @click='ChangeImgSrc(item)'>{{ i+1 }}</li>
</ul>
</div>
<button @click='nextImg'>下一张</button>
</div>
<script src="vue.js"></script>
<script>
// vue的实例对象
// 指令系统 v-*
var app = new Vue({
el: "#app",
data:{
imgSrc:'./images/1.png',
imgArr:[
{id:1, src:'./images/1.png'},
{id:2, src:'./images/2.png'},
{id:3, src:'./images/3.png'},
{id:4, src:'./images/4.png'}
],
currentIndex:0
},
methods:{
ChangeImgSrc(item){
this.imgSrc = item.src
},
nextImg(){
if (this.currentIndex==this.imgArr.length-1){
this.currentIndex=-1
}
this.currentIndex ++
this.imgSrc = this.imgArr[this.currentIndex].src
}
}
})
</script>
</body>

版本2:添加定时器
<!DOCTYPE html>
<html lang="en">
<head>
    <meta charset="UTF-8">
    <meta name="viewport" content="width=device-width, initial-scale=1.0">
    <meta http-equiv="X-UA-Compatible" content="ie=edge">
    <title>Document</title>

    <style type="text/css">

        ul{
            width:180px;
            overflow: hidden;
            list-style: none;
        }
        ul li{
            float: left;
            width: 30px;
            height: 30px;
            background: peachpuff;
            margin-left: 10px;
            line-height: 30px;
            text-align: center;
            color: black
        }
    </style>
</head>

<body>
    <div id="app">
        <!-- 列表渲染 :轮播图 -->

        <!-- 传统写法 -->
        <div>
            <img src="./images/vue.png" alt="">
            <ul>
                <li>1</li>
                <li>2</li>
                <li>3</li>
                <li>4</li>
            </ul>
        </div>

        <!-- Vue -->
        <div>
            <img :src="imgSrc" @mouseenter="closeTimer" @mouseleave="openTimer">
            <ul>
                <li v-for = "(item,i) in imgArr" @click='ChangeImgSrc(item)'>{{ i+1 }}</li>
            </ul>
        </div>
        <button @click='nextImg'>下一张</button>
    </div>


    <script src="vue.js"></script>
    <script>
        // vue的实例对象

        // 指令系统 v-*
        var app = new Vue({
            el: "#app",
            data:{
                imgSrc:'./images/1.png',
                imgArr:[
                    {id:1, src:'./images/1.png'},
                    {id:2, src:'./images/2.png'},
                    {id:3, src:'./images/3.png'},
                    {id:4, src:'./images/4.png'}
                ],
                currentIndex:0,
                timer:null  // 3.0 鼠标移到停止
            },
            created(){
                // 生命周期方法
                // 开启定时器
                // 提前获取cookie和session
                this.timer = setInterval(this.nextImg,2000)
                console.log(1111)
            },
            methods:{
                ChangeImgSrc(item){
                    this.imgSrc = item.src
                },
                nextImg(){
                    if (this.currentIndex==this.imgArr.length-1){
                        this.currentIndex=-1
                    }
                    this.currentIndex ++
                    this.imgSrc = this.imgArr[this.currentIndex].src

                },
                closeTimer(){
                    clearInterval(this.timer) // 鼠标enter,停止定时器
                },
                openTimer(){
                    this.timer = setInterval(this.nextImg,2000)  // 重新开启定时器
                }

            }

        })
    </script>
</body>
</html>

作业:
    1、标号颜色
    2、下一张
7、v-html:解析标签

<body>

    <div id="app">
        <!-- 为什么需要v-html,解析标签 -->
        <div>{{str}}</div>

        <div v-html="str"></div>
    </div>


    <script src="vue.js"></script>
    <script>
        // vue的实例对象

        // 指令系统 v-*
        var app = new Vue({
            el: "#app",
            data:{
                str:"<p>为什么需要v-html,解析标签</p>"
            },
            methods:{

            }

        })
    </script>
</body>
8、计算属性 :getter setter
(1)getter
<body>
    <!-- 计算属性 -->
    <div id="computed">

        <!-- 1.0 版本1 -->
        <div>
            {{ msg.split('').reverse().join('') }}
        </div>

        <!-- 2.0 版本 -->
        <div>
            {{ recverseStr }}
        </div>

        <!-- 3.0 修改字符串 -->
        <button @click="clickHandler">修改</button>
    </div>


    <script type="text/javascript" src="vue.js"></script>
    <script>
        // vue的实例对象
        var com = new Vue({
            el: "#computed",
            data:{
                msg:"Hello world"
            },
            computed:{
                // 计算属性 watch 监听
                // 默认只有getter方法

                recverseStr(){
                    return this.msg.split('').reverse().join('')
                }


            },
            methods:{
                clickHandler(){
                    this.msg = "Hello Luffy"
                }
            }


        })
    </script>
</body>
(2) setter

<body>
    <!-- 计算属性 -->
    <div id="computed">
        <!-- setter -->
        <div>
            {{ recverseStr }}
        </div>

        <button @click="clickHandler">修改</button>
    </div>


    <script type="text/javascript" src="vue.js"></script>
    <script>
        // vue的实例对象
        var com = new Vue({
            el: "#computed",
            data:{
                msg:"Hello world"
            },
            computed:{
                // 计算属性 watch 监听
                // 默认只有getter方法
                // 如何添加set方法
                recverseStr:{
                    set:function(newValue){
                        this.msg = newValue
                    },
                    get:function(){
                        return this.msg.split('').reverse().join('');
                    }
                }


            },
            methods:{
                clickHandler(){
                    // this.msg = "Hello Luffy"
                    console.log(this.recverseStr) // GET

                    this.recverseStr = "Talk is cheap"  //SET
                }
            }


        })
    </script>
</body>
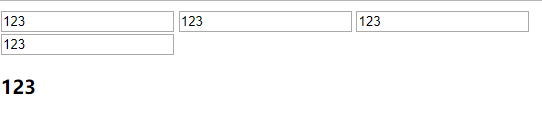
9、v-model :双向绑定
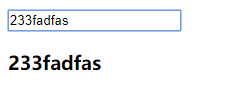
(1) v-model 只适用于表单控件 form
<body>

    <form id="computed">
        <!-- v-model -->
        <!-- 数据的双向绑定 = 单向数据绑定+UI事件监听 -->

        <input type="text" v-model="msg">
        <h3>{{ msg }}</h3>

    </form>


    <script type="text/javascript" src="vue.js"></script>
    <script>
        // vue的实例对象
        var com = new Vue({
            el: "#computed",
            data:{
                msg:"123",
                getValue:"233"
            },


        })
    </script>
</body>
(2)数据的双向绑定 = 单向数据绑定+UI事件监听
<body>

    <form id="computed">
        <!-- v-model -->
        <!-- 数据的双向绑定 = 单向数据绑定+UI事件监听 -->

        <!-- 等价于 -->

        <input type="text" v-bind:value="getValue" @input="msgChange">
        <h3>{{ getValue }}</h3>

    </form>


    <script type="text/javascript" src="vue.js"></script>
    <script>
        // vue的实例对象
        var com = new Vue({
            el: "#computed",
            data:{
                getValue:"233"
            },
            methods:{
                msgChange(e){
                    console.log(e)
                    this.getValue = e.target.value
                }
            },
            computed:{
                getValue:{
                    set:function(newValue){
                        this.getValue = newValue

                    },
                    get:function(){
                        return this.getValue
                    }
                }
            }


        })
    </script>
</body>

(3)计算属性应用
10、vue表单
https://cn.vuejs.org/v2/guide/forms.html

<body>

    <form id="computed">
        <!-- v-model -->
        <!-- 数据的双向绑定 = 单向数据绑定+UI事件监听 -->

        <input type="text" v-model="msg">

        <!-- 使用 change 事件进行同步 -->
        <input type="text" v-model.lazy="msg">

        <!-- 输入值转为数值类型 -->
        <input type="text" v-model.number="msg">

        <!-- 首尾空白字符 -->
        <input type="text" v-model.trim="msg">
        <h3>{{ msg }}</h3>
    </form>

    <script type="text/javascript" src="vue.js"></script>
    <script>
        // vue的实例对象
        var com = new Vue({
            el: "#computed",
            data:{
                msg:"123",
                getValue:"233"
            },
        })
    </script>
</body>
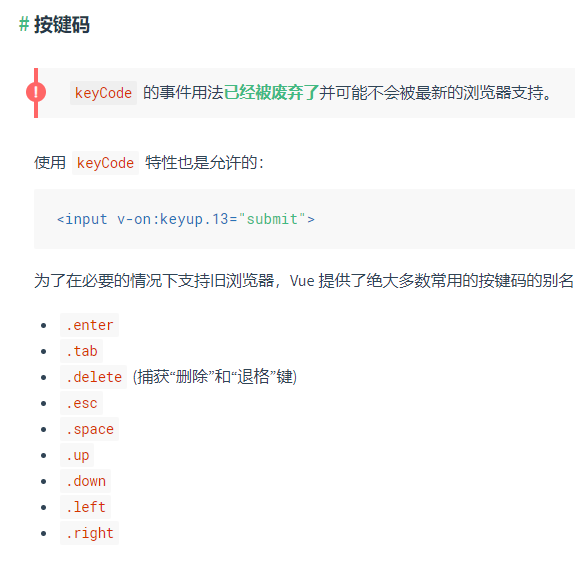
11、事件处理
https://cn.vuejs.org/v2/guide/events.html#事件修饰符
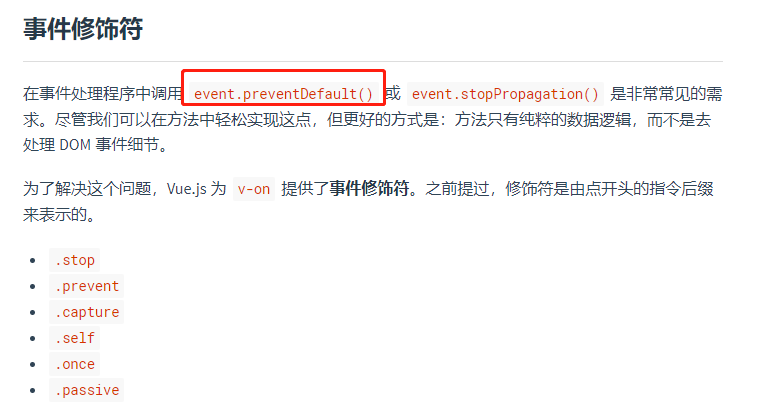

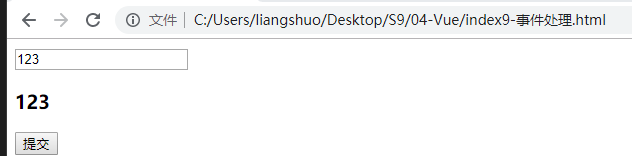
<body>

    <!-- 阻止表单提交 -->
    <!-- <form id="computed" > -->
    <form id="computed" @submit.prevent>

        <input type="text" v-model="msg">
        <h3>{{ msg }}</h3>

        <input type="submit" name="" value="提交">

    </form>


    <script type="text/javascript" src="vue.js"></script>
    <script>
        // vue的实例对象
        var com = new Vue({
            el: "#computed",
            data:{
                msg:"123",
                getValue:"233"
            },

            methods:{
                // ajax技术
                // jquery  ---> $ajax()  封装了(xmlhttpRequest)
                // vue --> axios
            }
        })
    </script>
</body>
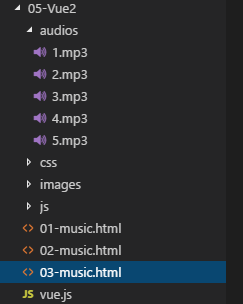
3、音乐播放器
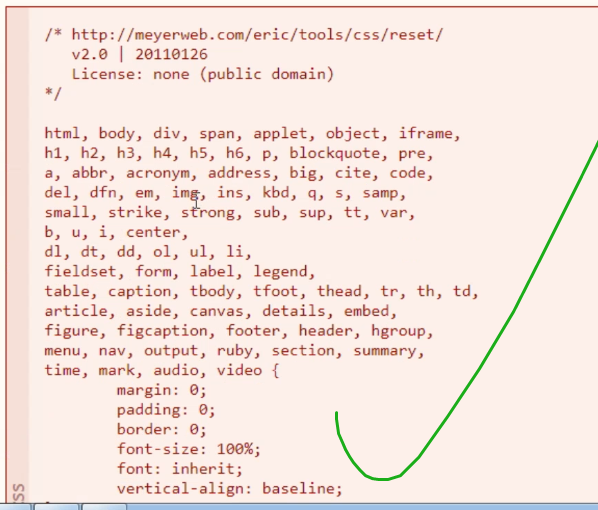
1、目录结构,rest css
reset css
https://meyerweb.com/eric/tools/css/reset/
2、v-for,@click:点击切换歌曲
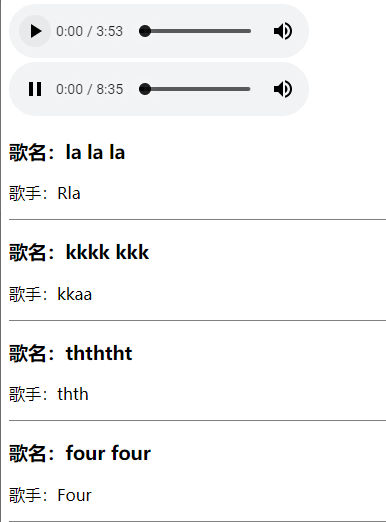
<!DOCTYPE html>
<html lang="en">
<head>
    <meta charset="UTF-8">
    <meta name="viewport" content="width=device-width, initial-scale=1.0">
    <meta http-equiv="X-UA-Compatible" content="ie=edge">
    <title>Document</title>

    <style type="text/css">
        *{
            padding:0
        }
        ul{
            list-style: none;
        }
        li{
            border-bottom: 1px solid gray;
        }
    </style>
</head>
<body>
    <!-- 1.0 死写法 -->
    <audio src="./audios/1.mp3" autoplay="" controls=""></audio>

    <!-- 2.0 循环指令 -->
    <div id="music">

        <audio :src="currentSong" autoplay="" controls="" ></audio>

        <ul>
            <li v-for="(item,index) in songs" @click='clickHandler(index)'>
                <h3>歌名:{{ item.name }}</h3>
                <p>歌手:{{ item.author }}</p>
            </li>
        </ul>
    </div>

    <script type="text/javascript" src="vue.js"> </script>

    <script>

        var songs = [
            {id:1, src:"./audios/1.mp3", name:"la la la", author:"Rla"},
            {id:2, src:"./audios/2.mp3", name:"kkkk kkk", author:"kkaa"},
            {id:3, src:"./audios/3.mp3", name:"thththt", author:"thth"},
            {id:4, src:"./audios/4.mp3", name:"four four", author:"Four"}
        ]

        var musci = new Vue({
            el: "#music",
            data:{
                songs:songs,
                currentSong:"./audios/1.mp3",
                currentIndex:0
            },
            methods:{
                // 点击,切换下一首歌曲
                clickHandler(index){
                    this.currentSong = this.songs[index].src;
                },

            },
            computed:{

            },
            created(){
                // 通常都用来做页面的初始化
            }
        })
    </script>

</body>
</html>
3、@ended :播放结束,切换下一首
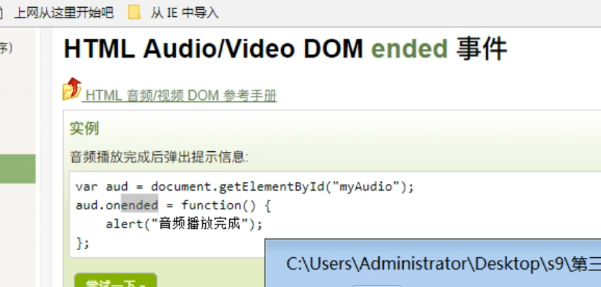
<body>
    <!-- 2.0 循环指令 -->
    <div id="music">

        <audio :src="currentSong" autoplay="" controls="" @ended='nextSong'></audio>

        <ul>
            <li v-for="(item,index) in songs" @click='clickHandler(index)'>
                <h3>歌名:{{ item.name }}</h3>
                <p>歌手:{{ item.author }}</p>
            </li>
        </ul>
    </div>

    <script type="text/javascript" src="vue.js"> </script>

    <script>

        var songs = [
            {id:1, src:"./audios/1.mp3", name:"la la la", author:"Rla"},
            {id:2, src:"./audios/2.mp3", name:"kkkk kkk", author:"kkaa"},
            {id:3, src:"./audios/3.mp3", name:"thththt", author:"thth"},
            {id:4, src:"./audios/4.mp3", name:"four four", author:"Four"}
        ]

        var musci = new Vue({
            el: "#music",
            data:{
                songs:songs,
                currentSong:"./audios/1.mp3",
                currentIndex:0
            },
            methods:{
                // 点击,切换下一首歌曲
                clickHandler(index){
                    this.currentSong = this.songs[index].src;
                },

                // 音频播放完成,切换下一首  方法1
                nextSong(){
                    alert(111)
                    this.currentIndex++;
                    this.currentSong = this.songs[this.currentIndex].src
                }
            },
            computed:{

            },
            created(){
                // 通常都用来做页面的初始化
            }
        })
    </script>

</body>
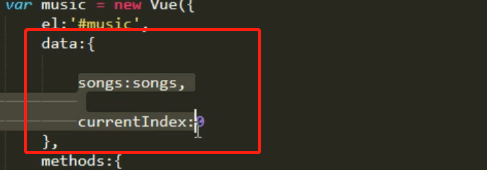
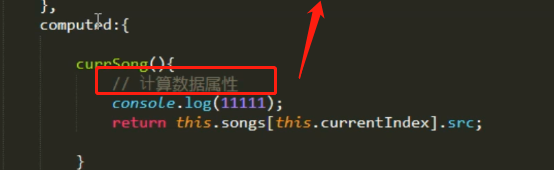
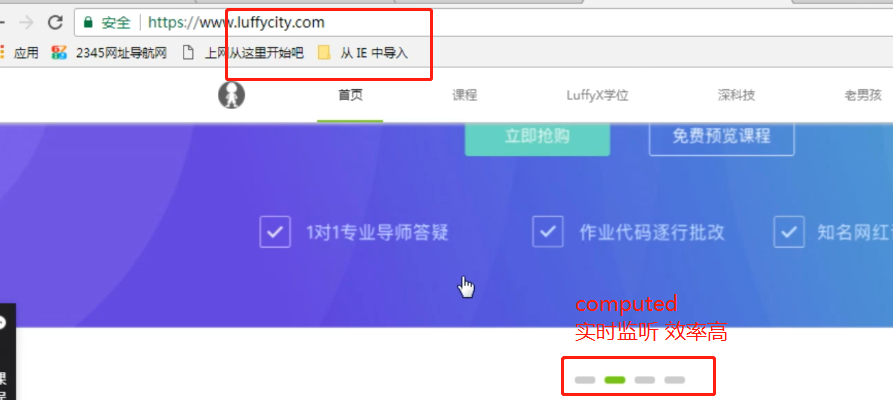
4、computed:实时监控,计算数据属性***
<body>
    <!-- 1.0 死写法 -->
    <audio src="./audios/1.mp3" autoplay="" controls=""></audio>

    <!-- 2.0 循环指令 -->
    <div id="music">

        <!-- 方法2 -->
        <audio :src="currSong" autoplay="" controls="" @ended='nextSong'></audio>

        <ul>
            <li v-for="(item,index) in songs" @click='clickHandler(index)'>
                <h3>歌名:{{ item.name }}</h3>
                <p>歌手:{{ item.author }}</p>
            </li>
        </ul>
        <button @click="addOneSong">添加1首歌</button>
    </div>

    <script type="text/javascript" src="vue.js"> </script>

    <script>

        var songs = [
            {id:1, src:"./audios/1.mp3", name:"la la la", author:"Rla"},
            {id:2, src:"./audios/2.mp3", name:"kkkk kkk", author:"kkaa"},
            {id:3, src:"./audios/3.mp3", name:"thththt", author:"thth"},
            {id:4, src:"./audios/4.mp3", name:"four four", author:"Four"}
        ]

        var musci = new Vue({
            el: "#music",
            data:{
                songs:songs,
                currentIndex:0
            },
            methods:{
                // 点击,切换下一首歌曲
                clickHandler(index){
                    this.currentIndex = index;
                },

                // 音频播放完成,切换下一首
                nextSong(){
                    this.currentIndex++;
                },
                // 添加1首歌
                addOneSong(){
                    this.songs.push({id:5, src:"./audios/5.mp3", name:"qqq", author:"qqq"})
                }
            },
            computed:{
                // 方法2 currsong 实时监听,数组 index
                // 计算属性:计算数据属性,data中的数据
                // 数据驱动视图

                currSong(){
                    return this.songs[this.currentIndex].src
                }
            },
            created(){
                // 通常都用来做页面的初始化
            }
        })
    </script>

</body>
计算属性:data中的数据
网页中的实时监控
4、作业与总结
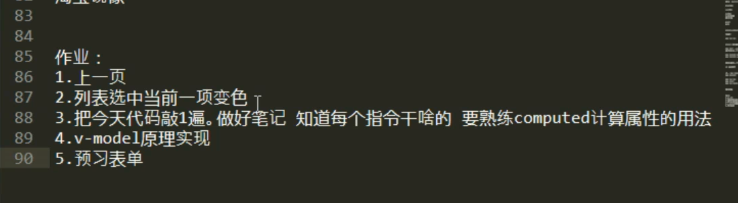
1、作业

2、总结