之所以要只有根分区镜像,是因为在创建VM或者调整云主机的硬盘大小时,它能自动扩容。无需人工介入
在原来的物理机10.40.41.1的CentOS 6.7上制作镜像。
宿主机坱要安装KVM相关软件:
yum groupinstall Virtualization "Virtualization Client" -y
yum install libvirt libguestfs-tools qemu virt-manager virt-viewer qemu-kvm virt-install bridge-utils -y
service libvirtd start
chkconfig libvirtd on
材料有
ubuntu-14.04.3-server-amd64.iso-----ubuntu官网上有得下载
上传至10.40.41.1的物理机上的/home目录下
10.40.41.1所在的网段预先网卡配了DHCP。目的是为了简化我们的安装过程,如果你的安装过程中没有网络,步骤会少许不一样,你得熟知安装这程每一步中的提示意思
创建镜像的硬盘文件
mkdir /mnt/sdf1/ubuntu1404/
cd /mnt/sdf1/ubuntu1404/
qemu-img create -f qcow2 ubuntu1404.qcow2 20G
CentOS6.7宿主机上的执行命令
[root@bunker ubuntu1404]# virt-install --name ubuntu1404 --ram 4096 --vcpus 2 --network bridge=kvmbr0,model=e1000 --disk=/mnt/sdf1/ubuntu1404/ubuntu1404.qcow2,format=qcow2,device=disk,bus=virtio --cdrom=/home/ubuntu-14.04.3-server-amd64.iso --vnc --vncport=5971 --vnclisten=0.0.0.0 --os-type=linux --force
CentOS7.2宿主机上的执行命令
virt-install --name test --ram 4096 --vcpus 2 --network bridge=kvmbr0 --disk=/mnt/sde1/test/test.raw,size=20,bus=virtio --cdrom=/home/ubuntu-14.04.3-server-amd64.iso --graphics vnc,listen=0.0.0.0,port=5910 --os-type=linux --force --noautoconsole
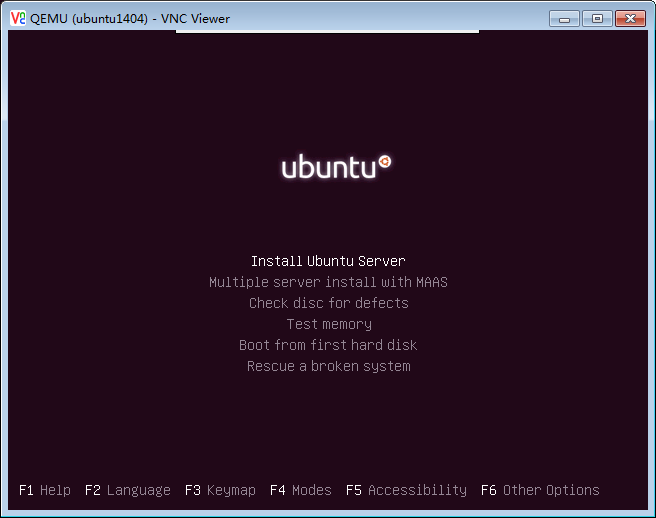
开始安装......
创建域...... | 0 B 00:00
无法打开显示:
运行 'virt-viewer --help' 来查看可用命令行选项的完整列表
域安装仍在进行。您可以重新连接
到控制台以便完成安装进程。
[root@bunker ubuntu1404]#
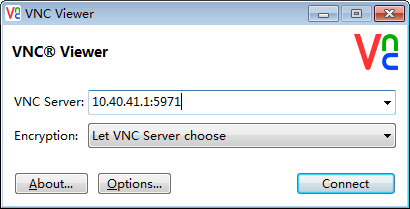
接下使用VNC连接,目的是为了分区1个根分区
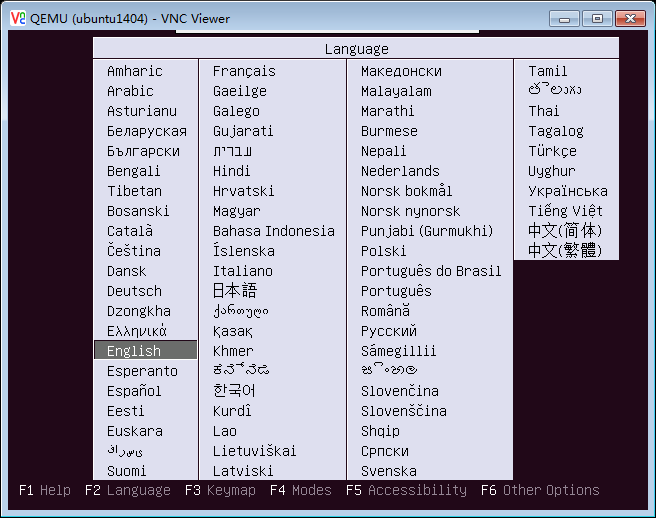
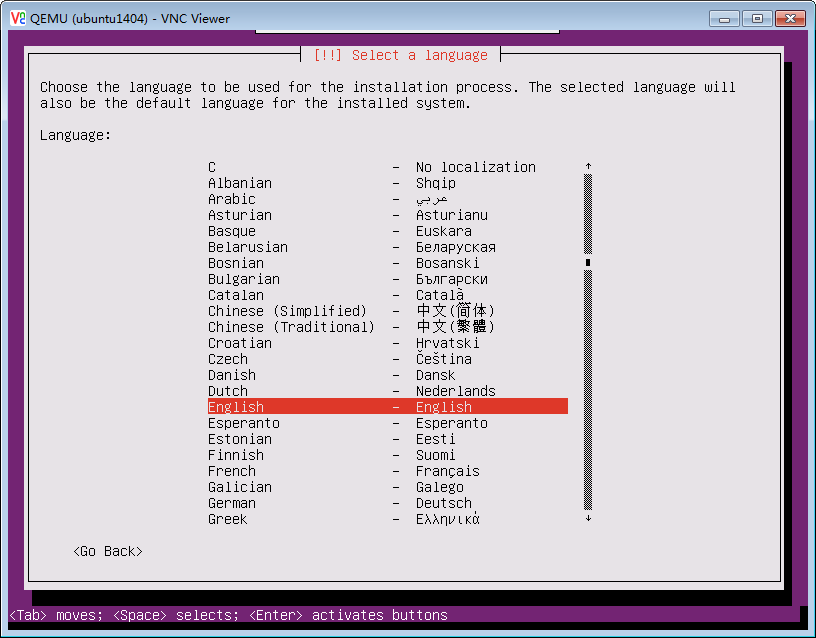
这里选择英文版,它不像CentOS ,我们是因为怕系统安装完成后,它默认系统界面帮我转成中文,在登录界面上显示编码格式会有问题
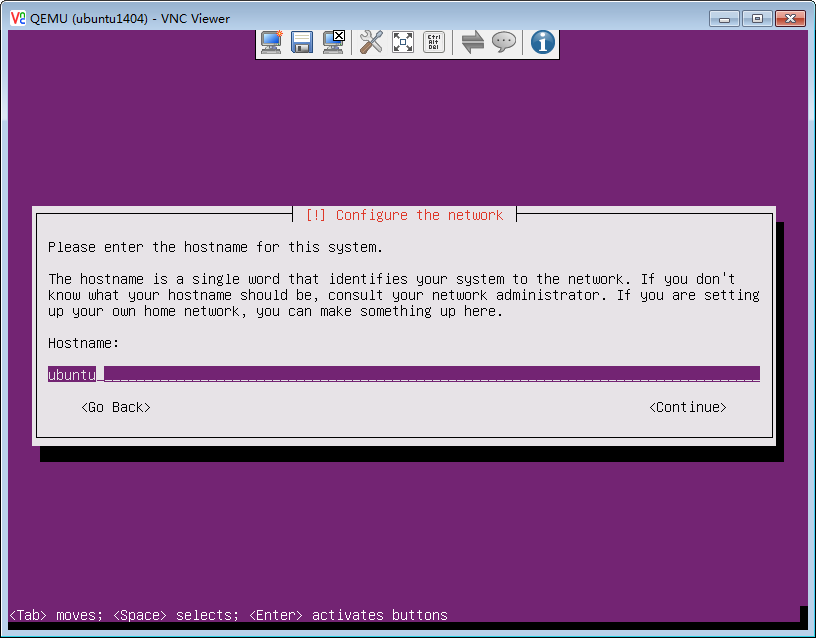
主机名使用默认ubuntu,使用Tab键切换至继续
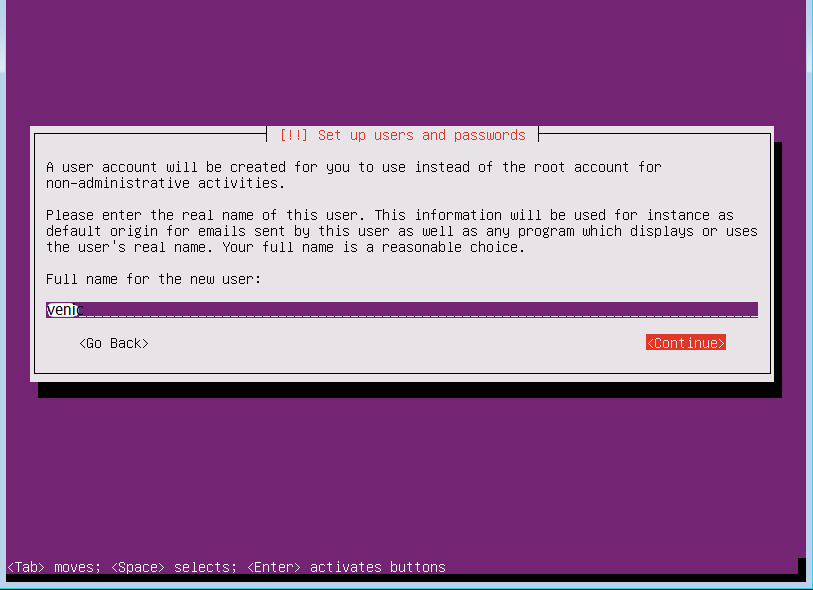
ubuntu默认要求使用一个普通用户登录,我们先配,后期可改
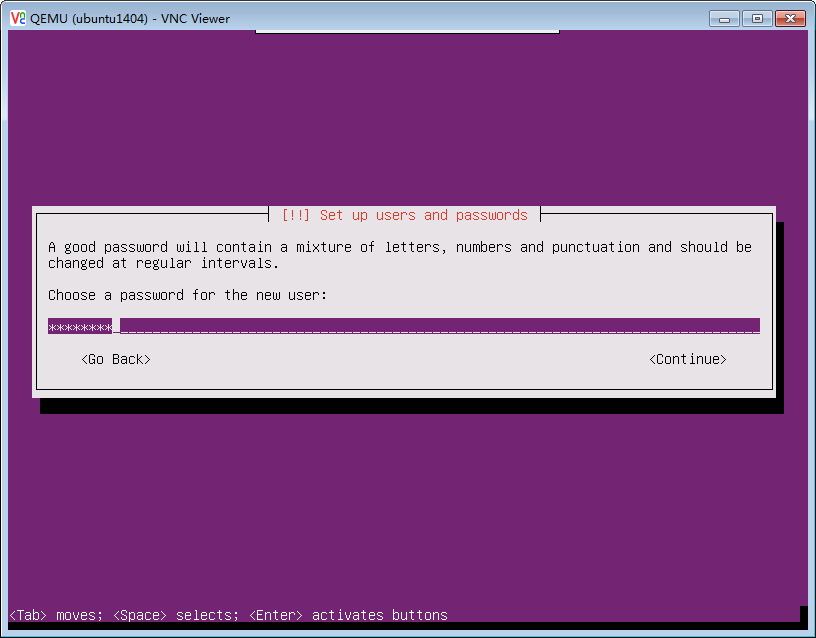
设置用户venic的密码为:venic8888
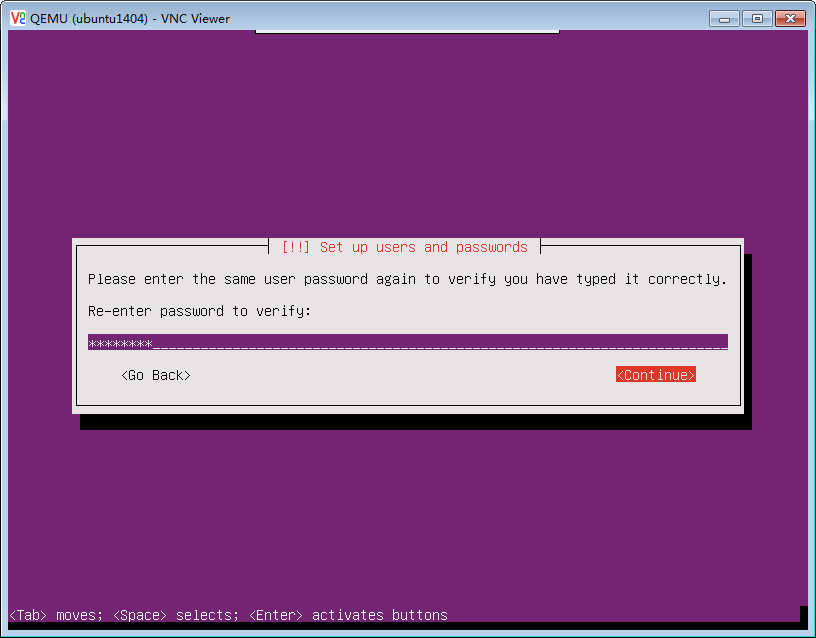
再输一次密码
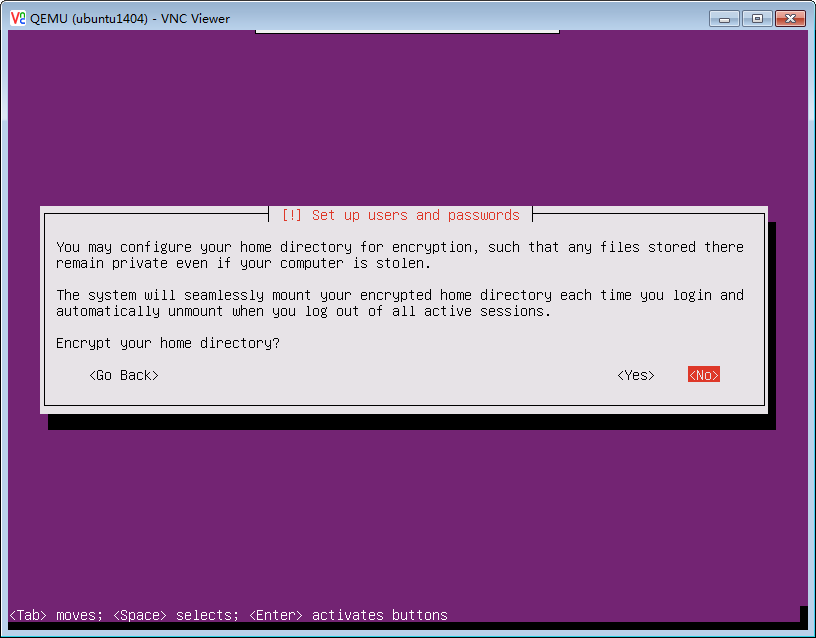
是否加密根目录,选择否
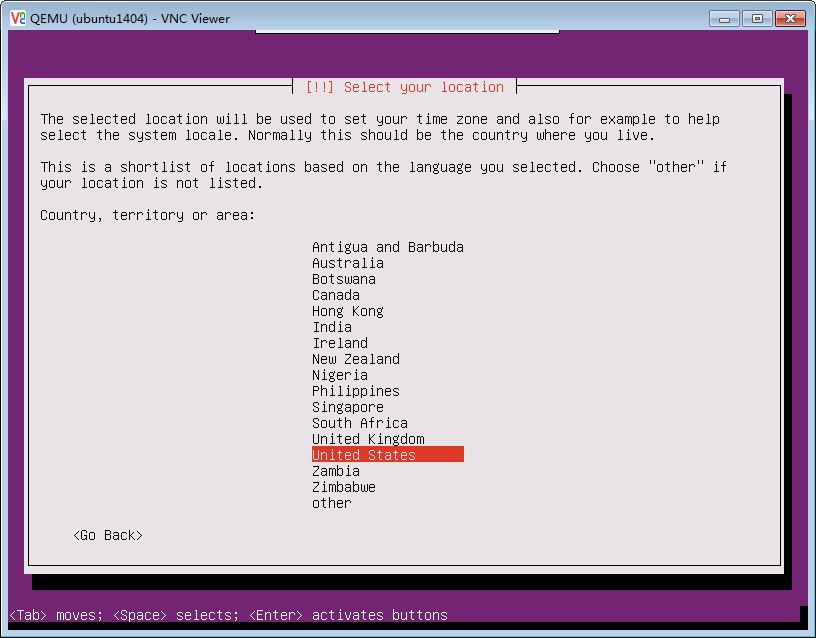
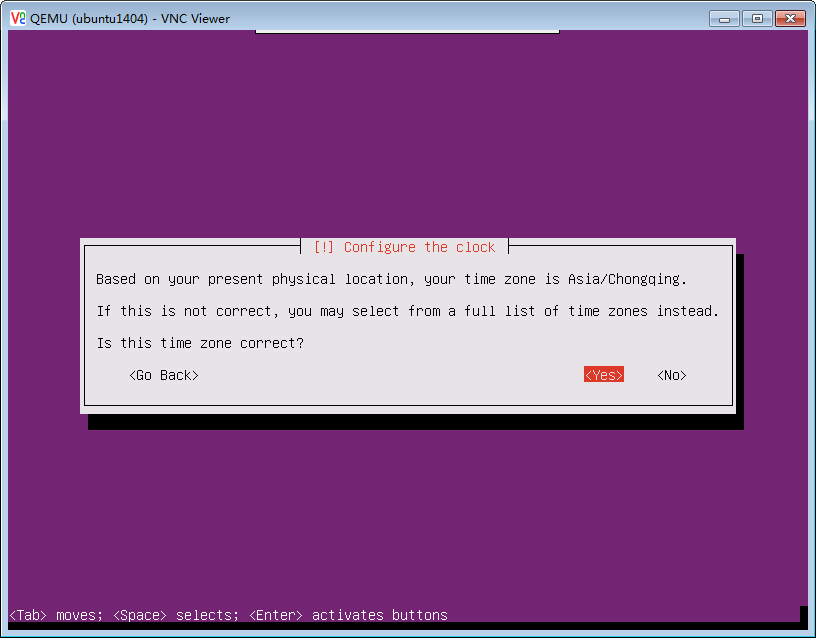
自动联网查看时区后,发现是一个重庆的,问题也不大,但我们如果选择否,可以重选 为其它地方时区,比如香港
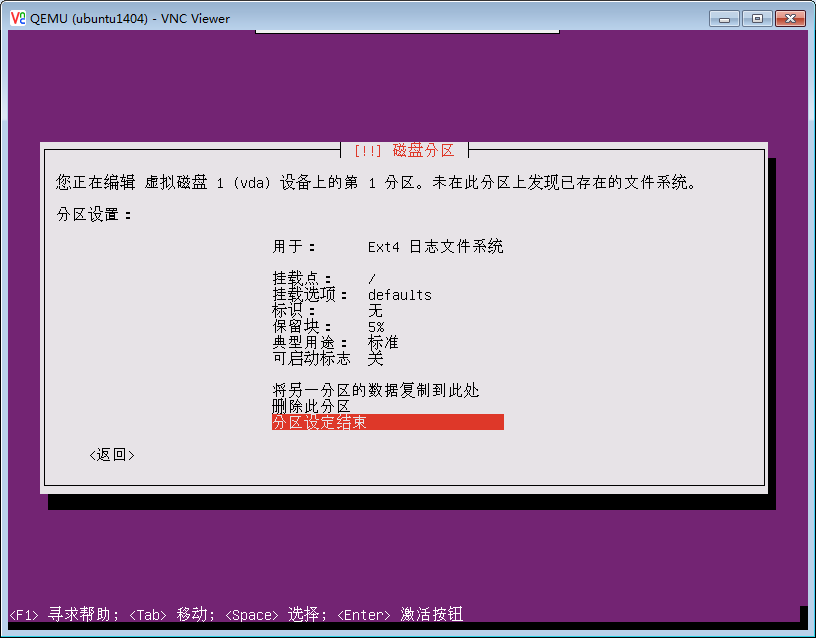
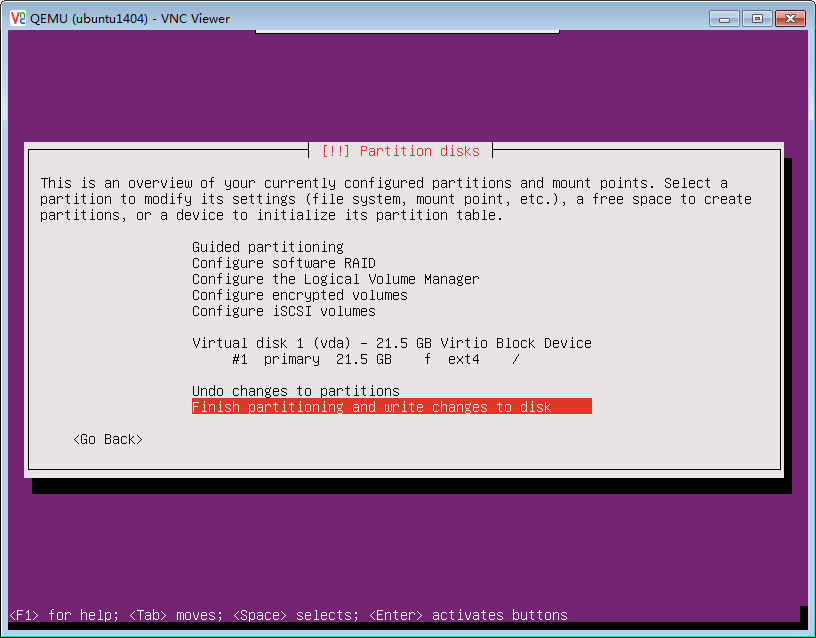
到了选择磁盘分区,关键,因为我们要分成一个区,只有/ 根分区

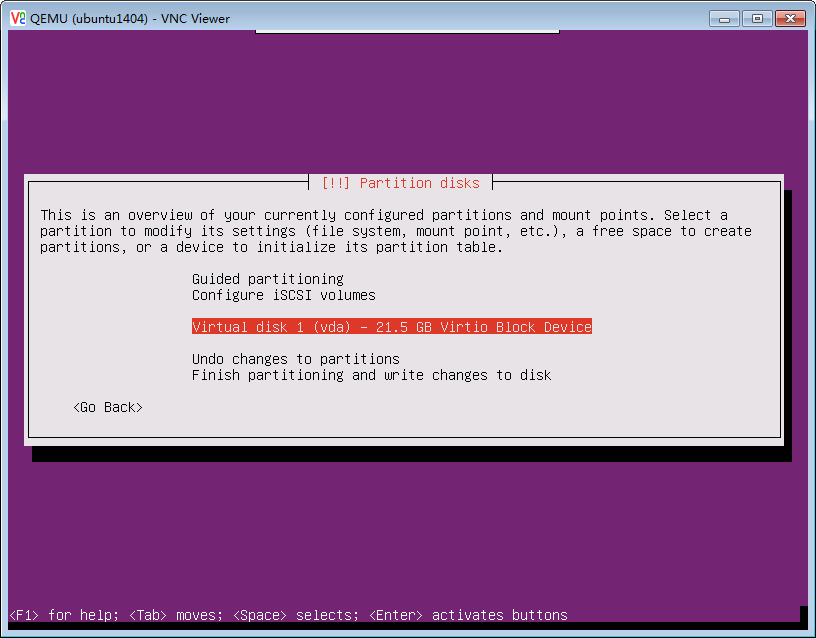

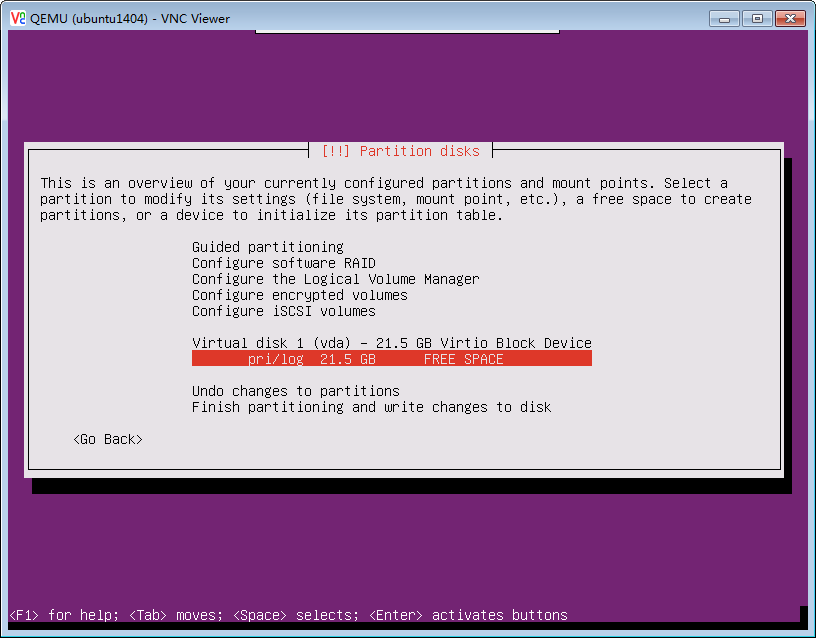
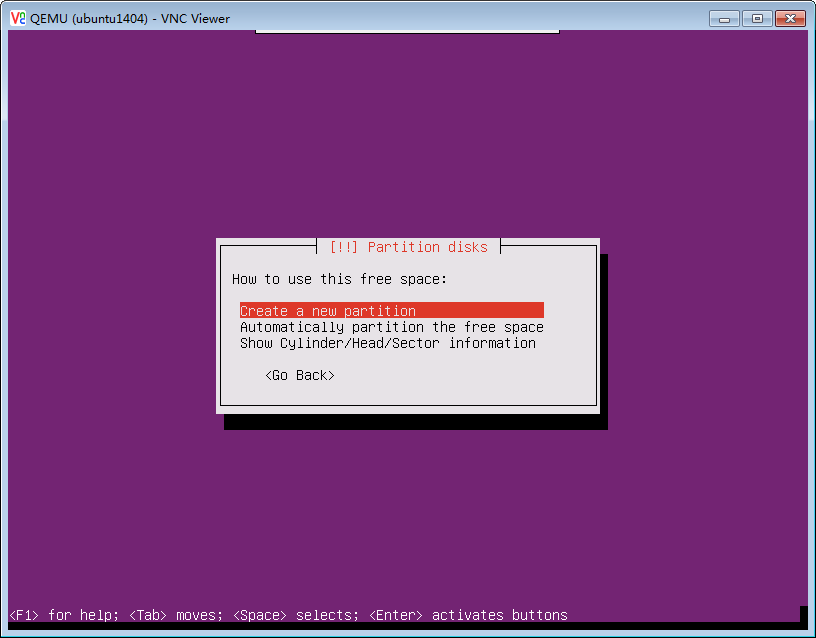
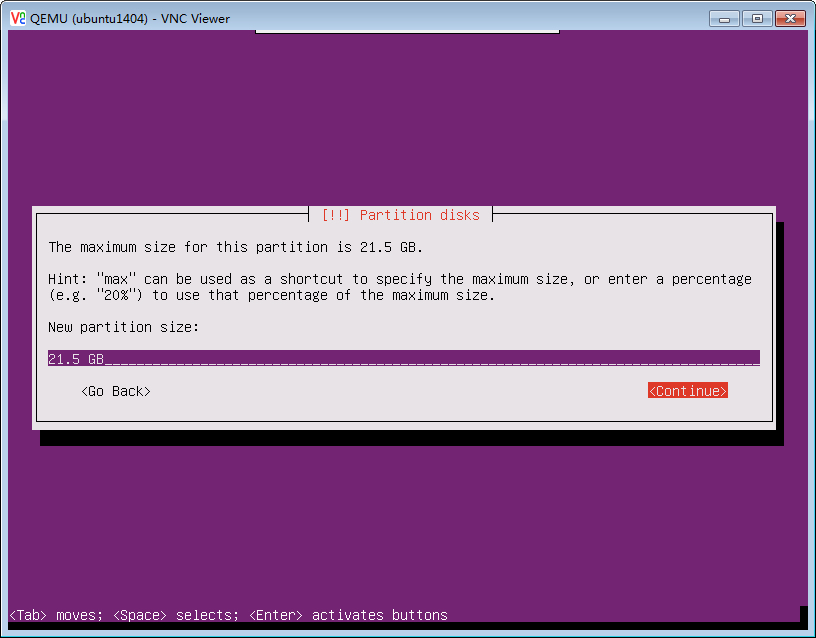
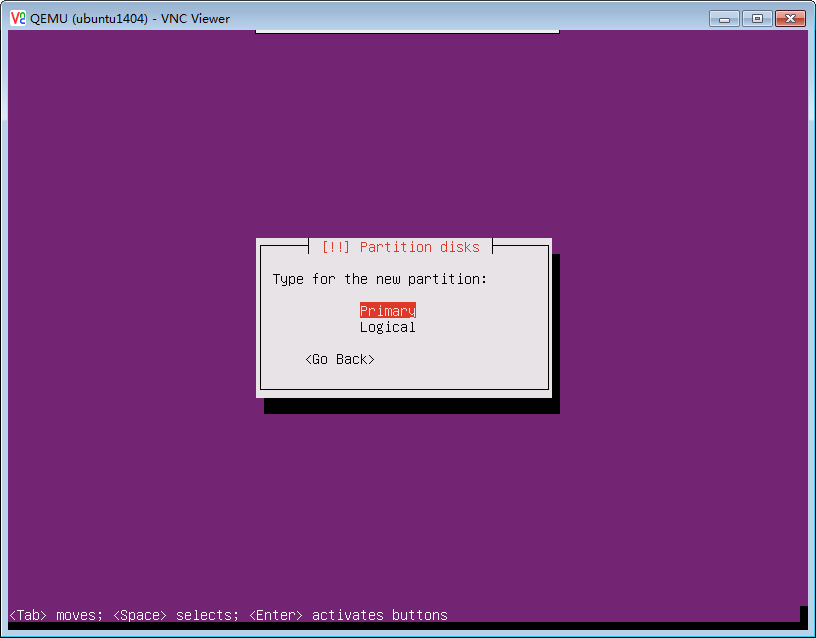
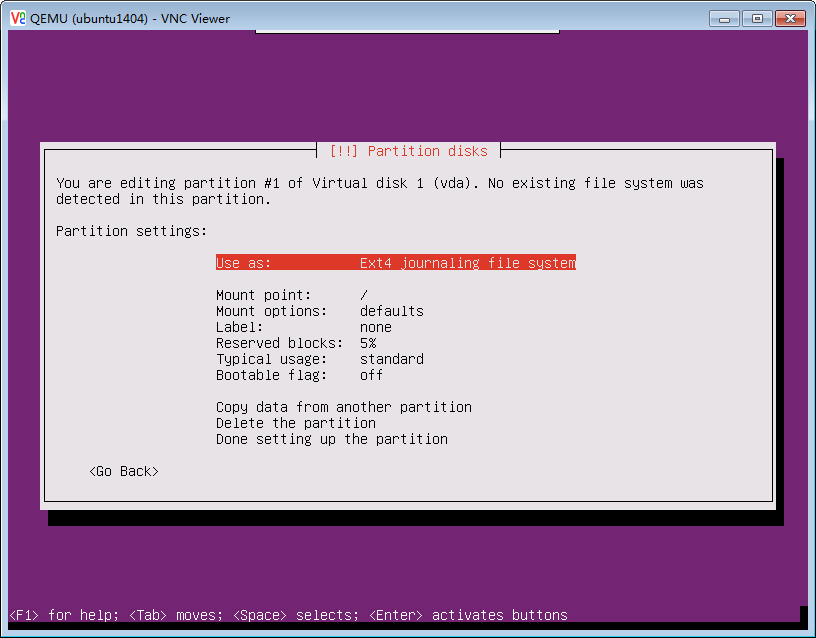
保持默认操作
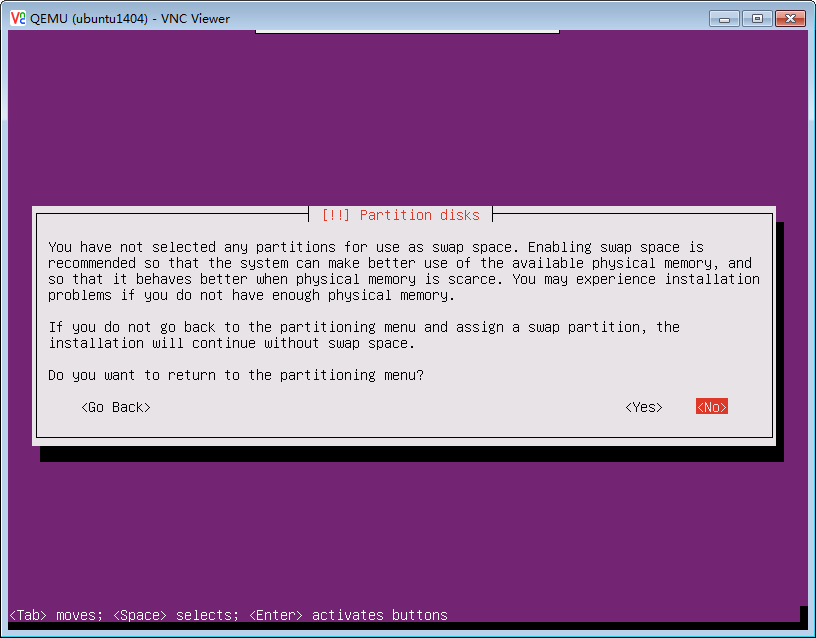
不做swap,选否然后返回
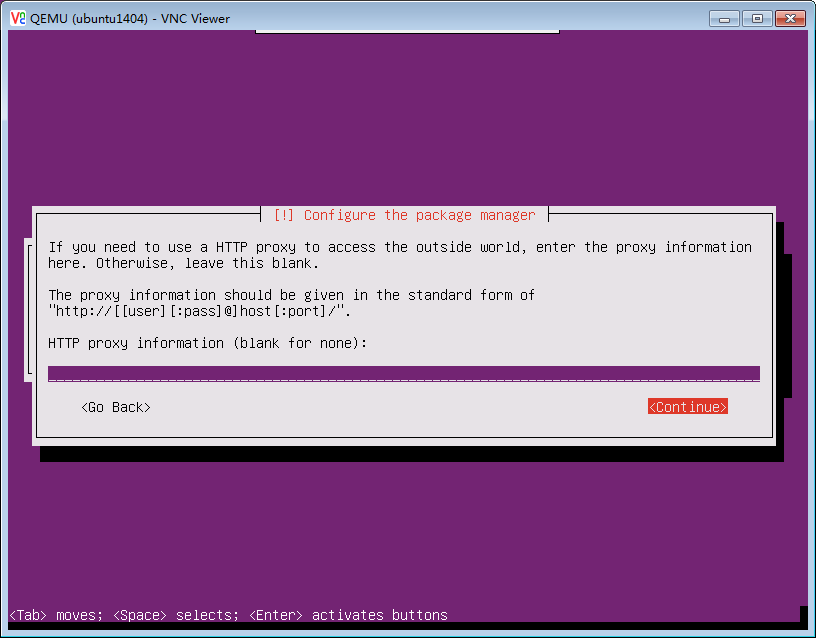
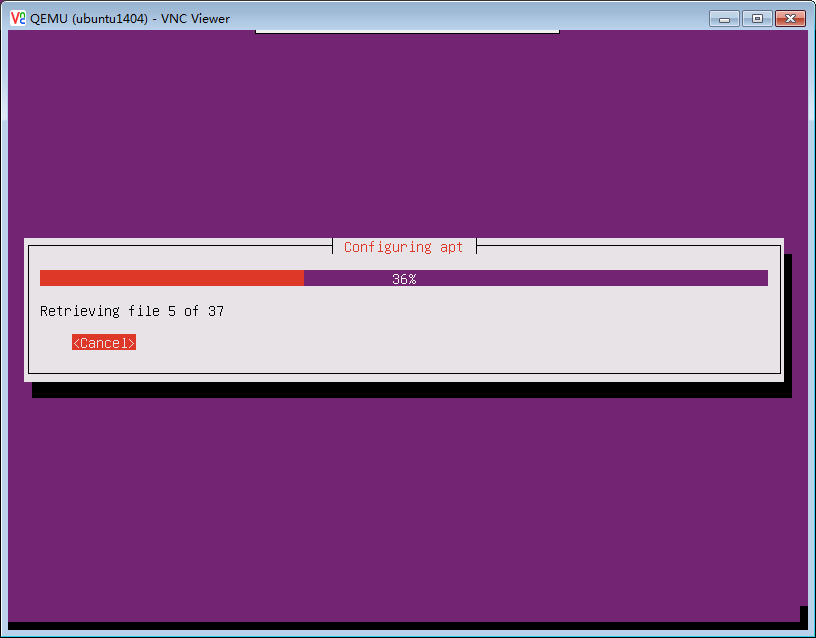
接下来就开始复制镜像包来以便等下安装系统

不要填代理,直接继续
不动它,让它设置atp-get源
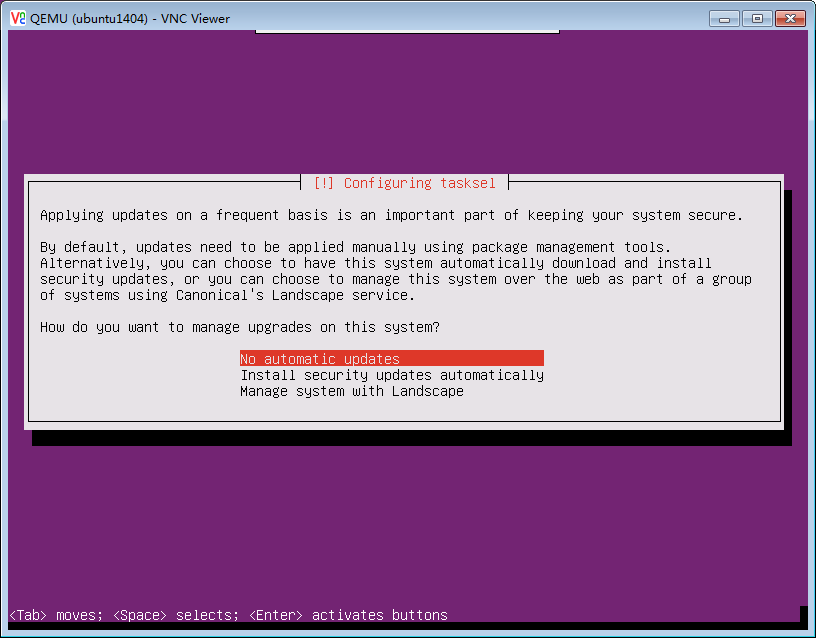
不选 更新
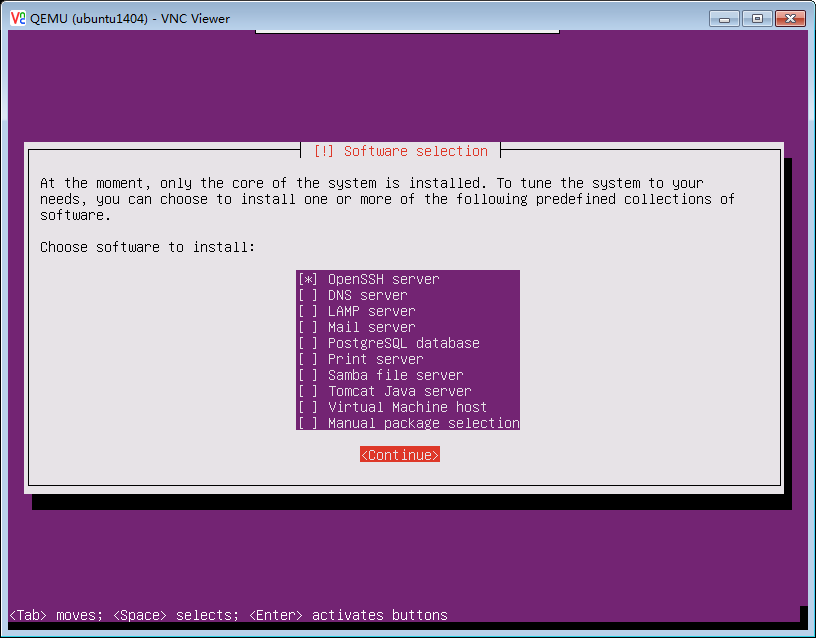
只开启ssh功能,其它不装,要最小化安装
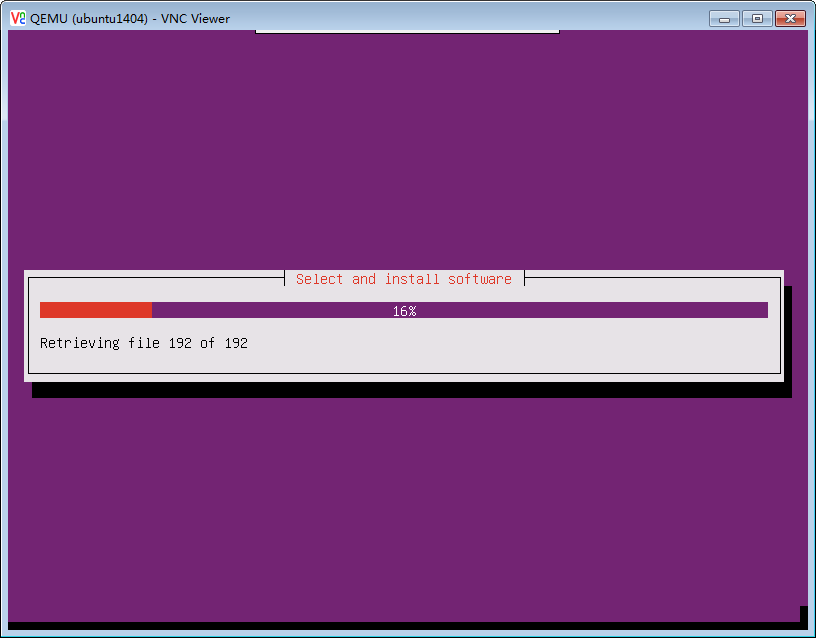
接下来真正开始安装
写grub引导

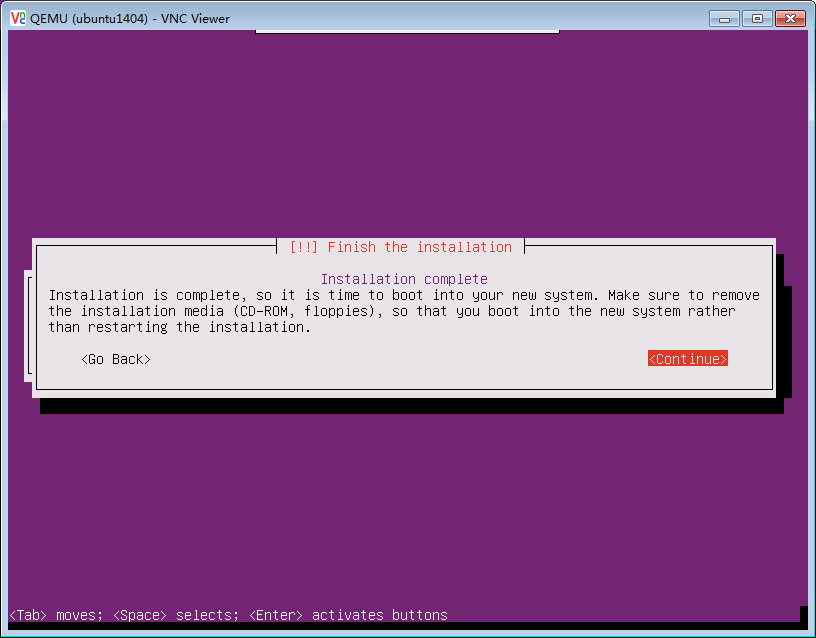
虚拟机装完后默认被会宿主机关机,需要再开机
[root@bunker ~]# virsh start ubuntu1404
再用VNC连进去,查看获取的IP是多少,再用SSH登录进去
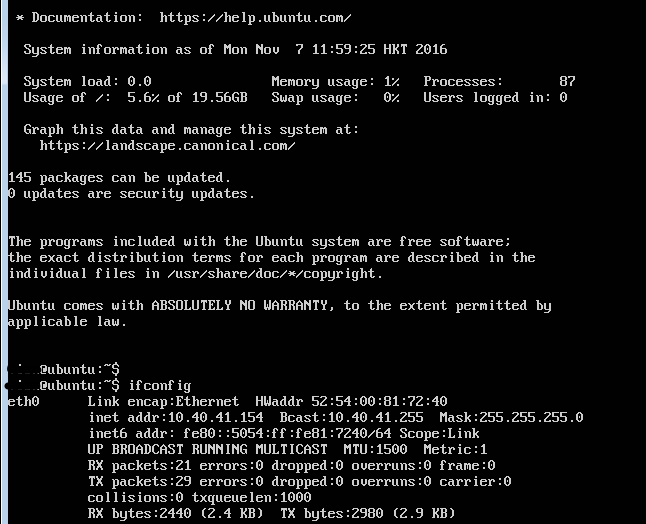
看到DHCP分配的IP是:10.40.41.154。使用ssh登录,使用sudo su -切换到root模式,密码使用venic的密码
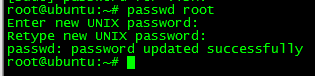
设置root密码,并修改sshd_config配置,让root可以登录 密:venic8888
vi /etc/ssh/sshd_config,修改以下1处PermitRootLoing配置
PermitRootLogin yes
尾部添加这个
UseDNS no
vi /etc/ssh/ssh_config 添加禁止加host_know和认证
GSSAPIAuthentication no
GSSAPIDelegateCredentials no
StrictHostKeyChecking no
UserKnownHostsFile /dev/null
保存退出,重启ssh
service ssh restart
在外部验证ssh 功能是否正常。
查看网卡信息,只这1张网卡,无误,这里没有试验双网卡
vi /etc/network/interfaces
auto lo
iface lo inet loopback
auto eth0
iface eth0 inet dhcp
修改允许启动时console访问输出
vi /etc/default/grub
GRUB_TIMEOUT=1
GRUB_CMDLINE_LINUX="console=ttyS0,115200"
运行update-grub命令
安装cloud-init
apt-get install cloud-init -y
修改元数据在启动下的下发配置,以下贴出生产环境的全部配置。部分是修改过的,比如允许root登录,修改apt-get的源禁止更新等等
vi /etc/cloud/cloud.cfg
# The top level settings are used as module
# and system configuration.
# A set of users which may be applied and/or used by various modules
# when a 'default' entry is found it will reference the 'default_user'
# from the distro configuration specified below
users:
- default
# If this is set, 'root' will not be able to ssh in and they
# will get a message to login instead as the above $user (ubuntu)
disable_root: false
# This will cause the set+update hostname module to not operate (if true)
preserve_hostname: false
# Example datasource config
# datasource:
# Ec2:
# metadata_urls: [ 'blah.com' ]
# timeout: 5 # (defaults to 50 seconds)
# max_wait: 10 # (defaults to 120 seconds)
# The modules that run in the 'init' stage
cloud_init_modules:
- migrator
- seed_random
- bootcmd
- write-files
- growpart
- resizefs
- set_hostname
- ca-certs
- rsyslog
- users-groups
# The modules that run in the 'config' stage
cloud_config_modules:
# Emit the cloud config ready event
# this can be used by upstart jobs for 'start on cloud-config'.
- emit_upstart
- disk_setup
- mounts
- locale
- set-passwords
- grub-dpkg
- package-update-upgrade-install
- landscape
- timezone
- puppet
- chef
- salt-minion
- mcollective
- disable-ec2-metadata
- runcmd
- byobu
# The modules that run in the 'final' stage
cloud_final_modules:
- rightscale_userdata
- scripts-vendor
- scripts-per-once
- scripts-per-boot
- scripts-per-instance
- scripts-user
- ssh-authkey-fingerprints
- keys-to-console
- phone-home
- final-message
- power-state-change
# System and/or distro specific settings
# (not accessible to handlers/transforms)
system_info:
# This will affect which distro class gets used
distro: ubuntu
# Default user name + that default users groups (if added/used)
default_user:
name: ubuntu
lock_passwd: True
gecos: Ubuntu
groups: [adm, audio, cdrom, dialout, dip, floppy, netdev, plugdev, sudo, video]
sudo: ["ALL=(ALL) NOPASSWD:ALL"]
shell: /bin/bash
# Other config here will be given to the distro class and/or path classes
paths:
cloud_dir: /var/lib/cloud/
templates_dir: /etc/cloud/templates/
upstart_dir: /etc/init/
ssh_svcname: ssh
替换apt-get的源更新
vi /etc/apt/sources.list
deb http://mirrors.aliyun.com/ubuntu/ trusty main restricted universe multiverse
deb http://mirrors.aliyun.com/ubuntu/ trusty-security main restricted universe multiverse
deb http://mirrors.aliyun.com/ubuntu/ trusty-updates main restricted universe multiverse
deb http://mirrors.aliyun.com/ubuntu/ trusty-proposed main restricted universe multiverse
deb http://mirrors.aliyun.com/ubuntu/ trusty-backports main restricted universe multiverse
deb-src http://mirrors.aliyun.com/ubuntu/ trusty main restricted universe multiverse
deb-src http://mirrors.aliyun.com/ubuntu/ trusty-security main restricted universe multiverse
deb-src http://mirrors.aliyun.com/ubuntu/ trusty-updates main restricted universe multiverse
deb-src http://mirrors.aliyun.com/ubuntu/ trusty-proposed main restricted universe multiverse
deb-src http://mirrors.aliyun.com/ubuntu/ trusty-backports main restricted universe multiverse
更新系统:apt-get update -y
安装开机自启动的工具:ysv-rc-conf
当然默认apt-get安装的服务在执行service XXX start时就开机自启动了,比如zabbix-agent和salt-minion它是使用到/etc/init/X.conf的脚本,我是暂不需要用到这个ysv-rc-conf 开机自启的工具
都安装一些基础包
建议更新一下GCC和openssl软件,因为低版本的openssl的攻击的太常见了,
还有zabbix-agent和salt-minion等等
设置chrony时钟同步服务器
另外一些linux内核特性的配置和文件句柄ulimit的优化,可以参考其它文档
最终在宿主机上压缩镜像就可以上传至openstack
virt-sparsify --compress /tmp/centos-6.5.qcow2 centos-6.5-cloud.qcow2
镜像制作到此结束