实验:基于http的yum源
selinux,firewalld已经关闭‘,系统为CentOS7
repodata所在的目录就是yum源
下面介绍了如何把本地光盘通过httpd服务器变成yum源;多个源写到一个文件;把现有的rpm包创建成yum仓库;
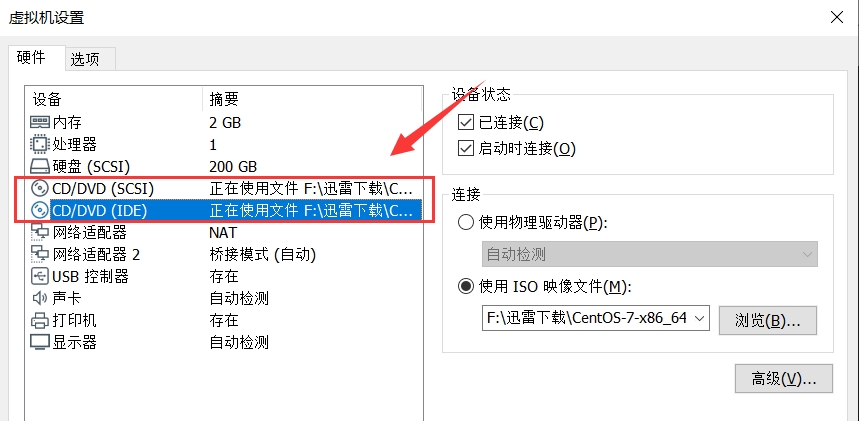
一、VMware插入两张光盘,6和7
二、手动触发系统的扫描机制
[root@centos7 html]# echo ' - - - ' > /sys/class/scsi_host/host0/scan
[root@centos7 html]# echo ' - - - ' > /sys/class/scsi_host/host1/scan
[root@centos7 html]# echo ' - - - ' > /sys/class/scsi_host/host2/scan
[root@centos7 html]# lsblk
NAME            MAJ:MIN RM  SIZE RO TYPE MOUNTPOINT
sda               8:0    0  200G  0 disk
├─sda1            8:1    0    1G  0 part /boot
├─sda2            8:2    0  100G  0 part /
├─sda3            8:3    0   50G  0 part /data
├─sda4            8:4    0    1K  0 part
└─sda5            8:5    0    4G  0 part
  └─centos-swap 253:0    0    4G  0 lvm  [SWAP]
sr0              11:0    1   10G  0 rom  /var/www/html/centos7/os/x86_64
sr1              11:1    1  3.7G  0 rom
三、yum安装httpd并启动
[root@centos7 html]# yum install httpd -y
[root@centos7 html]# systemctl start httpd
四、/var/www/html下面创建目录结构
[root@centos7 html]# cd /var/www/html/
[root@centos7 html]# mkdir centos{6,7}/os/x86_64 -p
五、分别挂载两张光盘到对应目录
[root@centos7 html]# mount /dev/sr0 /var/www/html/centos7/os/x86_64/
[root@centos7 html]# mount /dev/sr1 /var/www/html/centos6/os/x86_64/
六、网页访问测试
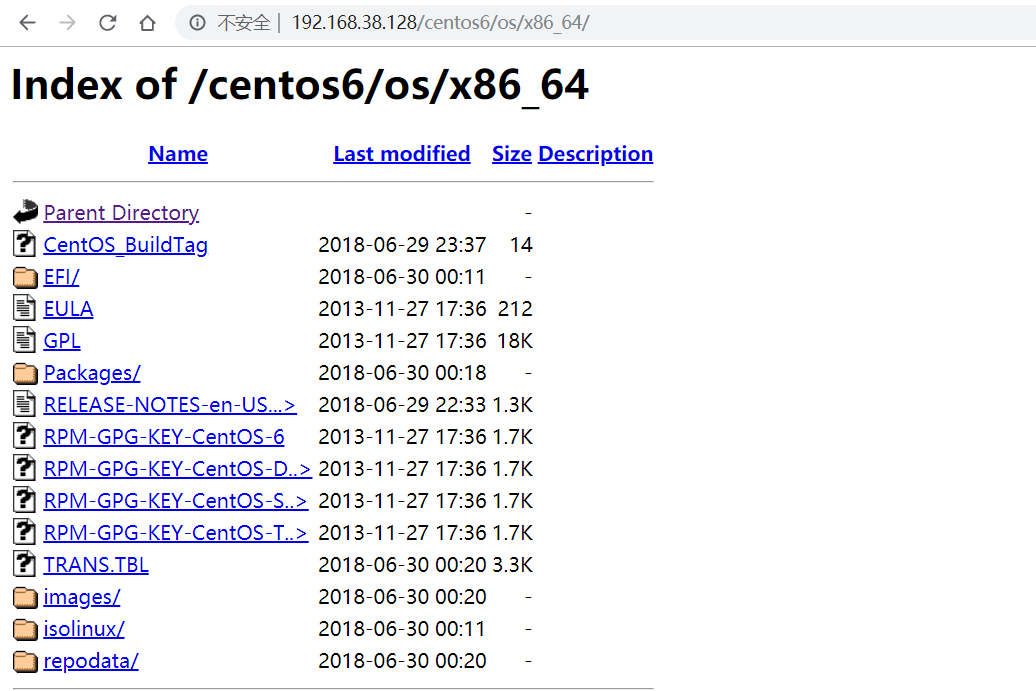
七、CentOS6测试
7.1、备份原来的repo文件
[root@qqq ~]# mkdir /etc/yum.repos.d/backup
[root@qqq ~]# mv /etc/yum.repos.d/*.repo /etc/yum.repos.d/backup
[root@qqq ~]# cat /etc/yum.repos.d/base.repo
[test]
name=test
baseurl=http://192.168.38.128/centos6/os/x86_64/
enabled=1
gpgcheck=0
7.2、装个包弯弯,没问题
[root@qqq ~]# yum install samba
Loaded plugins: fastestmirror, refresh-packagekit, security
Setting up Install Process
Loading mirror speeds from cached hostfile
Resolving Dependencies
--> Running transaction check
---> Package samba.x86_64 0:3.6.23-51.el6 will be installed
--> Finished Dependency Resolution

Dependencies Resolved

======================================================================================================================
 Package                  Arch                      Version                             Repository               Size
======================================================================================================================
Installing:
 samba                    x86_64                    3.6.23-51.el6                       test                    5.1 M

Transaction Summary
======================================================================================================================
Install       1 Package(s)

Total download size: 5.1 M
Installed size: 18 M
Is this ok [y/N]:
八、多个源写到一个文件
# CentOS7加入yum.txt文件,包含本地源和阿里源
[root@centos7 ~]# cat /var/www/html/yum.txt
http://192.168.38.128/centos6/os/x86_64/
https://mirrors.aliyun.com/centos/6/os/x86_64/

# CentOS6修改repo文件
[root@qqq ~]# cat /etc/yum.repos.d/base.repo
[test]
name=test
#baseurl=http://192.168.38.128/centos6/os/x86_64/
mirrorlist=http://192.168.38.128/yum.txt
enabled=1
gpgcheck=0
九、撞个包玩玩
[root@qqq ~]# yum install vsftpd
Loaded plugins: fastestmirror, refresh-packagekit, security
Setting up Install Process
Determining fastest mirrors
 * test: 192.168.38.128
test                                                                                           | 4.0 kB     00:00
test/primary_db                                                                                | 4.7 MB     00:00
Resolving Dependencies
--> Running transaction check
---> Package vsftpd.x86_64 0:2.2.2-24.el6 will be installed
--> Finished Dependency Resolution

Dependencies Resolved

======================================================================================================================
 Package                   Arch                      Version                            Repository               Size
======================================================================================================================
Installing:
 vsftpd                    x86_64                    2.2.2-24.el6                       test                    156 k

Transaction Summary
======================================================================================================================
Install       1 Package(s)

Total download size: 156 k
Installed size: 340 k
Is this ok [y/N]:
十、手动创建yum的repo源
10.1、传输这几个rpm文件
[root@centos7 html]# mkdir dnf
[root@centos7 html]# cd dnf
[root@centos7 dnf]# rz
z waiting to receive.**B0100000023be50
[root@centos7 dnf]# ls
dnf-0.6.4-2.sdl7.noarch.rpm       libcomps-0.1.8-3.el7.x86_64.rpm          python-dnf-0.6.4-2.sdl7.noarch.rpm
dnf-conf-0.6.4-2.sdl7.noarch.rpm  python2-libcomps-0.1.8-3.el7.x86_64.rpm
10.2、创建repo
[root@centos7 dnf]# createrepo .
Spawning worker 0 with 5 pkgs
Workers Finished
Saving Primary metadata
Saving file lists metadata
Saving other metadata
Generating sqlite DBs
Sqlite DBs complete
[root@centos7 dnf]# ls
dnf-0.6.4-2.sdl7.noarch.rpm       libcomps-0.1.8-3.el7.x86_64.rpm          python-dnf-0.6.4-2.sdl7.noarch.rpm
dnf-conf-0.6.4-2.sdl7.noarch.rpm  python2-libcomps-0.1.8-3.el7.x86_64.rpm  repodata
10.3、CentOS7配置repo配置文件
[root@centos7 dnf]# cat /etc/yum.repos.d/dnf.repo
[dnf]
name=dnf
baseurl=http://192.168.38.128/dnf/
enabled=1
gpgcheck=0
10.4、yum repolist
[root@centos7 dnf]# yum repolist dnf
Loaded plugins: fastestmirror, langpacks
Loading mirror speeds from cached hostfile
 * base: mirror.lzu.edu.cn
 * extras: mirror.jdcloud.com
 * updates: mirror.lzu.edu.cn
repo id                                                           repo name                                                     status
dnf                                                               dnf                                                           5
10.5 安装个dnf玩玩
# 可以yum install dnf
# 也可以如下
[root@centos7 dnf]# yum install *.rpm
# 此处给的包报错了,放弃这种方法,使用yum
[root@centos7 dnf]# yum install dnf