StyleCheck is an application that helps you to make sure your code comforms to the standard coding style. This tutorial will walk you through the installation process and give a brief example of its usage.
1. In this tutorial, SytleCheck will be installed as an Eclipse Plug-in. In Eclipse, click Help -> Install new software. In the opened dialogue, click "Add". Type in CheckStyle as the name and "http://eclipse-cs.sourceforge.net/update/" as the URL. Click "OK" to proceed.
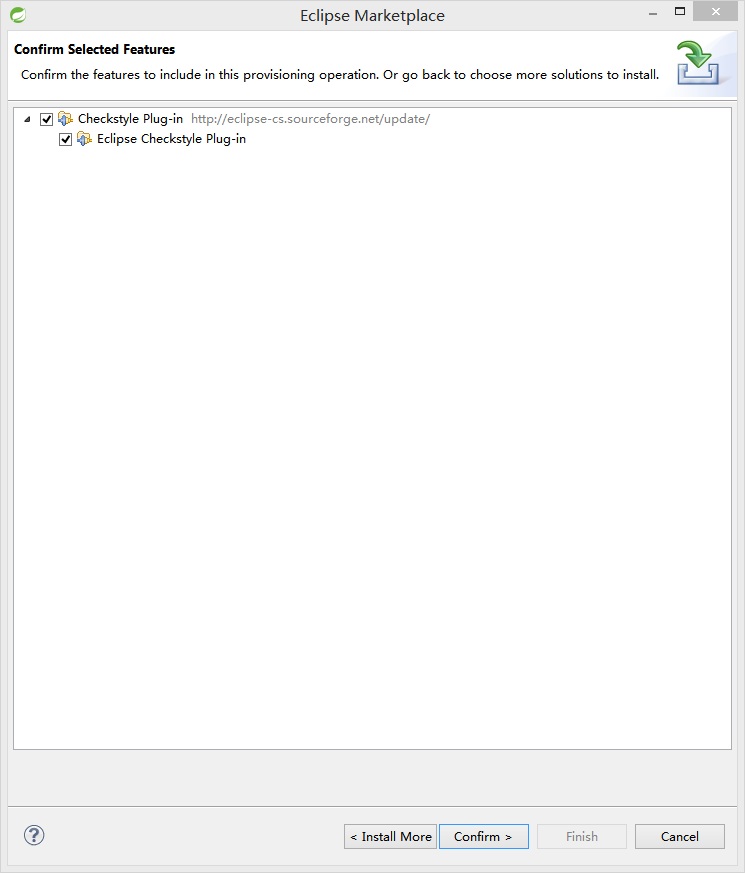
2. Wait for Eclipse to fetch necessary information about this plug-in. Then select "CheckStyle" and click "Confirm".
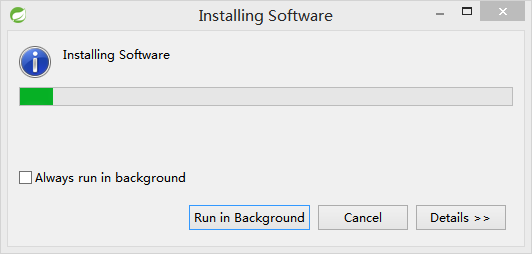
3 . Eclipse will begin downloading the software. Agree to any prompted licenses or user agreements to proceed.
4. To finish the installation, restart Eclipse.
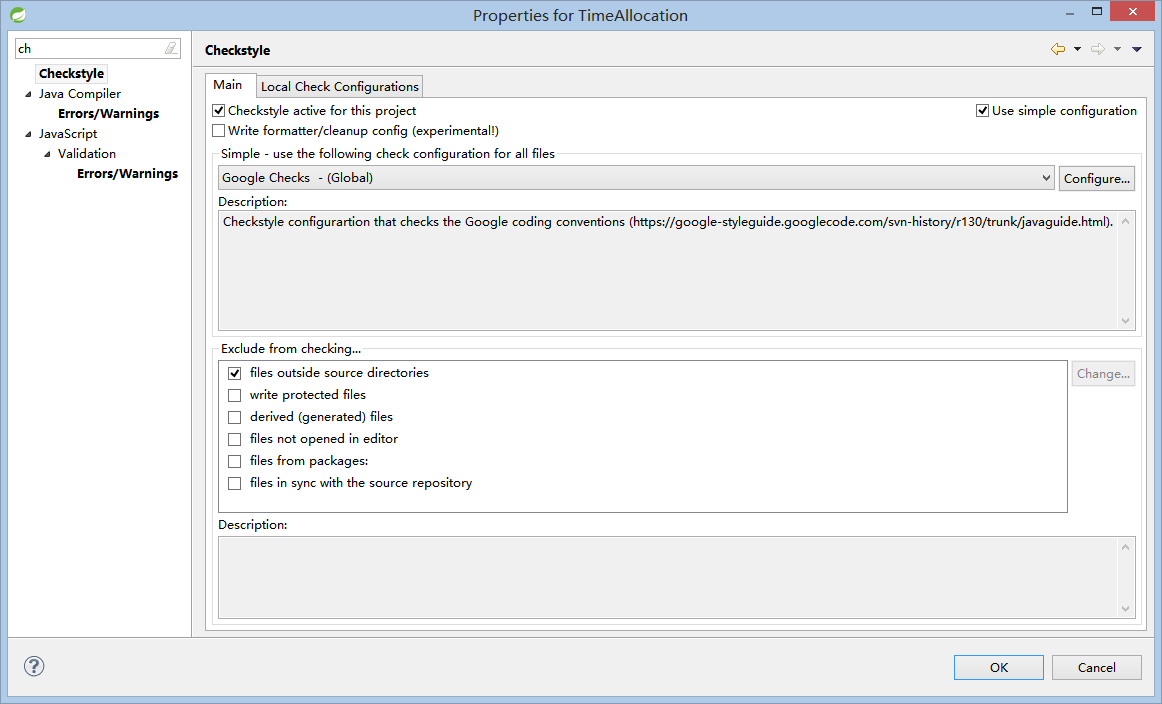
5. Right-click the project to check style, select "Properties" in the context menu. In the opened dialogue, search for "CheckStyle" in the left column and click on it. Then make sure to enable the "CheckStyle active for this project" option on the right.
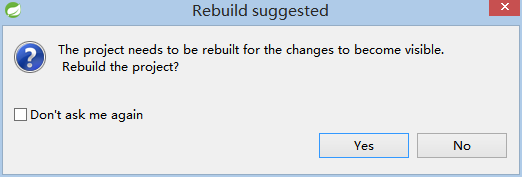
6. Click "yes" to rebuild the current project.
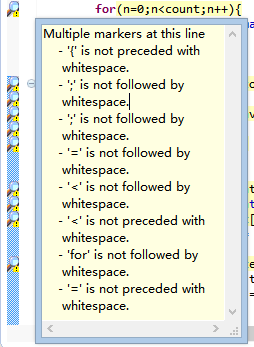
7. After that, any lines that do not conform to the standard coding style will be highlighted. Click on the magnifying glass to show suggested changes to that line. For example, in screenshot below, it is suggested that some white space should be added to make the code eaiser to read.
8. Edit the code accordingly to make it conform the standard coding style.

OK. That's all for this simple tutorial of the CheckStyle Eclipse plug-in. If you do not use Eclipse, CheckStyle is also available for serveral other IDEs and it has a standalone command-line tool that you can use. Please refer to its website (http://checkstyle.sourceforge.net/) for more information.
Feedbacks and suggestions are greatly appreciated.