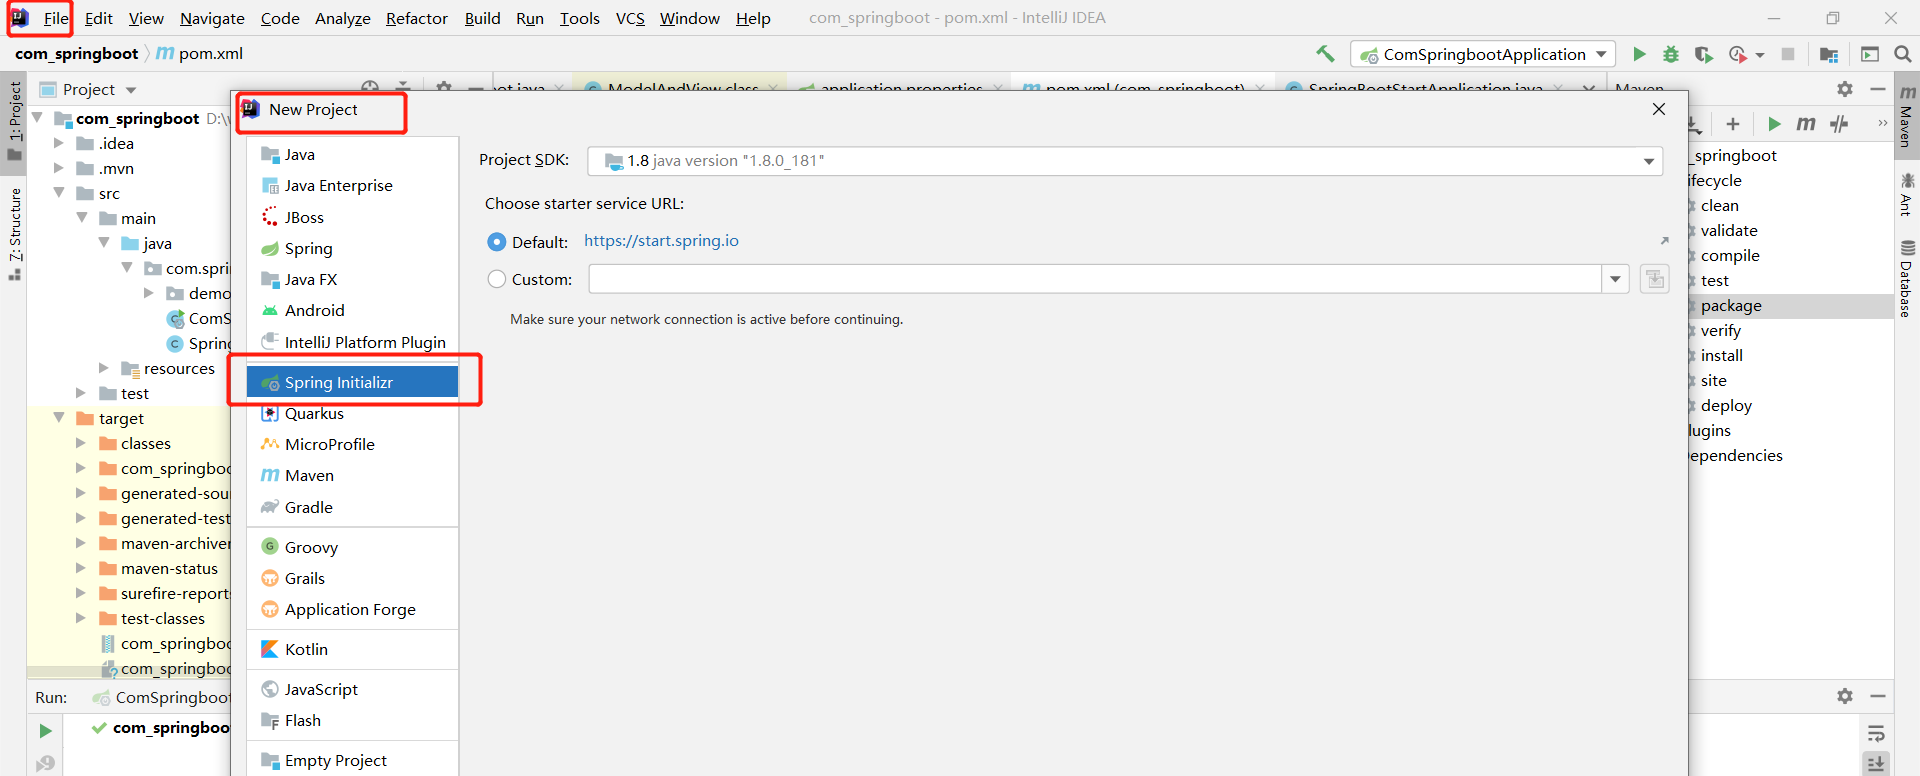
一.idea搭建springboot项目
按照以下图片傻瓜式点击下一步
二.编写helloword接口
package com.springboot.com_springboot.demo;

/**
 * Copyright (C) @2021
 *
 * @author: tcc
 * @version: 1.0
 * @date: 2021/12/19
 * @time: 19:26
 * @description:
 */
import org.springframework.web.bind.annotation.RequestMapping;
import org.springframework.web.bind.annotation.RequestMethod;
import org.springframework.web.bind.annotation.RestController;
import org.springframework.web.servlet.ModelAndView;
import org.springframework.web.servlet.*;

/**
 * 第一个boot应用
 */
@RestController
public class HelloBoot {
    @RequestMapping(value="/hello",method = RequestMethod.GET)
    public String sayHello(){
        return "Hello world";
    }
}
编写application.properties
server.port=9999
server.servlet.context-path=/SpringBoot
编写启动类及启动main方法
package com.springboot.com_springboot;

import org.springframework.boot.SpringApplication;
import org.springframework.boot.autoconfigure.SpringBootApplication;

@SpringBootApplication
public class ComSpringbootApplication {

    public static void main(String[] args) {
        SpringApplication.run(ComSpringbootApplication.class, args);
    }

}
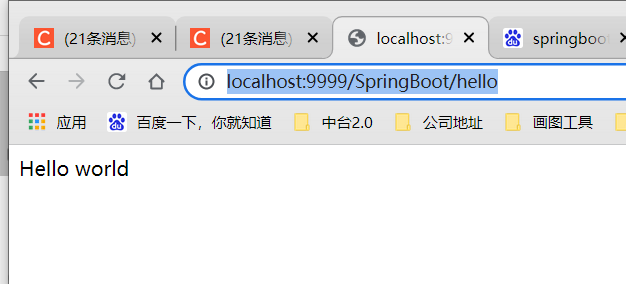
浏览器访问:http://localhost:9999/SpringBoot/hello
三.打包成war包并且部署到tomcat
1.首先在pom.xml增加
<packaging>war</packaging>
<!--        让springboot内嵌的tomcat在运行时不起作用-->
        <dependency>
            <groupId>org.springframework.boot</groupId>
            <artifactId>spring-boot-starter-tomcat</artifactId>
            <scope>provided</scope>
        </dependency>
最终pom.xml
<?xml version="1.0" encoding="UTF-8"?>
<project xmlns="http://maven.apache.org/POM/4.0.0" xmlns:xsi="http://www.w3.org/2001/XMLSchema-instance"
         xsi:schemaLocation="http://maven.apache.org/POM/4.0.0 https://maven.apache.org/xsd/maven-4.0.0.xsd">
    <modelVersion>4.0.0</modelVersion>
    <parent>
        <groupId>org.springframework.boot</groupId>
        <artifactId>spring-boot-starter-parent</artifactId>
        <version>2.6.1</version>
        <relativePath/> <!-- lookup parent from repository -->
    </parent>
    <groupId>com.springboot</groupId>
    <artifactId>com_springboot</artifactId>
    <version>0.0.1</version>
    <name>com_springboot</name>
    <packaging>war</packaging>
    <description>Demo project for Spring Boot</description>
    <properties>
        <java.version>1.8</java.version>
    </properties>
    <dependencies>
        <dependency>
            <groupId>org.springframework.boot</groupId>
            <artifactId>spring-boot-starter</artifactId>
        </dependency>

        <dependency>
            <groupId>org.springframework.boot</groupId>
            <artifactId>spring-boot-devtools</artifactId>
            <scope>runtime</scope>
            <optional>true</optional>
        </dependency>
        <dependency>
            <groupId>org.springframework.boot</groupId>
            <artifactId>spring-boot-starter-test</artifactId>
            <scope>test</scope>
        </dependency>
        <dependency>
            <groupId>org.springframework.boot</groupId>
            <artifactId>spring-boot-starter-web</artifactId>
        </dependency>

<!--        让springboot内嵌的tomcat在运行时不起作用-->
        <dependency>
            <groupId>org.springframework.boot</groupId>
            <artifactId>spring-boot-starter-tomcat</artifactId>
            <scope>provided</scope>
        </dependency>
    </dependencies>

    <build>
        <plugins>
            <plugin>
                <groupId>org.springframework.boot</groupId>
                <artifactId>spring-boot-maven-plugin</artifactId>
            </plugin>
        </plugins>
    </build>

</project>
2.新建一个SpringBootStartApplication 继承自 SpringBootServletInitializer
作用:因为在外部容器部署的话,就不能依赖于Application的main函数了,而是要以类似于web.xml文件配置的方式来启动Spring应用上下文,
此时我们需要在启动类中继承SpringBootServletInitializer并实现configure方法,这个类的作用与在web.xml中配置负责初始化Spring应用上下文的监听器作用类似
package com.springboot.com_springboot;

import org.springframework.boot.builder.SpringApplicationBuilder;
import org.springframework.boot.web.servlet.support.SpringBootServletInitializer;

/**
 * Copyright (C) @2021
 *
 * @author: tcc
 * @version: 1.0
 * @date: 2021/12/19
 * @time: 20:25
 * @description:
 */
public class SpringBootStartApplication extends SpringBootServletInitializer {
    @Override
    protected SpringApplicationBuilder configure(SpringApplicationBuilder builder) {
        return builder.sources(ComSpringbootApplication.class);
    }
}
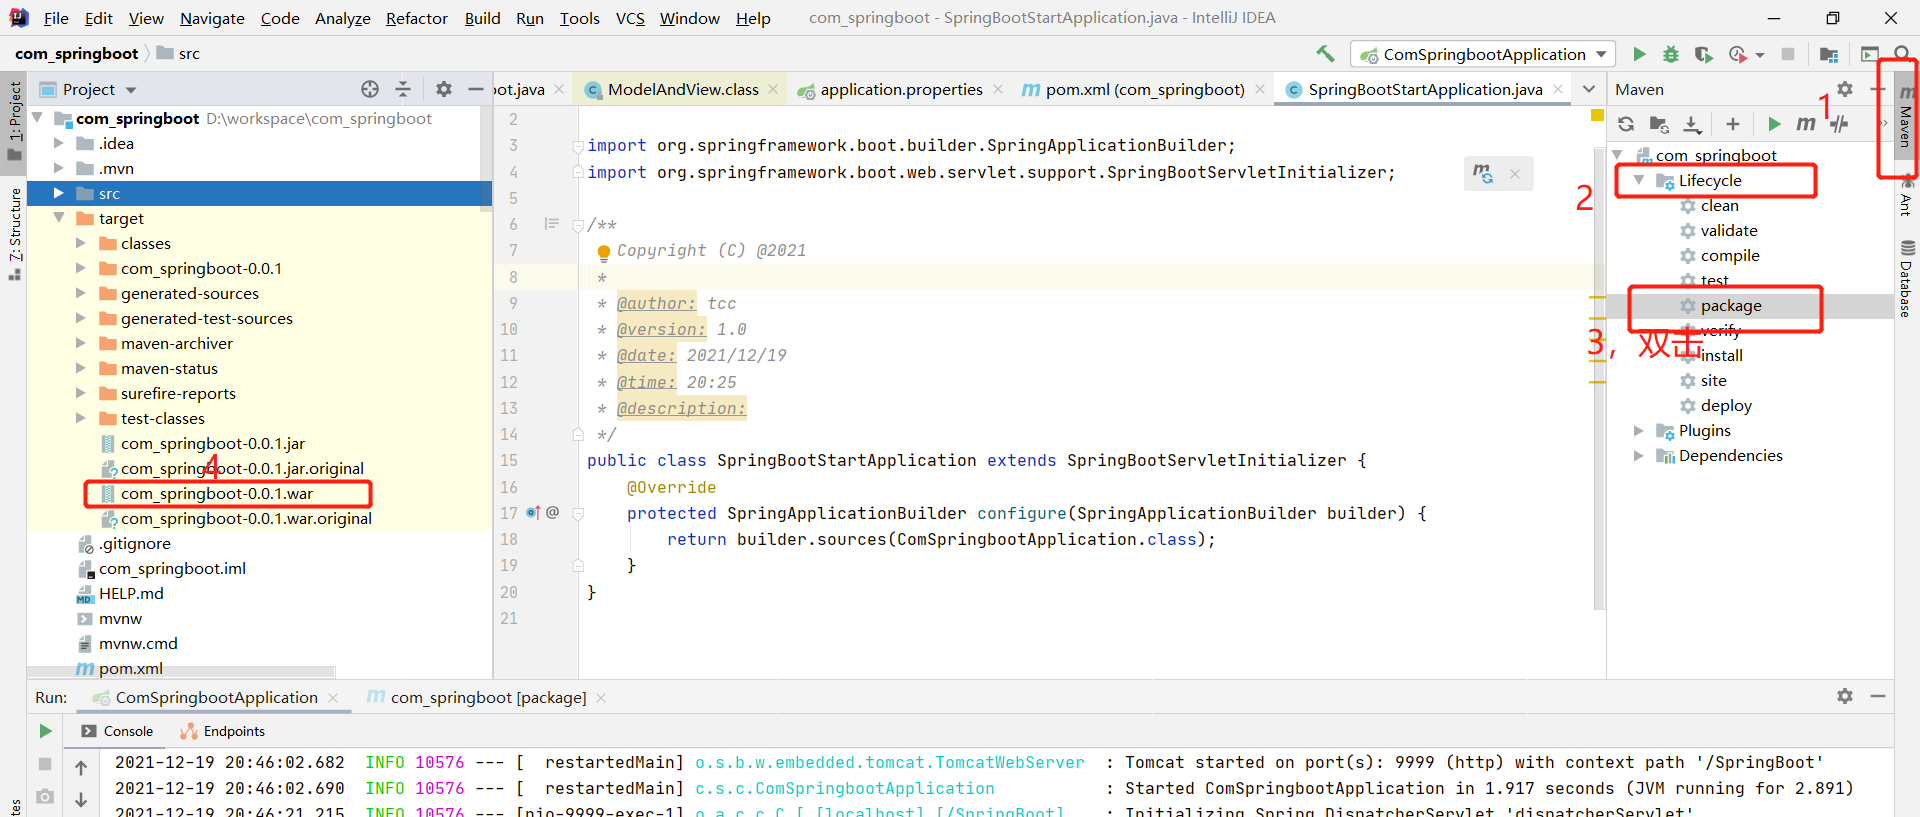
3.将springboot项目打包成war包,双击package
4.将war包抛到tomcat的webapps下,修改war包的项目名称,运行tomcat
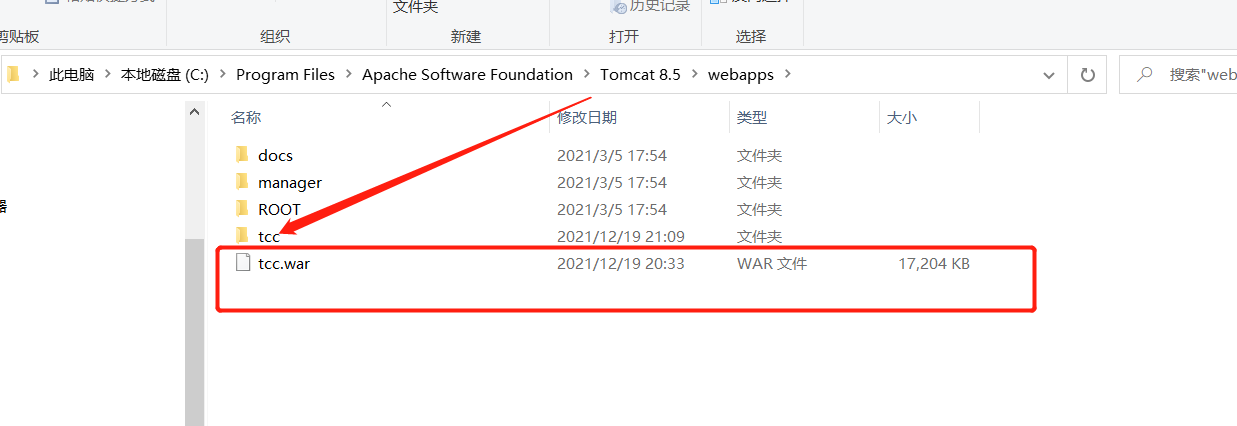
5.访问接口:http://localhost:8080/tcc/hello

四.和传统spring项目的不同
部署不用管jar包,本地测试不用自己部署tomcat