下面将记录我使用 Spring Cloud Eureka 实现服务注册与发现。
步骤
- 首先我们需要创建一个 Eureka 注册服务器
- 然后分别创建两个不同端口的服务
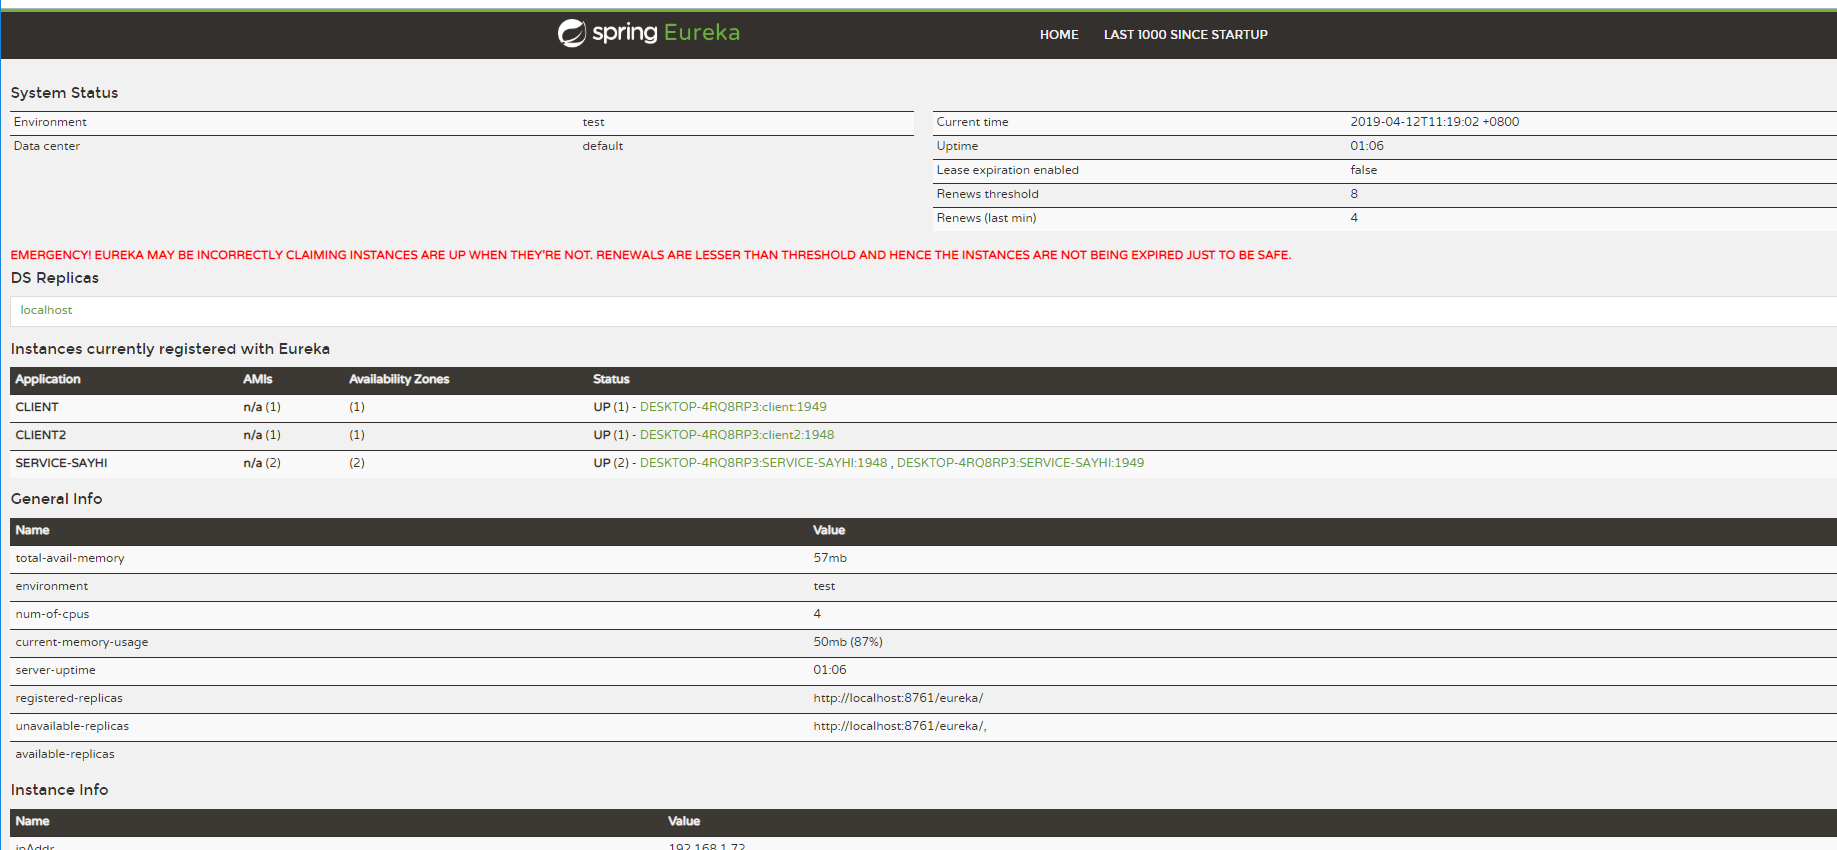
- 打开注册服务器的首页查看效果
版本问题
Finchley 版本,使用了 Spring Boot 2.0.2.RELEASE。
代码
首先通过 idea 的 Spring Initializer 直接构建三个 Spring Boot 项目。
Eureka 注册中心
然后选其一是 Eureka 注册中心,在其 pom.xml 文件加入以下依赖
pom.xml
    <parent>
        <groupId>org.springframework.boot</groupId>
        <artifactId>spring-boot-starter-parent</artifactId>
        <version>2.0.2.RELEASE</version>
        <relativePath/> <!-- lookup parent from repository -->
    </parent>

    <!-- eureka server -->
    <dependency>
        <groupId>org.springframework.cloud</groupId>
        <artifactId>spring-cloud-starter-netflix-eureka-server</artifactId>
    </dependency>

    <!-- config -->
    <dependency>
        <groupId>org.springframework.cloud</groupId>
        <artifactId>spring-cloud-starter-config</artifactId>
    </dependency>

    <dependencyManagement>
        <dependencies>
            <dependency>
                <groupId>org.springframework.cloud</groupId>
                <artifactId>spring-cloud-dependencies</artifactId>
                <version>Finchley.BUILD-SNAPSHOT</version>
                <type>pom</type>
                <scope>import</scope>
            </dependency>
        </dependencies>
    </dependencyManagement>
application.properties
server.port=1947
eureka.client.registerWithEureka=false
eureka.client.fetch-registry=false
registerWithEureka 和 fetch-registry 是为了阻止注册中心把自己也作为 eureka client 注册进去了。(如果改为 true 的话可以实现此服务即使服务发现者,也是服务提供者,从而实现高可用)
找到启动类,我这里是 SingledemoApplication.java,将其修改为
@SpringBootApplication
@EnableEurekaServer
@RestController
public class SingledemoApplication {
    public static void main(String[] args) {
        new SpringApplicationBuilder(SingledemoApplication.class).web(true).run(args);
    }
}
注解 @EnableEurekaServer 是用来开启注册服务功能。
服务提供者
我们这里实现两个服务提供者,其中他俩代码都是相似的,其中仅有配置文件的一些键值对需要修改。
选出剩下两个中的一个,修改其 pom.xml 文件
pom.xml
    <parent>
        <groupId>org.springframework.boot</groupId>
        <artifactId>spring-boot-starter-parent</artifactId>
        <version>2.0.2.RELEASE</version>
        <relativePath/> <!-- lookup parent from repository -->
    </parent>

    <dependency>
        <groupId>org.springframework.cloud</groupId>
        <artifactId>spring-cloud-starter-netflix-eureka-client</artifactId>
    </dependency>

    <dependency>
        <groupId>org.springframework.cloud</groupId>
        <artifactId>spring-cloud-starter-config</artifactId>
    </dependency>

   <dependencyManagement>
        <dependencies>
            <dependency>
                <groupId>org.springframework.cloud</groupId>
                <artifactId>spring-cloud-dependencies</artifactId>
                <version>Finchley.BUILD-SNAPSHOT</version>
                <type>pom</type>
                <scope>import</scope>
            </dependency>
        </dependencies>
    </dependencyManagement>
然后我们修改 application.properties 文件
server.port=1949
eureka.client.serviceUrl.defaultZone=http://localhost:1947/eureka/
spring.application.name=SERVICE-SAYHI
defaultZone 是填写注册中心的地址,多值使用英文“,”进行分割。
再修改启动类
@SpringBootApplication
@EnableDiscoveryClient
public class Singledemo3Application {

    public static void main(String[] args) {
        SpringApplication.run(Singledemo3Application.class, args);
    }
}
至此,我们已经完成了第一个服务提供者。
第二个服务提供者其实与第一个差不多,差别在于修改 properties 的端口号。
效果图