本文详细描述了Oracle19.3 在redhat 7.5 下的安装
1. 下载需要的安装包:
wget http://yum.Oracle.com/repo/OracleLinux/OL7/latest/x86_64/getPackage/oracle-database-preinstall-19c-1.0-1.el7.x86_64.rpm
wget https://rpmfind.net/linux/centos/7.7.1908/os/x86_64/Packages/compat-libstdc++-33-3.2.3-72.el7.x86_64.rpm
rpm -ivh compat-libstdc++-33-3.2.3-72.el7.x86_64.rpm
yum -y install ksh libaio-devel libstdc++-devel  gcc gcc-c++
Oracle 安装文件LINUX.X64_193000_db_home.zip
2. Oracle 用户配置
groupadd oinstall
groupadd dba
groupadd oper
useradd -g oinstall -G dba,oper oracle #oracle用户的登录密码,后续登录要用,记着。
echo "123456@2020" | passwd --stdin oracle
#设置密码永不过期
chage -M -1 oracle
chage -l oracle
mkdir -p /oracle/D4C/193/network/admin
mkdir -p /oracle/D4C/193/nls/data
mkdir -p /oracle/D4C/193/lib
mkdir -p /oracle/D4C/193/oracm/lib

mkdir -p /oracle/D4C/193/bin
chown -R oracle:oinstall /oracle
chmod -R 775 /oracle
3. oracle 账号配置
[oracle@dc8hdb ~]$ cat .bash_profile |grep -v ^#

if [ -f ~/.bashrc ]; then
    . ~/.bashrc
fi


PATH=$PATH:$HOME/.local/bin:$HOME/bin

export PATH
ORACLE_SID=D4C;export ORACLE_SID
ORACLE_UNQNAME=D4C;export ORACLE_UNQNAME

ORACLE_BASE=/oracle/D4C; export ORACLE_BASE
ORACLE_HOME=$ORACLE_BASE/193; export ORACLE_HOME
ORACLE_TERM=xterm; export ORACLE_TERM
NLS_DATE_FORMAT="YYYY-MM-DD HH24:MI:SS"; export NLS_DATE_FORMAT
NLS_LANG=American_America.AL32UTF8; export NLS_LANG
TNS_ADMIN=$ORACLE_HOME/network/admin; export TNS_ADMIN
ORA_NLS11=$ORACLE_HOME/nls/data; export ORA_NLS11
PATH=.:${PATH}:$HOME/bin:$ORACLE_HOME/bin:$ORA_CRS_HOME/bin
PATH=${PATH}:/usr/bin:/bin:/usr/bin/X11:/usr/local/bin
export PATH
LD_LIBRARY_PATH=$ORACLE_HOME/lib
LD_LIBRARY_PATH=${LD_LIBRARY_PATH}:$ORACLE_HOME/oracm/lib
LD_LIBRARY_PATH=${LD_LIBRARY_PATH}:/lib:/usr/lib:/usr/local/lib
export LD_LIBRARY_PATH
THREADS_FLAG=native; export THREADS_FLAG
export TEMP=/tmp
export TMPDIR=/tmp
umask 022
4. 系统配置
[oracle@dc8hdb ~]$ cat /etc/sysctl.conf|grep -v ^#|grep -v ^$
fs.file-max = 6815744
kernel.sem = 250 32000 100 128
kernel.shmmni = 4096
kernel.shmall = 1073741824
kernel.shmmax = 4398046511104
kernel.panic_on_oops = 1
net.core.rmem_default = 262144
net.core.rmem_max = 4194304
net.core.wmem_default = 262144
net.core.wmem_max = 1048576
net.ipv4.conf.all.rp_filter = 2
net.ipv4.conf.default.rp_filter = 2
fs.aio-max-nr = 1048576
net.ipv4.ip_local_port_range = 9000 65500
5.关闭SELINUX
[oracle@dc8hdb ~]$ cat /etc/selinux/config|grep -v ^#|grep -v ^$
SELINUX=disabled
SELINUXTYPE=targeted
6.修改系统对用户使用资源的限制
[root@dc8hdb ~]# cat /etc/security/limits.conf |grep -v ^#|grep -v ^$
oracle   soft   nofile    1024
oracle   hard   nofile    65536
oracle   soft   nproc    16384
oracle   hard   nproc    16384
oracle   soft   stack    10240
oracle   hard   stack    32768
oracle   hard   memlock    134217728
oracle   soft   memlock    134217728
7.开始安装
 unzip -o LINUX.X64_193000_db_home.zip -d /oracle/D4C/193
[oracle@dc8hdb LINUX.X64_193000_db_home]$ pwd
/oracle/LINUX.X64_193000_db_home
[oracle@dc8hdb LINUX.X64_193000_db_home]$ ./runInstaller
Launching Oracle Database Setup Wizard...
Next

Next

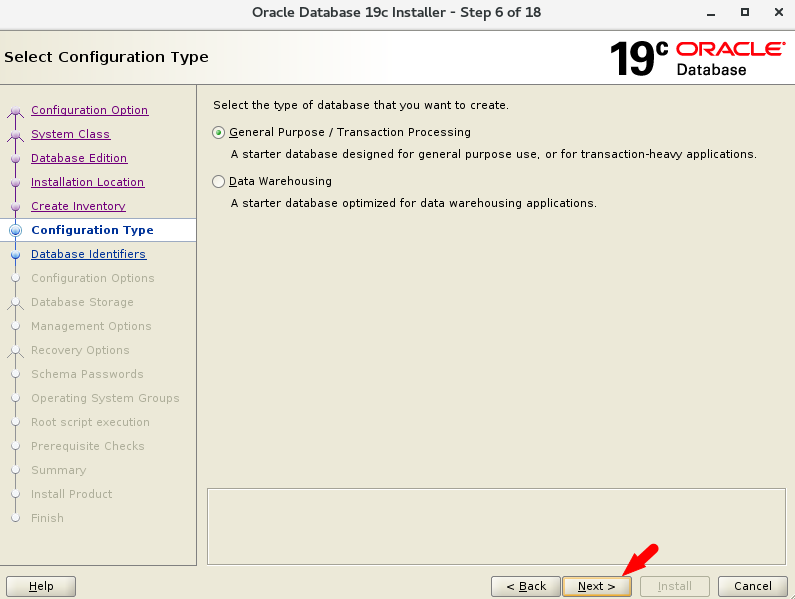
Next

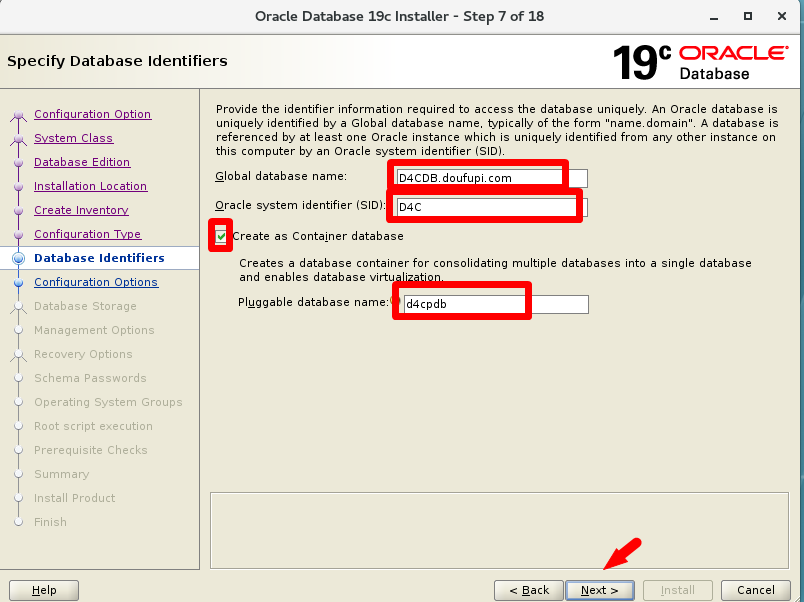
Next

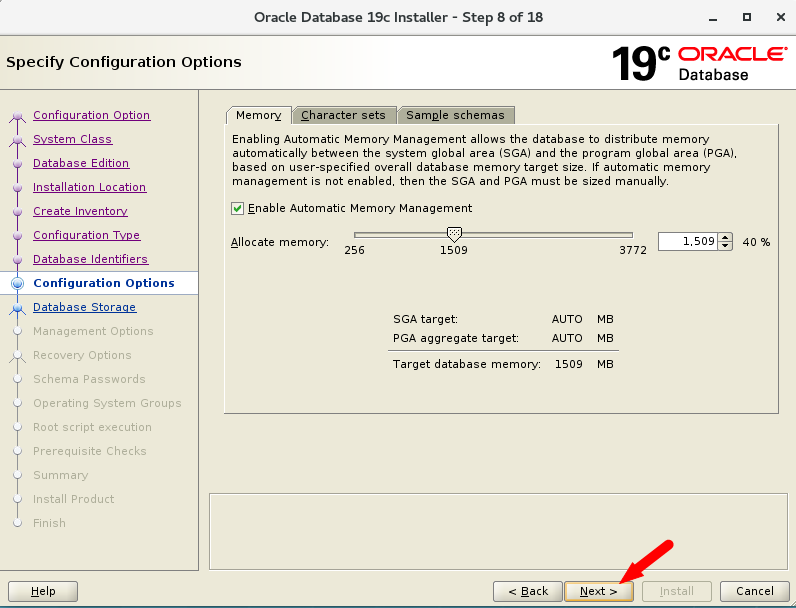
Next
Next
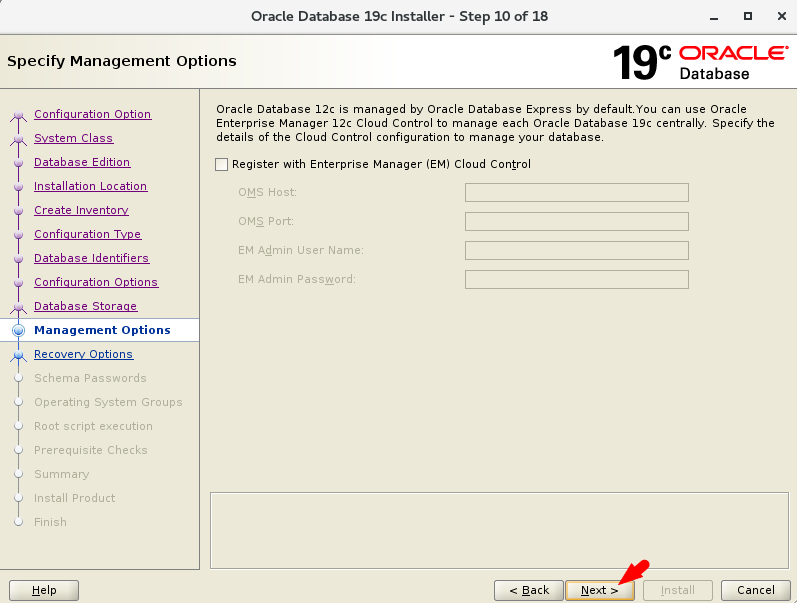
next
Next

Next
Next
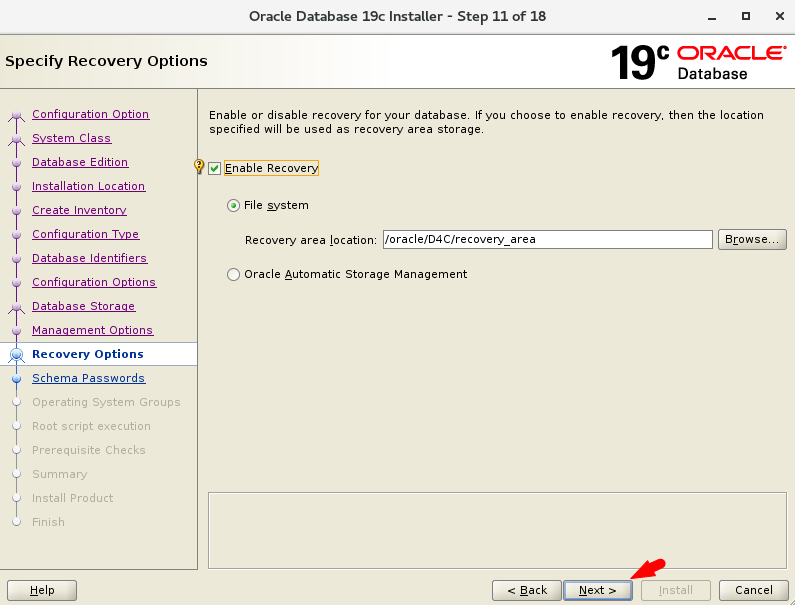
next

Next
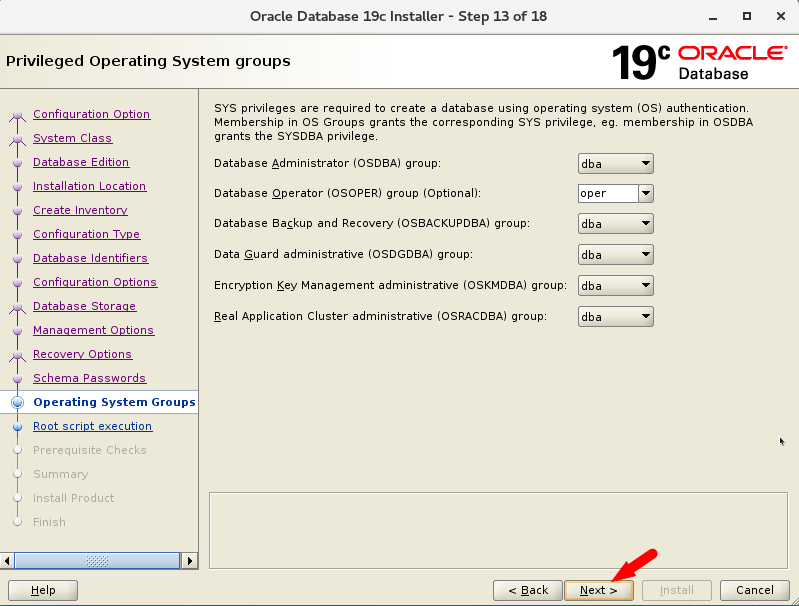
Next

Next
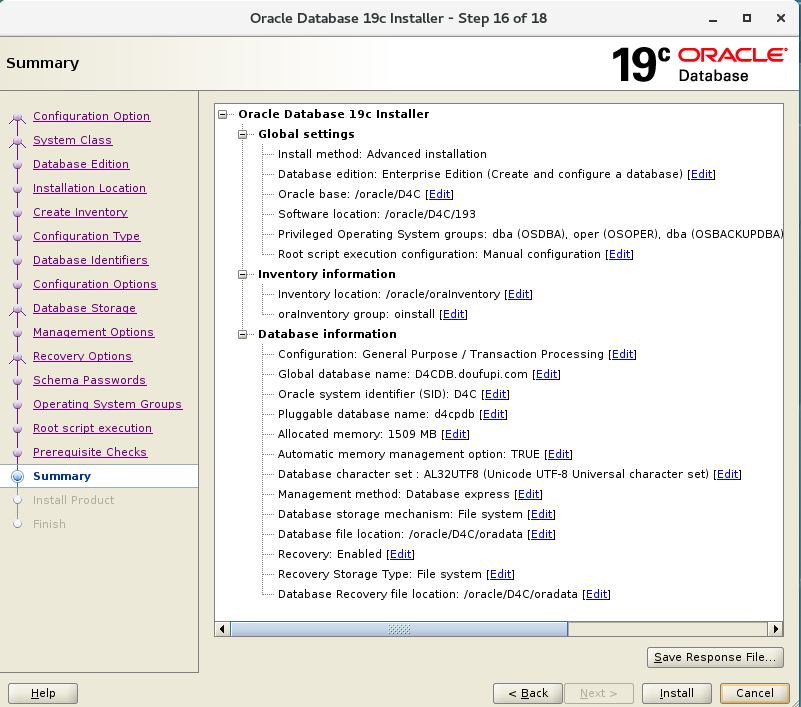
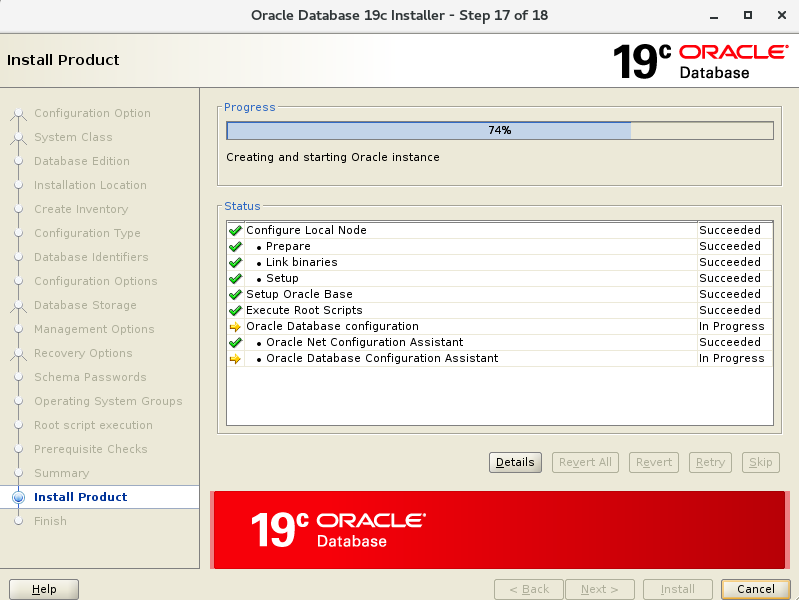
Install
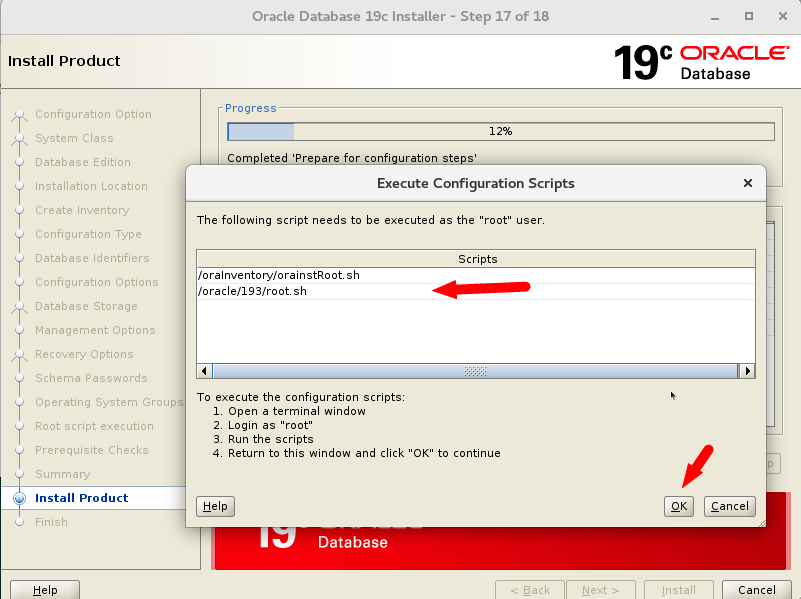
[root@d4chdb oraInventory]# pwd
/oraInventory
[root@d4chdb oraInventory]# /oraInventory/orainstRoot.sh
Changing permissions of /oraInventory.
Adding read,write permissions for group.
Removing read,write,execute permissions for world.

Changing groupname of /oraInventory to oinstall.
The execution of the script is complete.
[root@d4chdb oraInventory]# /oracle/193/root.sh
Performing root user operation.

The following environment variables are set as:
    ORACLE_OWNER= oracle
    ORACLE_HOME=  /oracle/193

Enter the full pathname of the local bin directory: [/usr/local/bin]:
   Copying dbhome to /usr/local/bin ...
   Copying oraenv to /usr/local/bin ...
   Copying coraenv to /usr/local/bin ...


Creating /etc/oratab file...
Entries will be added to the /etc/oratab file as needed by
Database Configuration Assistant when a database is created
Finished running generic part of root script.
Now product-specific root actions will be performed.
Oracle Trace File Analyzer (TFA - Standalone Mode) is available at :
    /oracle/193/bin/tfactl

Note :
1. tfactl will use TFA Service if that service is running and user has been granted access
2. tfactl will configure TFA Standalone Mode only if user has no access to TFA Service or TFA is not installed
finish
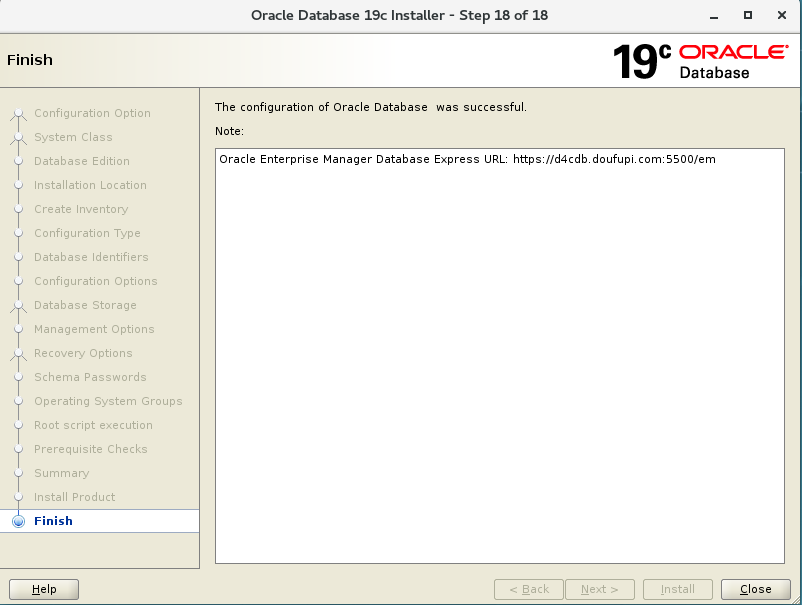
[oracle@d4cdb ~]$ sqlplus / as sysdba

SQL*Plus: Release 19.0.0.0.0 - Production on Wed Apr 8 23:04:53 2020
Version 19.3.0.0.0

Copyright (c) 1982, 2019, Oracle.  All rights reserved.


Connected to:
Oracle Database 19c Enterprise Edition Release 19.0.0.0.0 - Production
Version 19.3.0.0.0

SQL> col BANNER_FULL for a100
SQL> set linesize 500
SQL> select BANNER_FULL from v$version;

BANNER_FULL
----------------------------------------------------------------------------------------------------
Oracle Database 19c Enterprise Edition Release 19.0.0.0.0 - Production
Version 19.3.0.0.0