一、SpringBoot部署
1、新建一个Webapp项目,在pom.xml中导入SpringBoot依赖
<parent>
    <groupId>org.springframework.boot</groupId>
    <artifactId>spring-boot-starter-parent</artifactId>
    <version>2.2.1.RELEASE</version>
    <relativePath/> <!-- lookup parent from repository -->
  </parent>
二、简单Hello案例
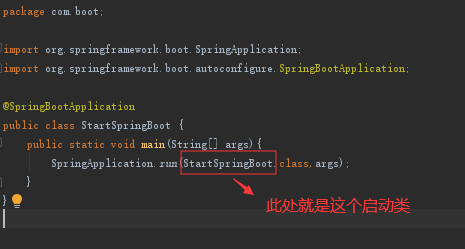
1、在java中创建包com.boot,在此包中建立启动类StartSpringBoot
2、在com.boot包中创建Controller包并添加创建Controller类
package com.boot.Controller;

import org.springframework.web.bind.annotation.RequestMapping;
import org.springframework.web.bind.annotation.RestController;

@RestController
/**
 * 如果说在Controller类上加RestController注解代表该controller当中的所有方法都返回JSON串
 */
public class FirstController {
    @RequestMapping("/firstRequest")
    public String firstRequest(){
       /* int a=5/0;*/
        System.out.println("第一个请求到达Controller");
        return "Hello SpringBoot";
    }
}
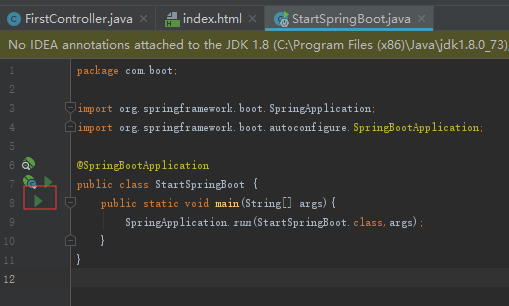
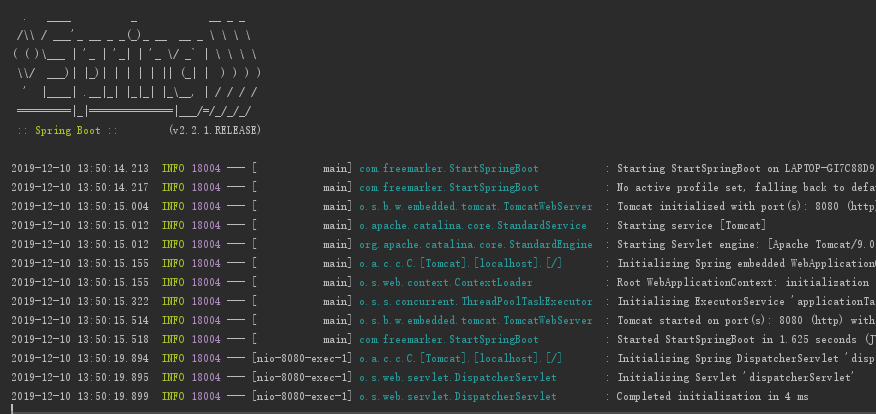
3、(1)启动StartSpringBoot类中的main方法,SpringBoot自带Tomcat
(2)控制台效果如下
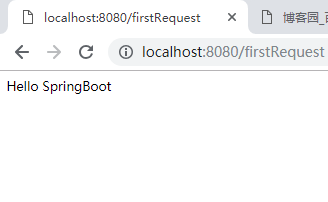
(3)页面直接访问Controller类方法即可,页面实现效果如下
三、SpringBoot静态资源访问
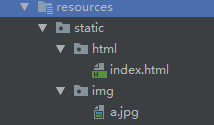
1、在resources文件下创建static包,再static下创建img包和html包
2、在页面中直接访问地址即可
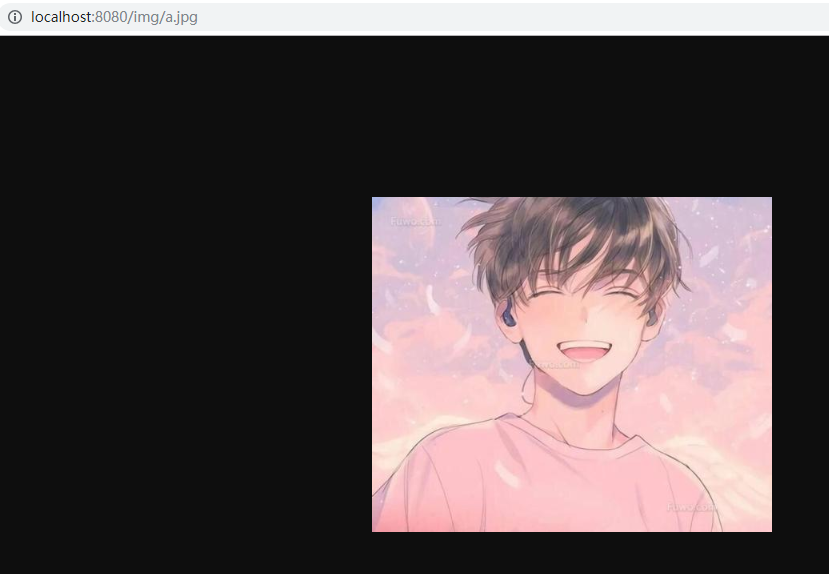
(1)img访问地址如下
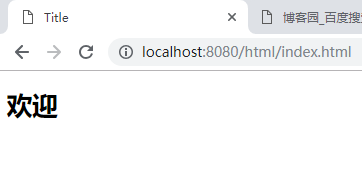
(2)html访问地址如下
四、SpringBoot解决异常问题
1、在Controller类中定义一个异常

2、在com.boot包下创建一个一个异常包exception
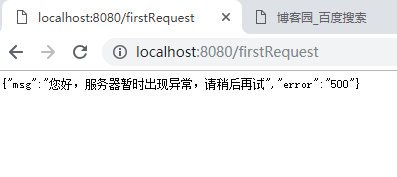
创建异常类ExceptionHandler(运行时异常,在运行时发生报错则进入该类)
package com.boot.exception;

import org.springframework.web.bind.annotation.ControllerAdvice;
import org.springframework.web.bind.annotation.ResponseBody;

import java.util.HashMap;
import java.util.Map;

@ControllerAdvice
public class ExceptionHandler {
    //捕获运行时异常
    @org.springframework.web.bind.annotation.ExceptionHandler(RuntimeException.class)
    @ResponseBody
    public Map<String,Object> exceHandler(){
        Map<String,Object> map=new HashMap<>();
        map.put("error","500");
        map.put("msg","您好,服务器暂时出现异常,请稍后再试");
        return map;
    }
}
3、结果如下
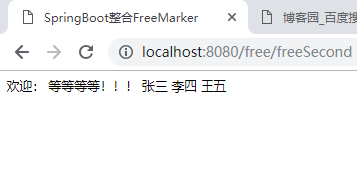
五、SpringBoot使用freemarker
1、导入依赖freemarker
 <dependency>
      <groupId>org.springframework.boot</groupId>
       <artifactId>spring-boot-starter-freemarker</artifactId>
 </dependency>
2、配置application.propertiesleuk文件
## Freemarker 配置
spring.freemarker.template-loader-path=classpath:/templates/
spring.freemarker.cache=false
spring.freemarker.charset=UTF-8
spring.freemarker.check-template-location=true
spring.freemarker.content-type=text/html
spring.freemarker.expose-request-attributes=false
spring.freemarker.expose-session-attributes=false
spring.freemarker.request-context-attribute=request
spring.freemarker.prefix=/
spring.freemarker.suffix=.ftl
3、在resources包下创建templates包并创建holle.ftl模板
<!DOCTYPE html>
<html lang="en">
<head>
    <meta charset="UTF-8">
    <title>SpringBoot整合FreeMarker</title>
</head>
<body>
    欢迎:
  ` ${name}

    <#list stulist as stu>
        ${stu.stu_name}
    </#list>

    <#if 1==1>
        等等等等!!!
    </#if>

    <#list userList as user>
        ${user}
    </#list>
</body>
</html>
4、创建StartSpringBoot启动类
package com.freemarker;


import org.springframework.boot.SpringApplication;
import org.springframework.boot.autoconfigure.SpringBootApplication;

@SpringBootApplication
public class StartSpringBoot {
    public static void main(String[] args){
        SpringApplication.run(StartSpringBoot.class,args);
    }
}
5、创建Controller类freemarkerController类
package com.freemarker.Controller;

import com.freemarker.entity.student;
import org.springframework.stereotype.Controller;
import org.springframework.ui.ModelMap;
import org.springframework.web.bind.annotation.RequestMapping;

import java.util.ArrayList;
import java.util.List;

@Controller
@RequestMapping("/free")
public class freemarkerController {
    @RequestMapping("/freeFirst")
    public String freeFirst(ModelMap map){
        map.put("name","张三");
        return "hello"; //找templates/name.ftl
    }

    @RequestMapping("/freeSecond")
    public String freeSecond(ModelMap map){
        List<String> list=new ArrayList<>();
        list.add("张三");
        list.add("李四");
        list.add("王五");
        map.put("userList",list);
        return "hello";
    }

    @RequestMapping("/freeThread")
    public String freeThread(ModelMap map){
        List<student> list=new ArrayList<>();
        student stu=new student();
        stu.setStu_id(1);
        stu.setStu_name("小王");
        list.add(stu);
        map.put("stulist",list);
        return "hello";
    }
}
6、页面访问实现效果如下