1.自己安装的最新版一直没成功,换成了1.1.7稳定版的。中间遇到的问题记录下
1) jdk 用的1.7版本的,安装过程省略。
2)下载hbase zip包:https://mirrors.tuna.tsinghua.edu.cn/apache/hbase/1.1.7/,下载hbase-1.1.7-bin-tar.gz
3)默认是在/root/下载/ 目录下,移动到 /usr/local/目录
mv hbase-1.1.7-bin.tar.gz /usr/local/
新建 hbase 文件夹,把包移到新建的hbase目录下,进入/usr/local/目录:
mv hbase-1.1.7-bin.tar.gz /usr/local/hbase/
4)解压缩压缩包
tar -zxvf hbase-1.1.7-bin.tar.gz
5)配置环境变量: gedit /etc/profile
添加:export HBASE_HOME=/usr/local/hbase/hbase-1.1.7

6)修改 hbase conf目录下的hbase-site.xml
gedit hbase-site.xml
默认打开后之后configuration 节点,加上
<property>
<name>hbase.rootdir</name>
<value>file:///home/hbase</value>
</property>
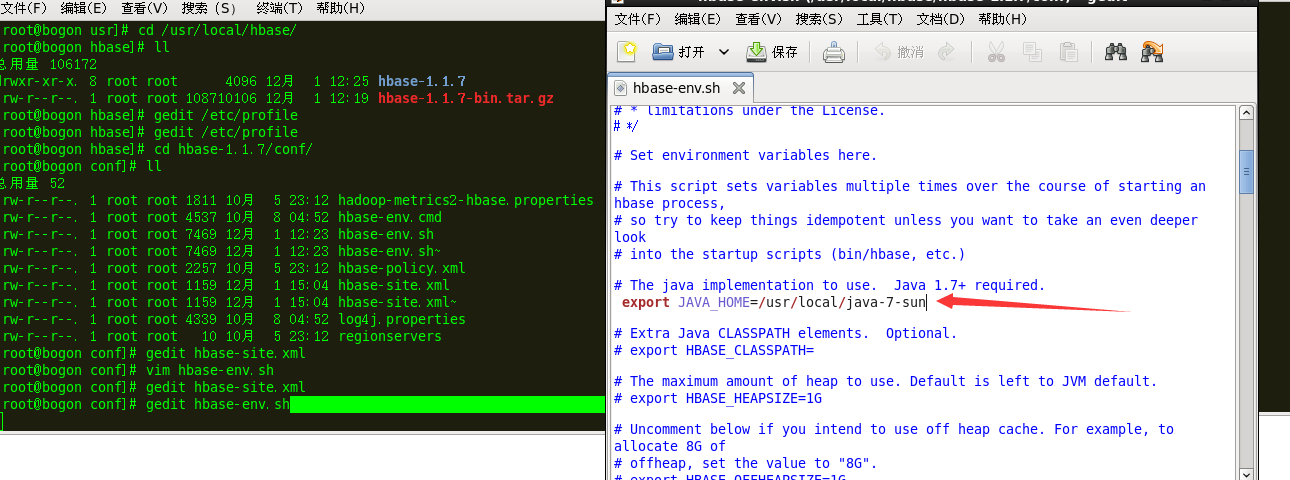
7)修改 conf 目录下的hbase-env.sh,制定jdk的目录,默认是 注释的
gedit hbase-evn.sh
8.配置完成,启动 hbase:进入 hbase的bin 目录:
./start-hbase.shps
通过jps命令查看是否启动成功,如果有HMaster 则表示启动成功

9)打开http://localhost:16010 可以看到HBase的起始页
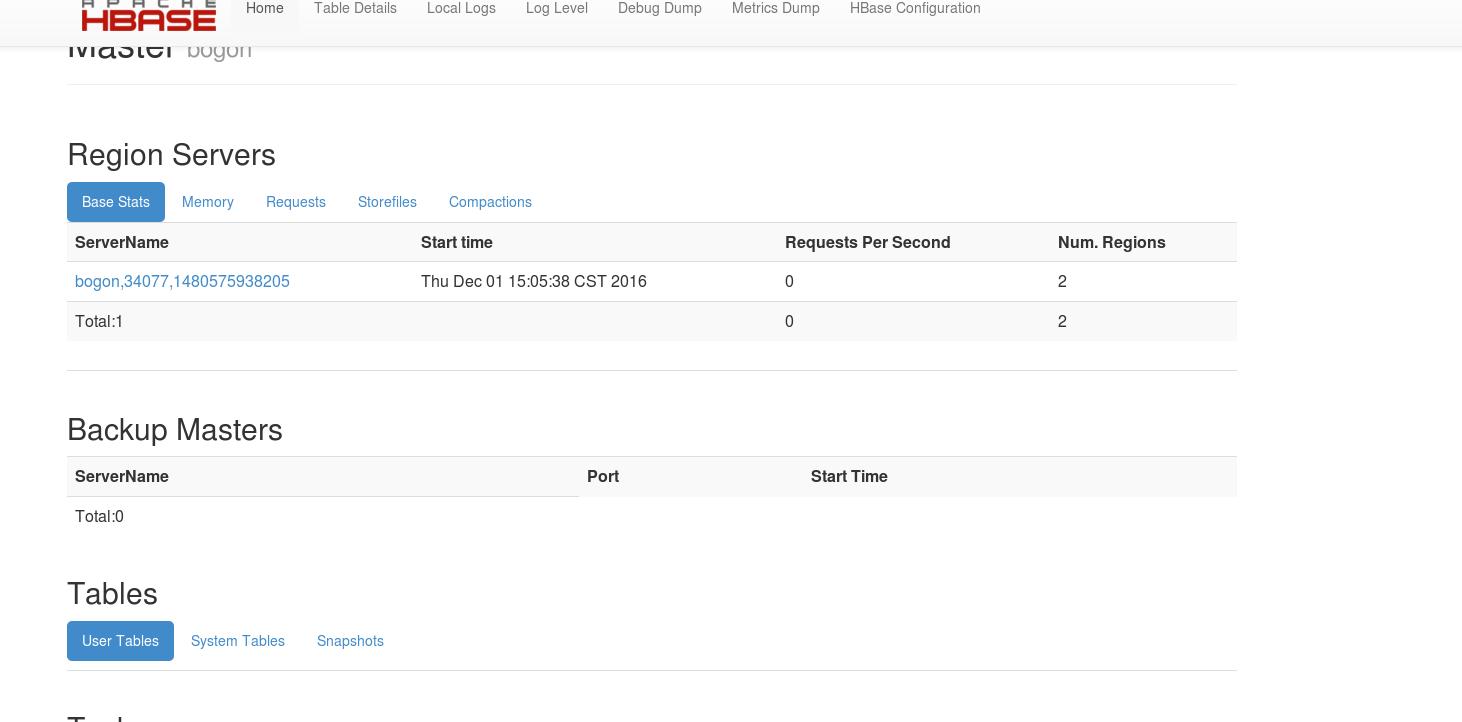
注意: 1.1.7的默认端口是16010,如果想要修改端口号,可以在conf/hbase-site.xml 制定端口号,进入hbase的conf目录,配置如下:
gedit ./hbase-site.xml
添加:
<property>
<name>hbase.master.info.port</name>
<value>60010</value>
</property>
之后 通过 http://localhost:60010 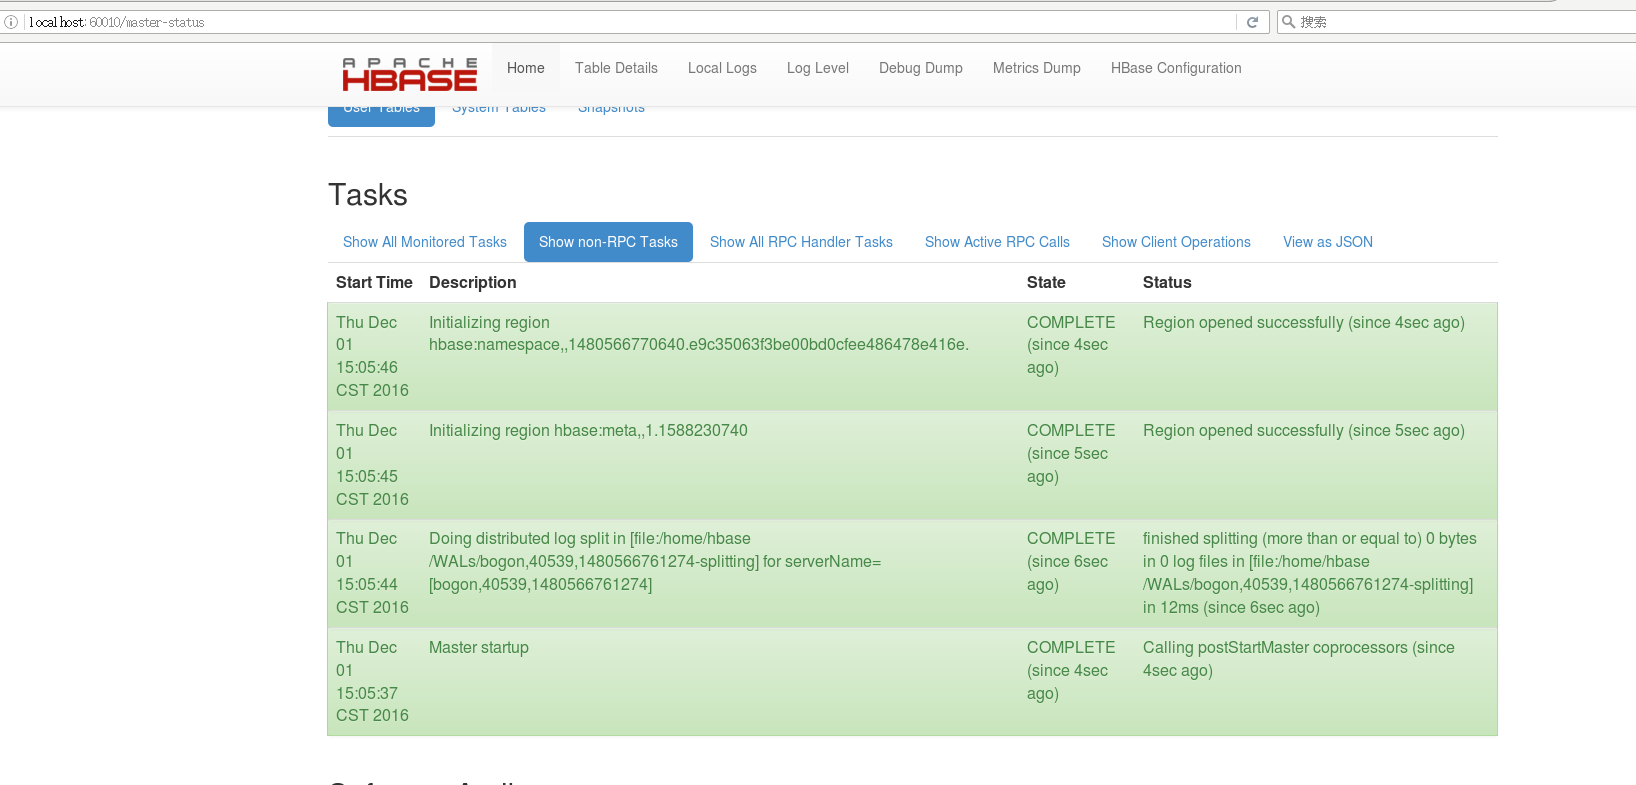
即可访问。