开发环境
nginx的服务器的搭建
安装nginx的依赖库
sudo apt-get update
sudo apt-get install libpcre3 libpcre3-dev
sudo apt-get install openssl libssl-dev
配置并编译nginx
切换到你的nginx 的下载目录,使用nginx的默认配置,添加nginx的rtmp模块。
make
sudo make instal
如果发现 make时有 conf not found 可以使用 rtmp 文件 完整路径
如果后续要添加另外的模块:需要执行多个 add: ,因为nginx的添加模块就相当于重新安装nginx,如果不写就会覆盖已安装好的模块,
./configure --add-module=../nginx-rtmp-module-master
                --add-module=../..
运行测试nginx
进入安装目录/usr/local/nginx,运行命令./sbin/nginx
注意:以后所有的命令都在/usr/local/nginx目录运行,也nginx配置文件的相对目录。
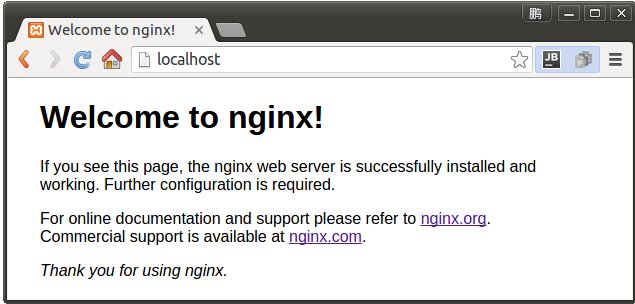
打开浏览器在地址栏输入:localhost。(远程访问就是 http://...IP... )如果,如下图显示那样就证明您的nginx服务器搭建成功了。 你修改 /usr/local/nginx/html/ 下的html文件, 可以看到访问的主页被改动。
点播视频服务器的配置
通过上一步nginx服务器已经搭建完成,然后我们就可以开启一个视频点播的服务了。
打开配置文件/usr/local/nginx/conf/nginx.conf,添加RTMP的配置,可以自定义 ,流文件的存放位置。
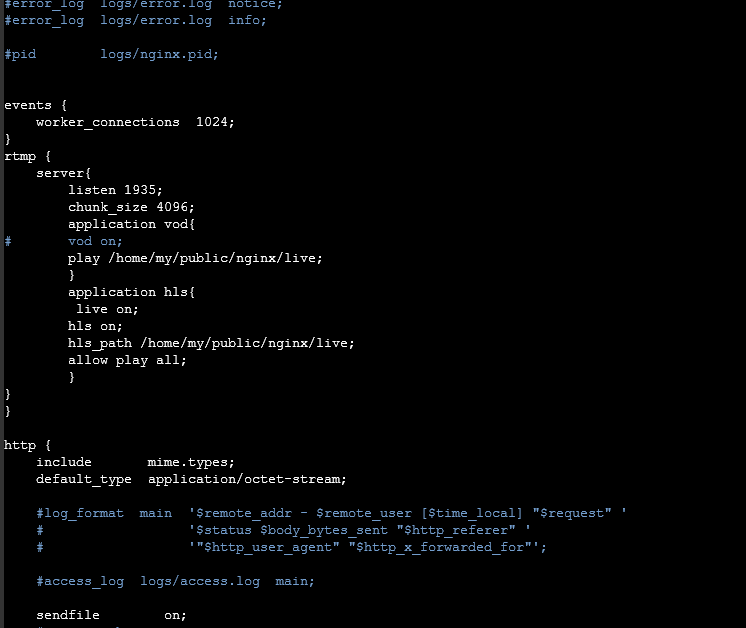
rtmp {
    server{
    listen 1935;
    chunk_size 4096;
    application vod{
#    vod on;
    play /home/my/public/nginx/live;
        }
    application hls{
     live on;
    hls on;
    hls_path /home/my/public/nginx/live;
    allow play all;
    }
}
}
文件放好之后,那就让我们重新启动一下nginx
sudo ./sbin/nginx -s reload
这里 我在live 目录下放置 a.mp4 可以用以下地址访问:
rtmp://...IP.../vod/a.mp4
推流地址可以使用: 推流成功你可以在你的 live 文件夹下找到流文件
rtmp://...IP.../hls/test
推流软件可以选用: yasea
附带源码:yasea source
https://github.com/begeekmyfriend/yasea
取流地址可以使用:
rtmp://...IP.../hls/test
取流软件使用: VLC Media.
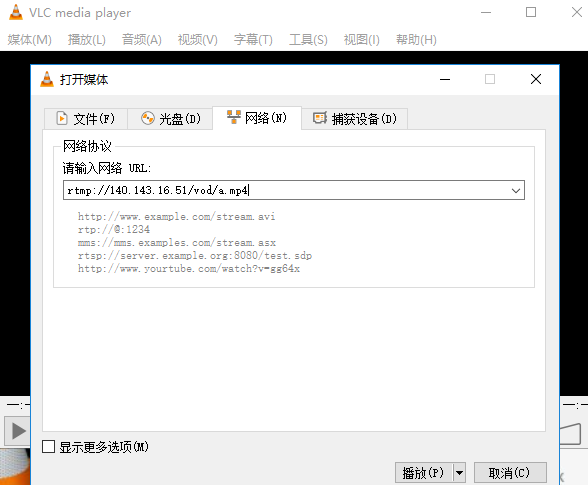
点击play就可以播放了。
可用的网络流: