vue 2.5.2
前提已经安装了node,npm,淘宝镜像命令cnpm,全局的脚手架vue-cli
1、创建vue-cli+webpack的脚手架项目
vue_mui项目名
vue init webpack vue_mui

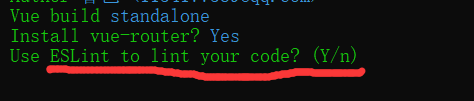
2、接下来的操作是配置项目,一直按enter键即可,EsLint可以输入n,这是语法检查,很严格。
3、然后就是安装过程等待

如果出现这个错误
npm ERR! errno -4058 npm ERR! enoent ENOENT: no such file or directory, open 'E:******package.json'
执行命令
npm rebuild node-sass
搭建成功

执行npm run dev就可以看到vue的默认页面。
4、下载mui,github地址https://github.com/dcloudio/mui
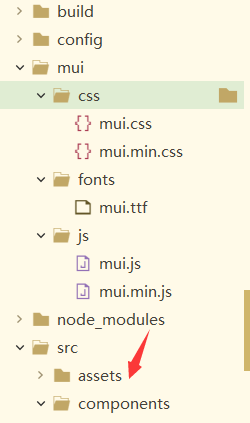
把项目中dist下的都拷贝到vue项目中,一般放在asset目录中,我这里直接放在项目目录下
5、main.js,导入mui的js和css

Vue.prototype.mui=mui
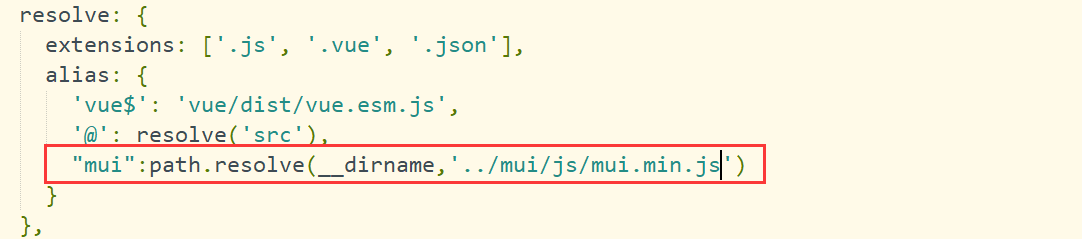
6、加别名,build/webpack.base.conf.js,后面的是js的路径名
7、build/webpack.dev.conf.js,找到到plugins加上,我的初始化项目没有new webpack.ProvidePlugin,加上这个就行。

 new webpack.ProvidePlugin({
      mui:'mui',
      'window.mui':'mui'
    }),
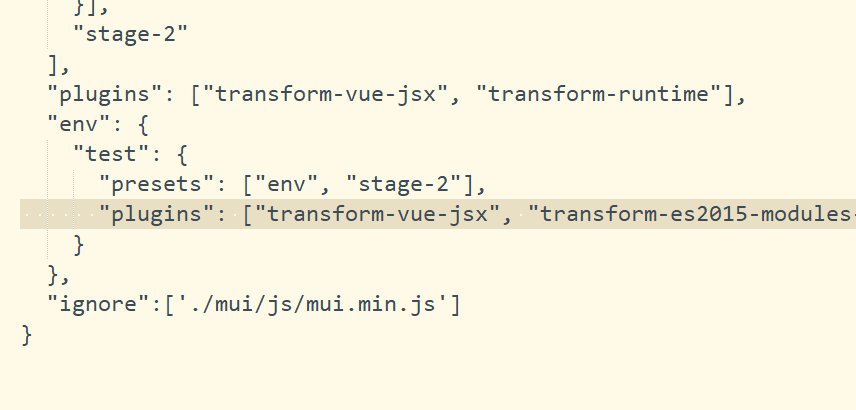
8、找到.babelrc文件
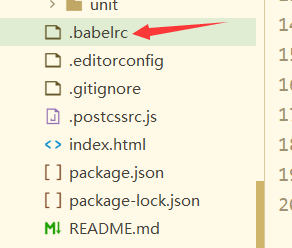
加上:后面的是js路径,严格模式中忽视这个文件,mui不支持,注意这里不要写错
"ignore":['./mui/js/mui.min.js']
9、看一下结果,这是默认的HelloWord.vue,修改加上样式和mui的ajax去调用请求
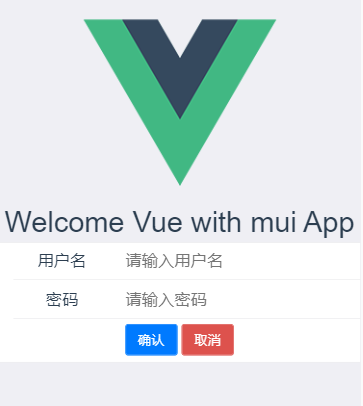
<template>
  <div class="hello">
    <h2>{{ msg }}</h2>

    <form class="mui-input-group">
        <div class="mui-input-row">
            <label>用户名</label>
        <input type="text" class="mui-input-clear" placeholder="请输入用户名">
        </div>
        <div class="mui-input-row">
            <label>密码</label>
            <input type="password" class="mui-input-password" placeholder="请输入密码">
        </div>
        <div class="mui-button-row">
            <button type="button" class="mui-btn mui-btn-primary" @click="login">确认</button>
            <button type="button" class="mui-btn mui-btn-danger" >取消</button>
        </div>
    </form>
  </div>
</template>

<script>
export default {
  name: 'HelloWorld',
  data () {
    return {
      msg: 'Welcome Vue with mui App'
    }
  },
  created () {
      mui.init()
   },
  methods:{
    login(){
      // 发送axios请求
      mui.ajax({
        url:"http://localhost:9090/user/list",
          type: 'get',
          success: function(data) {
            debugger
          },
          error: function(xhr, type, errorThrown) {
            debugger
          }
      });
    }
  }
}
</script>

<!-- Add "scoped" attribute to limit CSS to this component only -->
<style scoped>
h1, h2 {
  font-weight: normal;
}
ul {
  list-style-type: none;
  padding: 0;
}
li {
  display: inline-block;
  margin: 0 10px;
}
a {
  color: #42b983;
}
</style>
到这里简单的整合就完成了。