1.背景知识
随着互联网技术的发展,现在的网站架构基本都由原来的后端渲染,变成了:前端渲染、前后端分离的形态,而且前端技术和后端技术在各自的道路上越走越远。 前端和后端的唯一联系,变成了API接口;API文档变成了前后端开发人员联系的纽带,变得越来越重要,swagger就是一款让你更好的书写API文档的框架。
传统的接口定义
API 说明文档
2.认识Swagger
Swagger 是一个规范和完整的框架,用于生成、描述、调用和可视化 RESTful 风格的 Web 服务。总体目标是使客户端和文件系统作为服务器以同样的速度来更新。文件的方法,参数和模型紧密集成到服务器端的代码,允许API来始终保持同步。
作用:
1. 接口的文档在线自动生成。 2. 功能测试。
目标:
Swagger™的目标是为REST APIs 定义一个标准的,与语言无关的接口,使人和计算机在看不到源码或者看不到文档或者不能通过网络流量检测的情况下能发现和理解各种服务的功能。
Swagger是一组开源项目,其中主要要项目如下:
-
Swagger-tools:提供各种与Swagger进行集成和交互的工具。例如模式检验、Swagger 1.2文档转换成Swagger 2.0文档等功能。
-
Swagger-core: 用于Java/Scala的的Swagger实现。与JAX-RS(Jersey、Resteasy、CXF...)、Servlets和Play框架进行集成。
-
Swagger-js: 用于JavaScript的Swagger实现。
-
Swagger-node-express: Swagger模块,用于node.js的Express web应用框架。
-
Swagger-ui:一个无依赖的HTML、JS和CSS集合,可以为Swagger兼容API动态生成优雅文档。
-
Swagger-codegen:一个模板驱动引擎,通过分析用户Swagger资源声明以各种语言生成客户端代码。
3.使用
1.Maven-POM文件
<!--swagger-api 依赖开始-->
<dependency>
<groupId>io.springfox</groupId>
<artifactId>springfox-swagger2</artifactId>
<version>2.7.0</version>
</dependency>
<dependency>
<groupId>io.springfox</groupId>
<artifactId>springfox-swagger-ui</artifactId>
<version>2.7.0</version>
</dependency>
<dependency>
<groupId>com.fasterxml.jackson.core</groupId>
<artifactId>jackson-databind</artifactId>
<version>2.6.6</version>
</dependency>
<!--swagger-api 依赖结束-->
2.Swagger配置
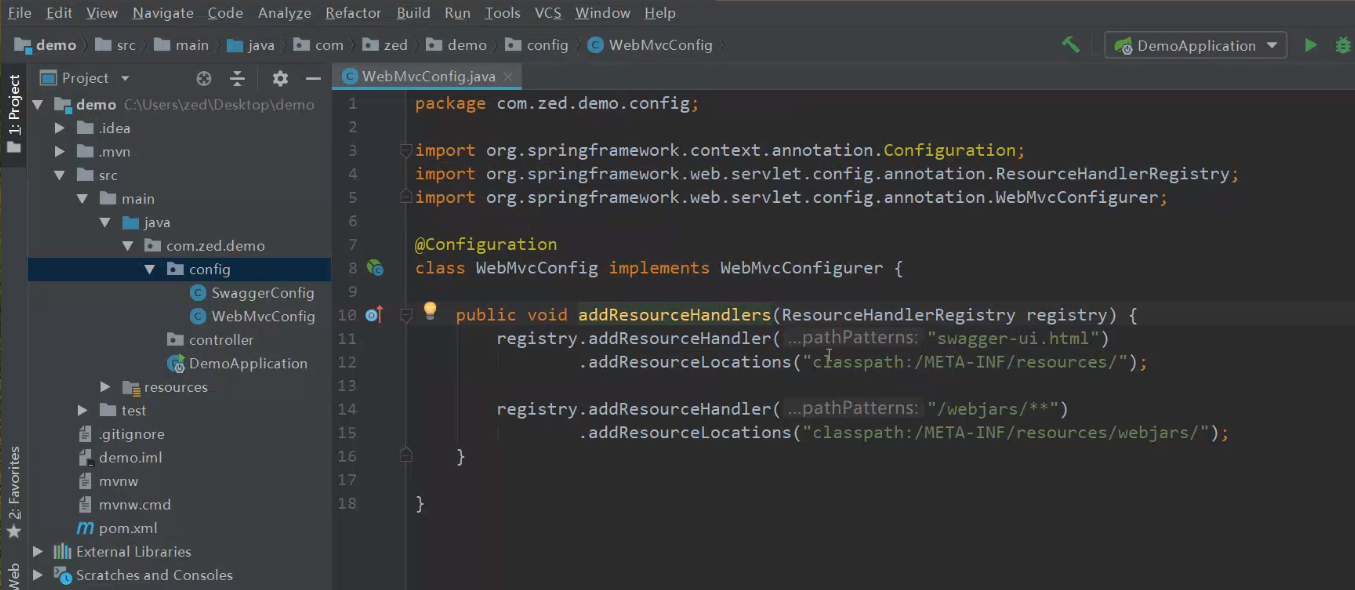
3.WebMvc配置
4.控制器类
5.启动类
在程序启动类上添加@EnableWebMvc注解
6.打开浏览器
打开浏览器,输入如下地址测试
2、swagger配置

3、webMVC配置
4、控制器类

5、启动类
