首先声明一点,springboot获取资源文件,需要看是
1》从spring boot默认的application.properties资源文件中获取
2》还是从自定义的资源文件中获取
带着这个想法去看下面几种方式
===============================================================================================
1》从spring boot默认的application.properties资源文件中获取
先给出来application.properties的内容
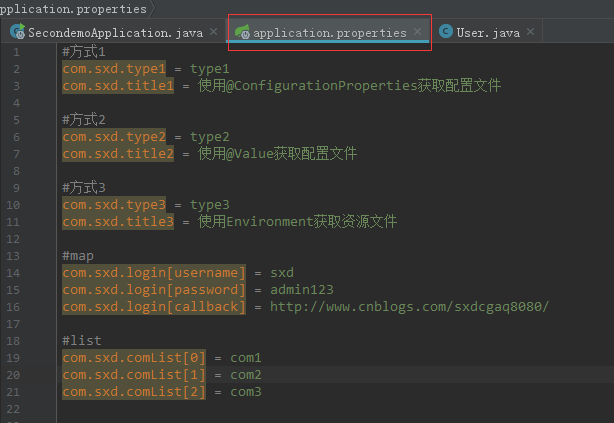


#方式1
com.sxd.type1 = type1
com.sxd.title1 = 使用@ConfigurationProperties获取配置文件

#方式2
com.sxd.type2 = type2
com.sxd.title2 = 使用@Value获取配置文件

#方式3
com.sxd.type3 = type3
com.sxd.title3 = 使用Environment获取资源文件

#map
com.sxd.login[username] = sxd
com.sxd.login[password] = admin123
com.sxd.login[callback] = http://www.cnblogs.com/sxdcgaq8080/

#list
com.sxd.comList[0] = com1
com.sxd.comList[1] = com2
com.sxd.comList[2] = com3
①===第一种方式:使用@ConfigurationProperties获取配置文件
先搞一个绑定资源文件的bean
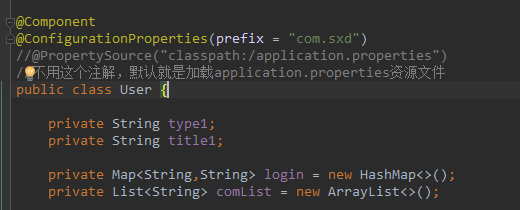
注意属性名和资源文件中的属性名相一致。
package com.sxd.beans;


import org.springframework.boot.context.properties.ConfigurationProperties;
import org.springframework.context.annotation.PropertySource;
import org.springframework.stereotype.Component;

import java.util.ArrayList;
import java.util.HashMap;
import java.util.List;
import java.util.Map;

@Component
@ConfigurationProperties(prefix = "com.sxd")
//@PropertySource("classpath:/application.properties")
//不用这个注解,默认就是加载application.properties资源文件
public class User {

    private String type1;
    private String title1;

    private Map<String,String> login = new HashMap<>();
    private List<String> comList = new ArrayList<>();

    public String getType1() {
        return type1;
    }

    public void setType1(String type1) {
        this.type1 = type1;
    }

    public String getTitle1() {
        return title1;
    }

    public void setTitle1(String title1) {
        this.title1 = title1;
    }

    public Map<String, String> getLogin() {
        return login;
    }

    public void setLogin(Map<String, String> login) {
        this.login = login;
    }

    public List<String> getComList() {
        return comList;
    }

    public void setComList(List<String> comList) {
        this.comList = comList;
    }
}
然后在启动类中使用
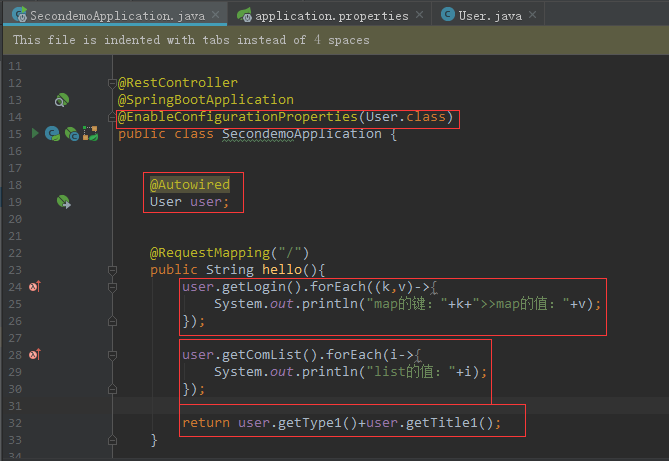
package com.sxd.secondemo;

import com.sxd.beans.User;
import org.springframework.beans.factory.annotation.Autowired;
import org.springframework.boot.SpringApplication;
import org.springframework.boot.autoconfigure.SpringBootApplication;
import org.springframework.boot.context.properties.EnableConfigurationProperties;
import org.springframework.web.bind.annotation.RequestMapping;
import org.springframework.web.bind.annotation.RestController;


@RestController
@SpringBootApplication
@EnableConfigurationProperties(User.class)
public class SecondemoApplication {


    @Autowired
    User user;


    @RequestMapping("/")
    public String hello(){
        user.getLogin().forEach((k,v)->{
            System.out.println("map的键:"+k+">>map的值:"+v);
        });

        user.getComList().forEach(i->{
            System.out.println("list的值:"+i);
        });

        return user.getType1()+user.getTitle1();
    }

    public static void main(String[] args) {
        SpringApplication.run(SecondemoApplication.class, args);
    }
}
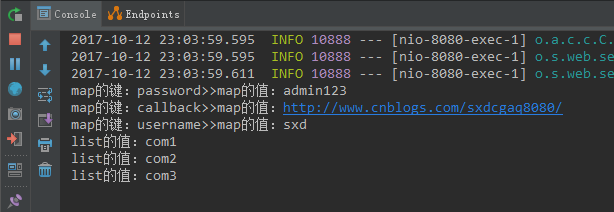
结果如下:
控制台打印:
访问地址:
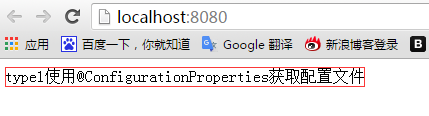
②===第二种方式:使用@Value获取配置文件
这里不用搞一个绑定资源文件的bean了。
只需要在你想用的地方使用@Value调用你想要的属性名对应的值即可。
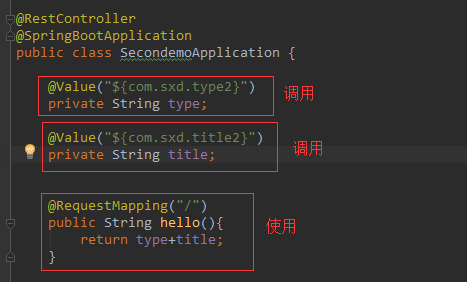
package com.sxd.secondemo;

import com.sxd.beans.User;
import org.springframework.beans.factory.annotation.Autowired;
import org.springframework.beans.factory.annotation.Value;
import org.springframework.boot.SpringApplication;
import org.springframework.boot.autoconfigure.SpringBootApplication;
import org.springframework.boot.context.properties.EnableConfigurationProperties;
import org.springframework.web.bind.annotation.RequestMapping;
import org.springframework.web.bind.annotation.RestController;


@RestController
@SpringBootApplication
public class SecondemoApplication {

    @Value("${com.sxd.type2}")
    private String type;

    @Value("${com.sxd.title2}")
    private String title;


    @RequestMapping("/")
    public String hello(){
        return type+title;
    }

    public static void main(String[] args) {
        SpringApplication.run(SecondemoApplication.class, args);
    }
}
访问结果:
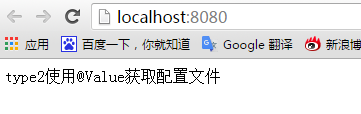
③===第三种方式:使用Environment获取资源文件
也不用提前做什么使用,Environment就是一个全局的资源池,application.properties中的属性值都可以从这里获取到。
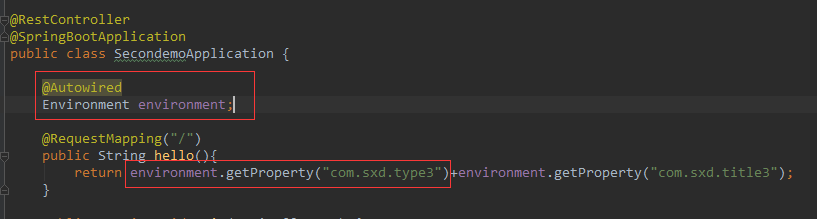
package com.sxd.secondemo;

import com.sxd.beans.User;
import org.springframework.beans.factory.annotation.Autowired;
import org.springframework.beans.factory.annotation.Value;
import org.springframework.boot.SpringApplication;
import org.springframework.boot.autoconfigure.SpringBootApplication;
import org.springframework.boot.context.properties.EnableConfigurationProperties;
import org.springframework.core.env.Environment;
import org.springframework.web.bind.annotation.RequestMapping;
import org.springframework.web.bind.annotation.RestController;


@RestController
@SpringBootApplication
public class SecondemoApplication {

    @Autowired
    Environment environment;

    @RequestMapping("/")
    public String hello(){
        return environment.getProperty("com.sxd.type3")+environment.getProperty("com.sxd.title3");
    }

    public static void main(String[] args) {
        SpringApplication.run(SecondemoApplication.class, args);
    }
}
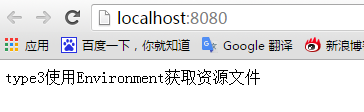
运行结果:
================================================================================================
2》从自定义的资源文件中获取属性值
①===第一种方式:使用@ConfigurationProperties获取配置文件
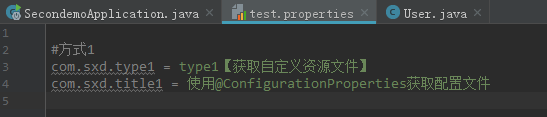
自定义资源文件如下:
然后指定绑定自定义资源文件
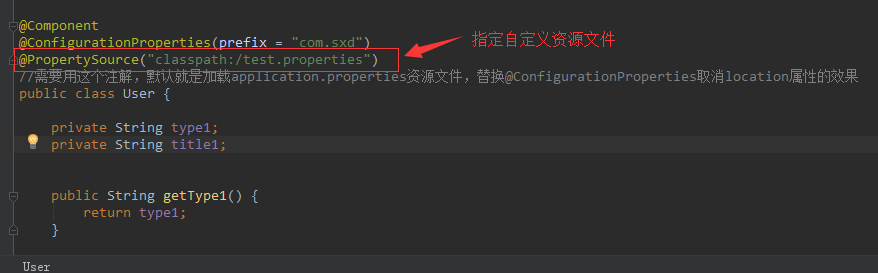
package com.sxd.beans;


import org.springframework.boot.context.properties.ConfigurationProperties;
import org.springframework.context.annotation.PropertySource;
import org.springframework.stereotype.Component;


@Component
@ConfigurationProperties(prefix = "com.sxd")
@PropertySource("classpath:/test.properties")
//需要用这个注解,默认就是加载application.properties资源文件,替换@ConfigurationProperties取消location属性的效果
public class User {

    private String type1;
    private String title1;


    public String getType1() {
        return type1;
    }

    public void setType1(String type1) {
        this.type1 = type1;
    }

    public String getTitle1() {
        return title1;
    }

    public void setTitle1(String title1) {
        this.title1 = title1;
    }


}
最后在启动类中使用一下

package com.sxd.secondemo;

import com.sxd.beans.User;
import org.springframework.beans.factory.annotation.Autowired;
import org.springframework.beans.factory.annotation.Value;
import org.springframework.boot.SpringApplication;
import org.springframework.boot.autoconfigure.SpringBootApplication;
import org.springframework.boot.context.properties.EnableConfigurationProperties;
import org.springframework.core.env.Environment;
import org.springframework.web.bind.annotation.RequestMapping;
import org.springframework.web.bind.annotation.RestController;


@RestController
@SpringBootApplication
@EnableConfigurationProperties(User.class)
public class SecondemoApplication {

    @Autowired
    User user;

    @RequestMapping("/")
    public String hello(){
        return user.getType1()+user.getTitle1();
    }

    public static void main(String[] args) {
        SpringApplication.run(SecondemoApplication.class, args);
    }
}
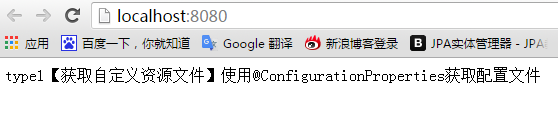
运行结果:
②===第二种方式:使用@Value获取配置文件
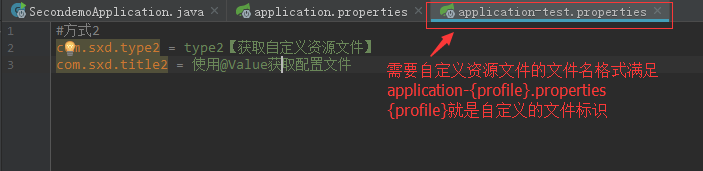
先设定一个自定义资源文件
如下,自定义资源文件需要满足application-{profile}.properties格式
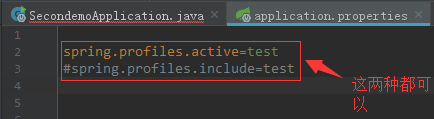
然后在application.properties文件中指明加载这个资源文件
spring.profiles.active=test
#spring.profiles.include=test
这两种哪种都可以加载上自定义的资源文件,后面的test就是上面{profile}的值
最后在启动类中使用@Value获取自定义资源文件中的属性,这个时候自定义的资源文件已经在application,properties文件中被指明要被加载了,因此是可以被获取到的
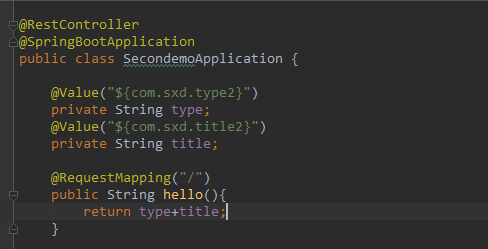
package com.sxd.secondemo;

import org.springframework.beans.factory.annotation.Value;
import org.springframework.boot.SpringApplication;
import org.springframework.boot.autoconfigure.SpringBootApplication;
import org.springframework.boot.context.properties.EnableConfigurationProperties;
import org.springframework.web.bind.annotation.RequestMapping;
import org.springframework.web.bind.annotation.RestController;


@RestController
@SpringBootApplication
public class SecondemoApplication {

    @Value("${com.sxd.type2}")
    private String type;
    @Value("${com.sxd.title2}")
    private String title;

    @RequestMapping("/")
    public String hello(){
        return type+title;
    }

    public static void main(String[] args) {
        SpringApplication.run(SecondemoApplication.class, args);
    }
}
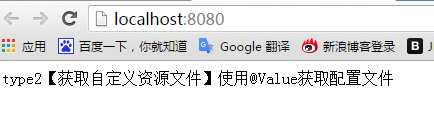
运行结果:
③===第三种方式:使用Environment获取资源文件
首先还是写一个自定义的资源文件,文件命名同上面第二种方式一样
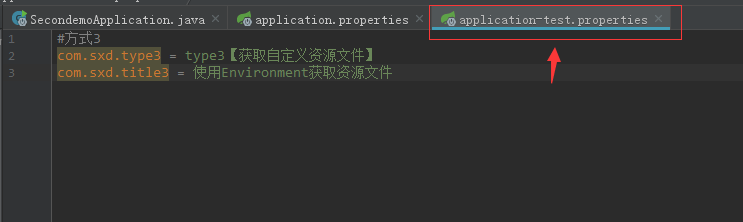
接着,在application.properties中声明加载这个自定义的资源文件

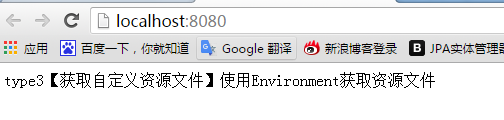
最后在启动类中,也就是哪里使用就在那里自动注入Environment.

package com.sxd.secondemo;

import org.springframework.beans.factory.annotation.Autowired;
import org.springframework.boot.SpringApplication;
import org.springframework.boot.autoconfigure.SpringBootApplication;
import org.springframework.core.env.Environment;
import org.springframework.web.bind.annotation.RequestMapping;
import org.springframework.web.bind.annotation.RestController;


@RestController
@SpringBootApplication
public class SecondemoApplication {

    @Autowired
    Environment environment;

    @RequestMapping("/")
    public String hello(){
        return environment.getProperty("com.sxd.type3")+environment.getProperty("com.sxd.title3");
    }

    public static void main(String[] args) {
        SpringApplication.run(SecondemoApplication.class, args);
    }
}
运行结果:
==================================================================================================================
===================================================完成============================================================