前言
===========================================
初步接触Spring Boot
===========================================
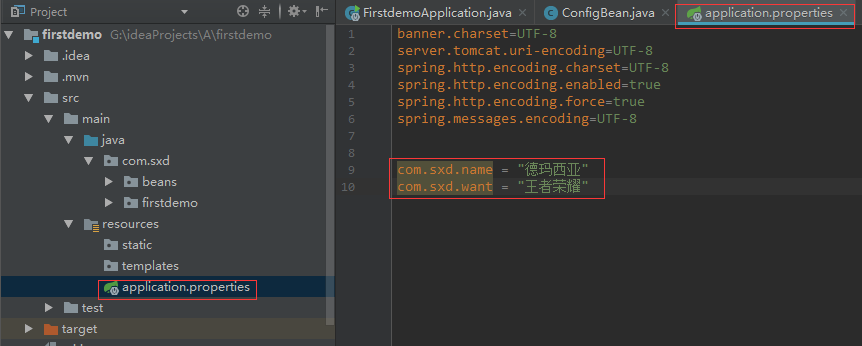
资源文件中自定义属性值,配置在一个对象bean上,然后在程序中可以使用bean的属性值。
一。
二。
@Component
标志本类为一个bean
@PropertySource(value = "classpath:/application.properties")
指定绑定哪个资源文件,【如果要绑定自定义的资源文件中的值的话,是可以用上的】这里的application.properties文件是springboot默认的资源文件,是可以不用指定的,这里绑定的话,会去加载绑定两次。
@ConfigurationProperties(prefix = "com.sxd")
指定绑定资源文件中前缀以com.sxd开头的属性名,其他的不会绑定过来。因为这里location属性取消了,所以采用上面注解进行替代方案
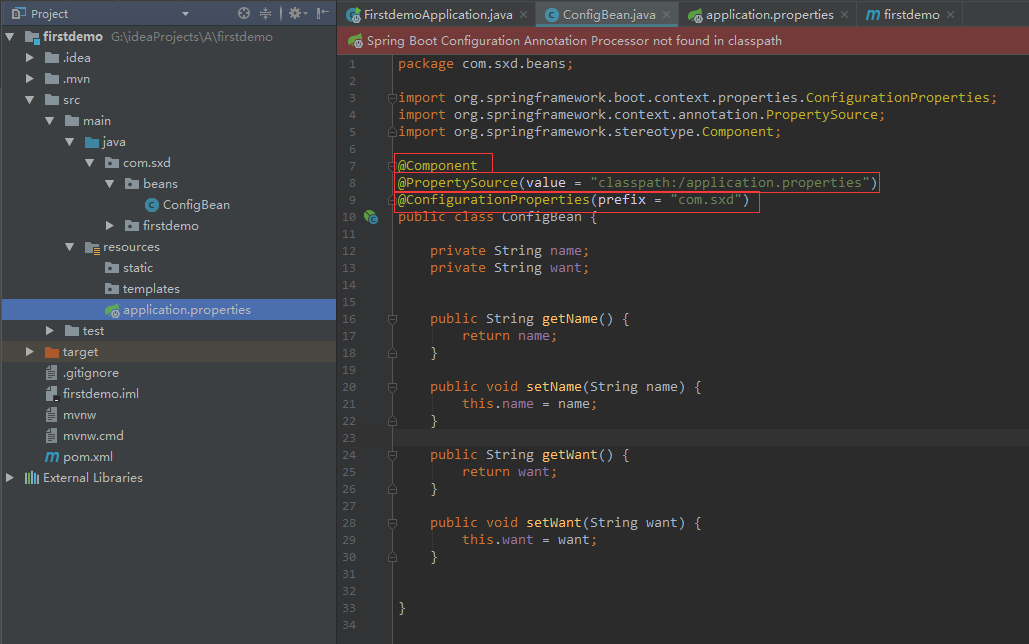


package com.sxd.beans;

import org.springframework.boot.context.properties.ConfigurationProperties;
import org.springframework.context.annotation.PropertySource;
import org.springframework.stereotype.Component;

@Component
@PropertySource(value = "classpath:/application.properties")
@ConfigurationProperties(prefix = "com.sxd")
public class ConfigBean {

    private String name;
    private String want;


    public String getName() {
        return name;
    }

    public void setName(String name) {
        this.name = name;
    }

    public String getWant() {
        return want;
    }

    public void setWant(String want) {
        this.want = want;
    }


}
三。
@EnableConfigurationProperties(ConfigBean.class)
激活绑定的bean
@Autowired
将绑定的某个bean自动注入
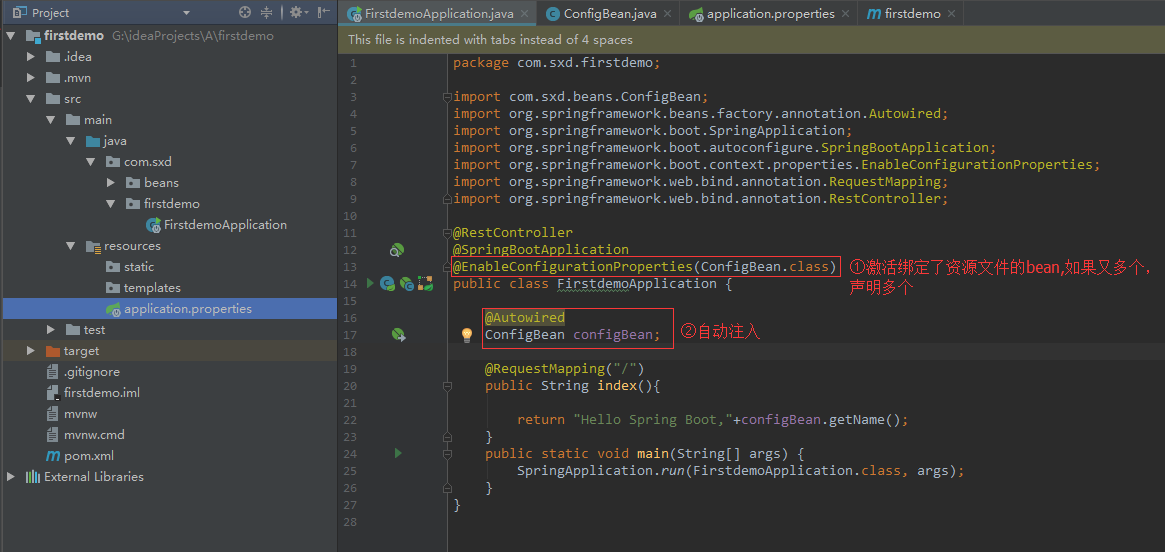
package com.sxd.firstdemo;

import com.sxd.beans.ConfigBean;
import org.springframework.beans.factory.annotation.Autowired;
import org.springframework.boot.SpringApplication;
import org.springframework.boot.autoconfigure.SpringBootApplication;
import org.springframework.boot.context.properties.EnableConfigurationProperties;
import org.springframework.web.bind.annotation.RequestMapping;
import org.springframework.web.bind.annotation.RestController;

@RestController
@SpringBootApplication
@EnableConfigurationProperties(ConfigBean.class)
public class FirstdemoApplication {

    @Autowired
    ConfigBean configBean;

    @RequestMapping("/")
    public String index(){

        return "Hello Spring Boot,"+configBean.getName();
    }
    public static void main(String[] args) {
        SpringApplication.run(FirstdemoApplication.class, args);
    }
}
四。
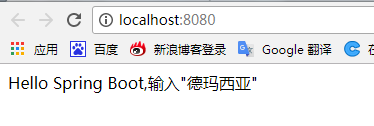
运行结果: